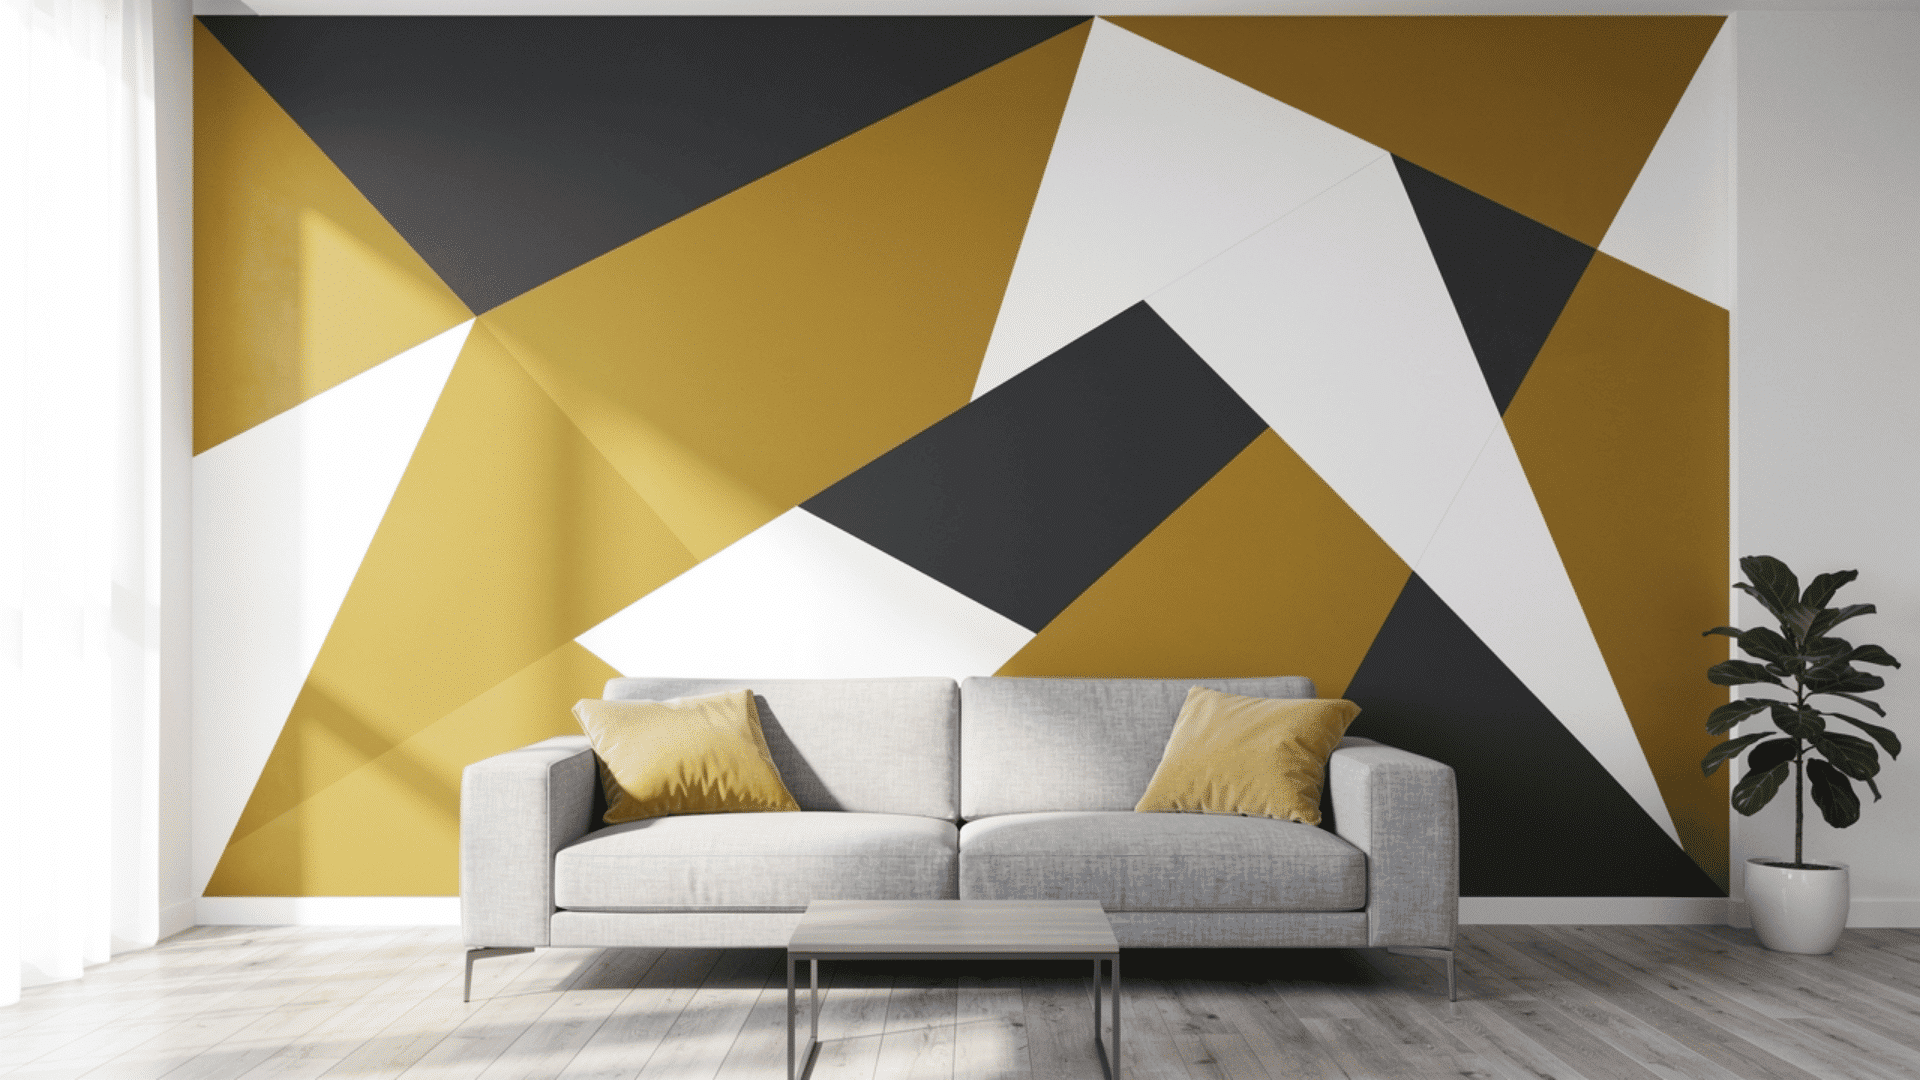
That one wall in your living room has been boring you for months. You know the one. And no, you do not need to hire anyone or spend a fortune to fix it.
A geometric accent wall is one of the easiest ways to make a room look completely different. Similar to other popular DIY accent wall projects, it lets you add personality, color, and visual interest without taking on a major renovation.
You pick a wall, grab some painter’s tape, and paint and create bold shapes like triangles, diamonds, or hexagons right on the surface. It costs very little and takes just a weekend to finish.
In this guide, you will learn how to pick the right wall, choose your colors, map out your design, and paint it like a pro.
Every step is laid out in plain, simple language so you can follow along without any confusion. Time to give that wall the makeover it deserves!
How to Make a Geometric Accent Wall in 7 Simple Steps
Here’s how you can make a geometric accent wall easily by yourself in simple steps:
Step 1: Choose the Right Wall
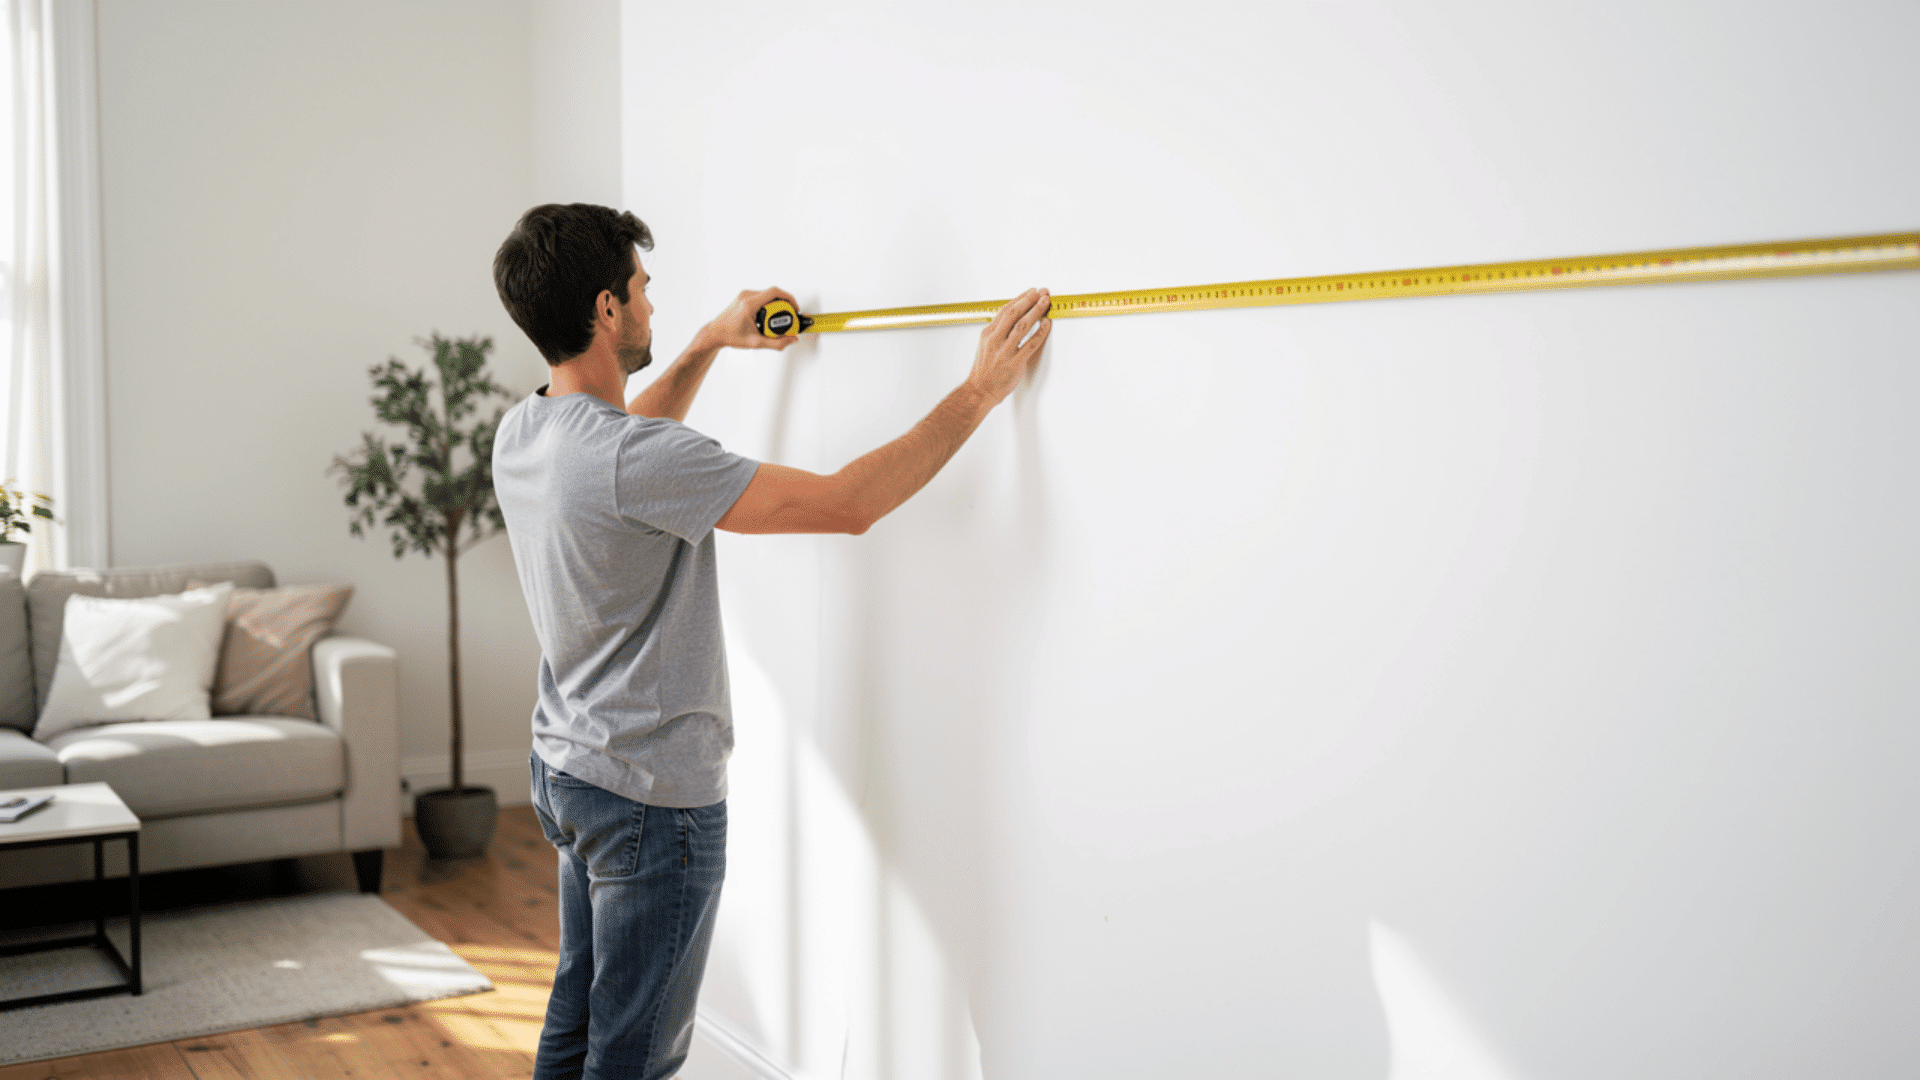
The first thing I always tell my clients is this: not every wall is the right wall. You want to pick one that naturally draws attention when you walk into the room.
In most spaces, that is the wall directly facing the entrance or the one behind a bed, sofa, or fireplace.
I also check the wall for any damage before we start. Cracks, peeling paint, or uneven surfaces can affect the final result.
A smooth, clean wall always gives the sharpest finish. If your wall needs a little patching up, take care of that first. It makes everything easier down the line.
Step 2: Select Your Geometric Design
This is the fun part. Over the years, I have worked with triangles, diamonds, hexagons, chevrons, and even simple horizontal stripes. Each one gives the room a completely different feel.
Triangles tend to feel bold and modern. Hexagons feel a little more playful. Simple diagonal lines work well in smaller rooms.
My advice is to keep it simple if this is your first time. A clean triangle pattern or a two-tone diamond grid is easy to tape and paint, and it still looks like a designer did it. You can always go more complex on the next wall.
Step 3: Gather Materials and Tools
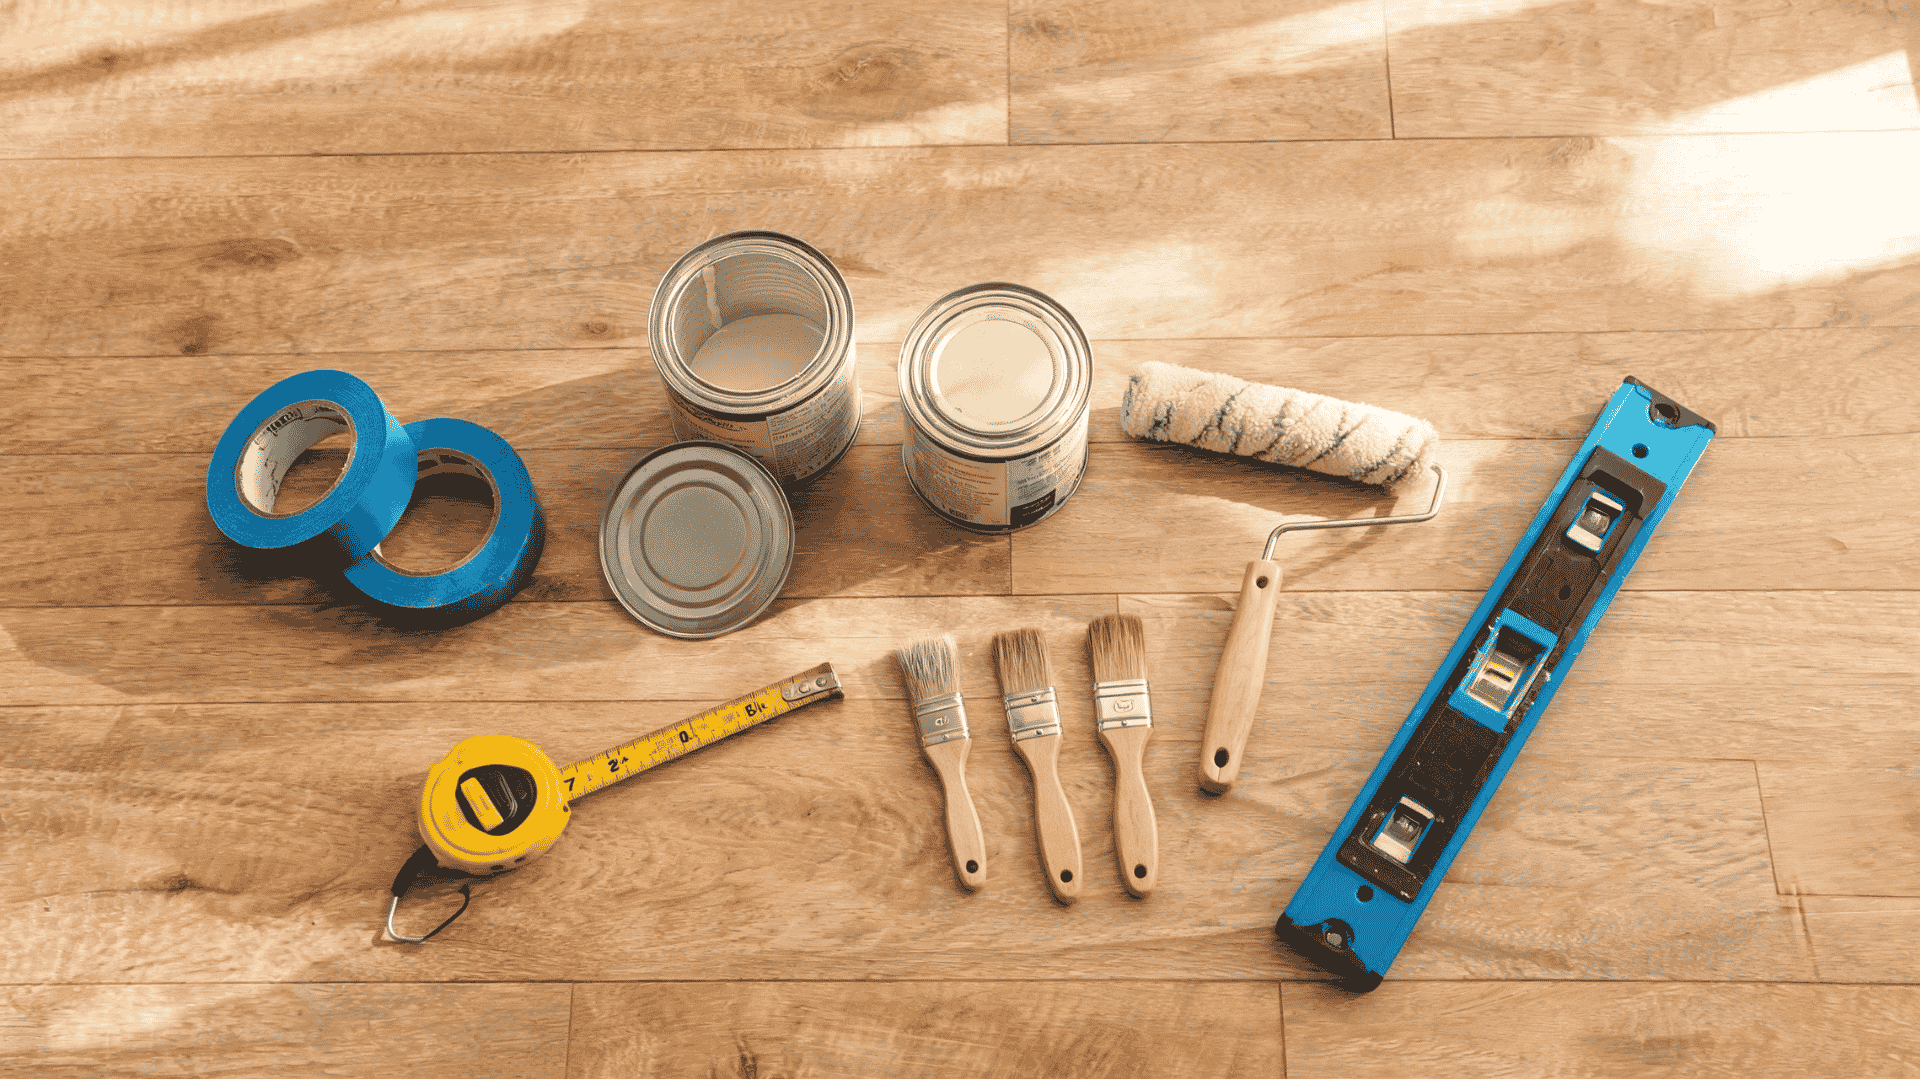
Before touching the wall, I make sure everything is ready to go. Running back to the store mid-project wastes time and breaks your focus. Here is what you will need:
- Painter’s tape (good quality, at least 1 inch wide)
- Wall paint in your chosen colors
- A pencil and ruler or measuring tape
- A level
- Paint rollers and small brushes
- A drop cloth to protect the floor
- Sandpaper for any rough spots
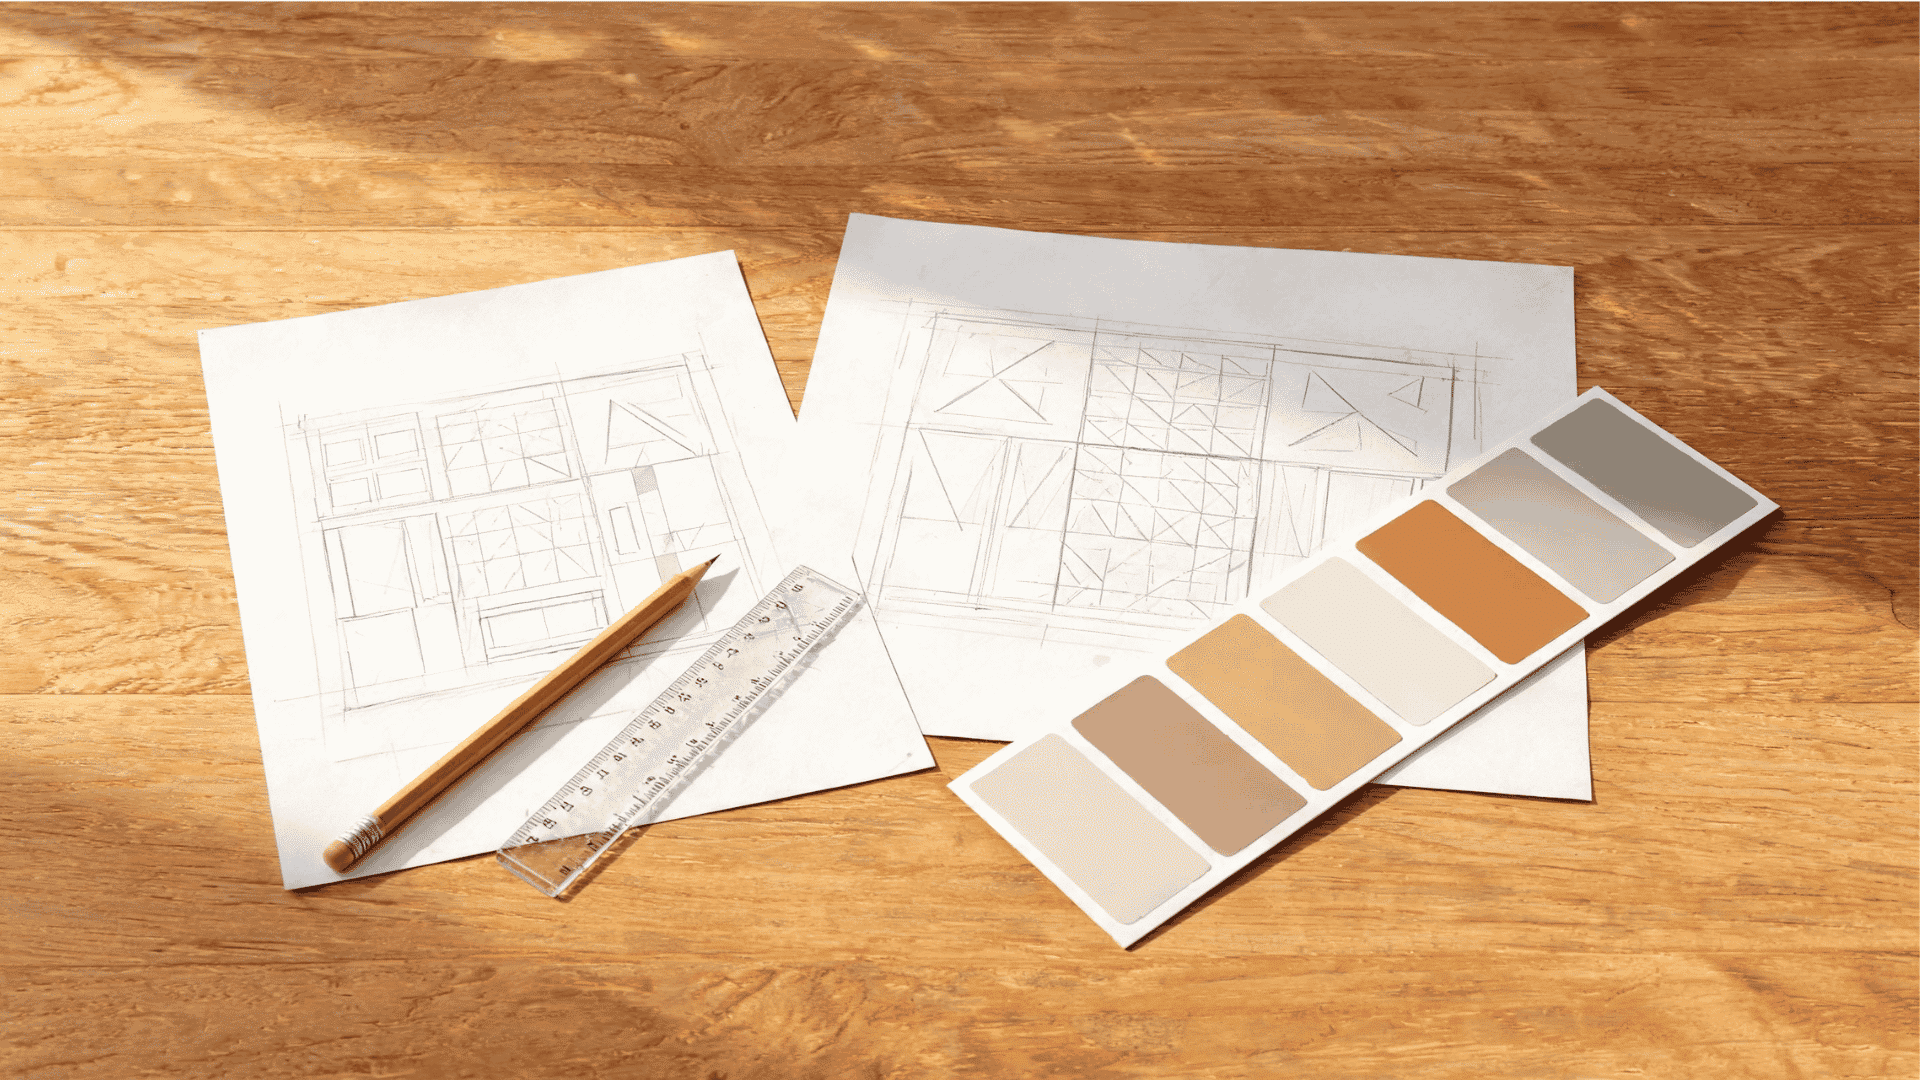
Step 4: Measure and Sketch the Layout
This step is where most beginners skip ahead too fast, and it shows in the final result. I always sketch the design on paper first. It does not have to be perfect.
A rough grid or outline of the wall with the shapes drawn in is enough to give you a clear plan before you pick up a pencil.
Once the sketch is done, I measure the wall carefully. I note the height and width, then figure out how many shapes will fit evenly across the surface. Getting the spacing right at this stage saves a lot of fixing later.
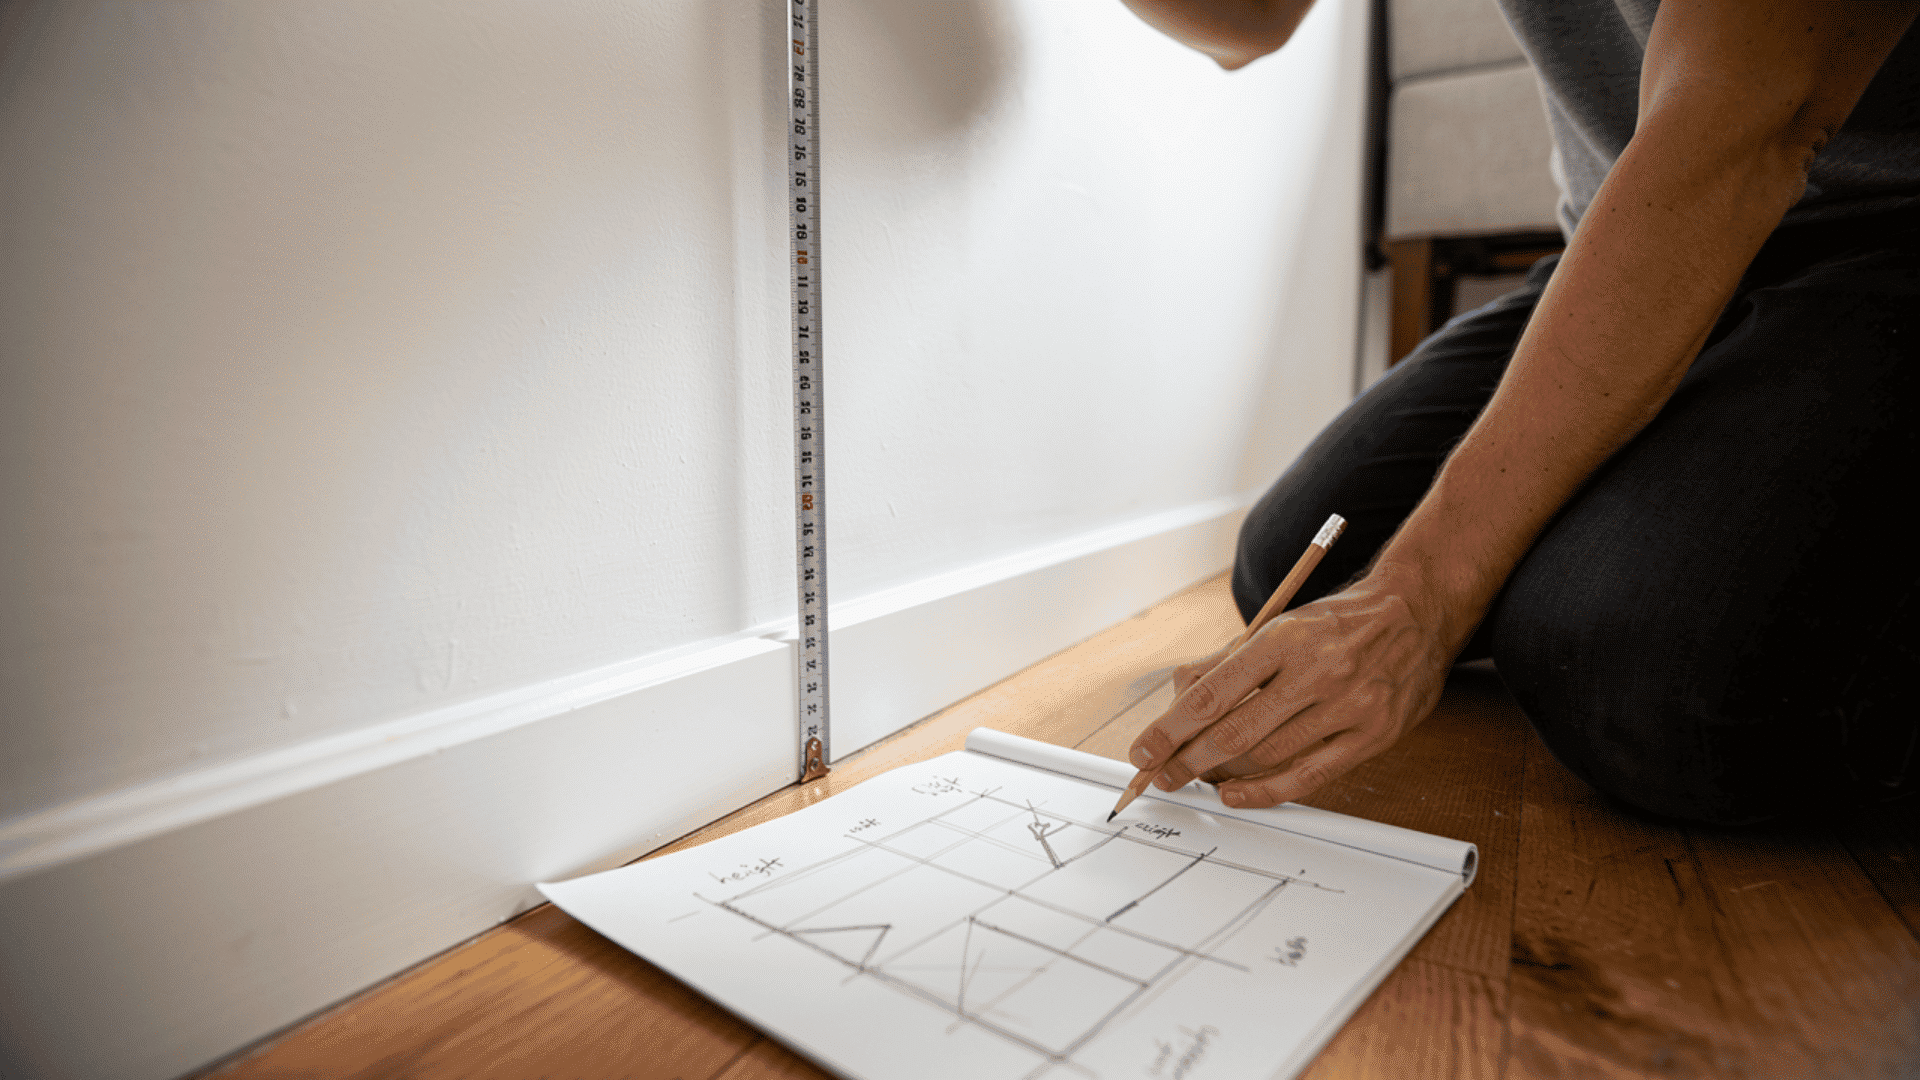
Step 5: Mark the Pattern on the Wall
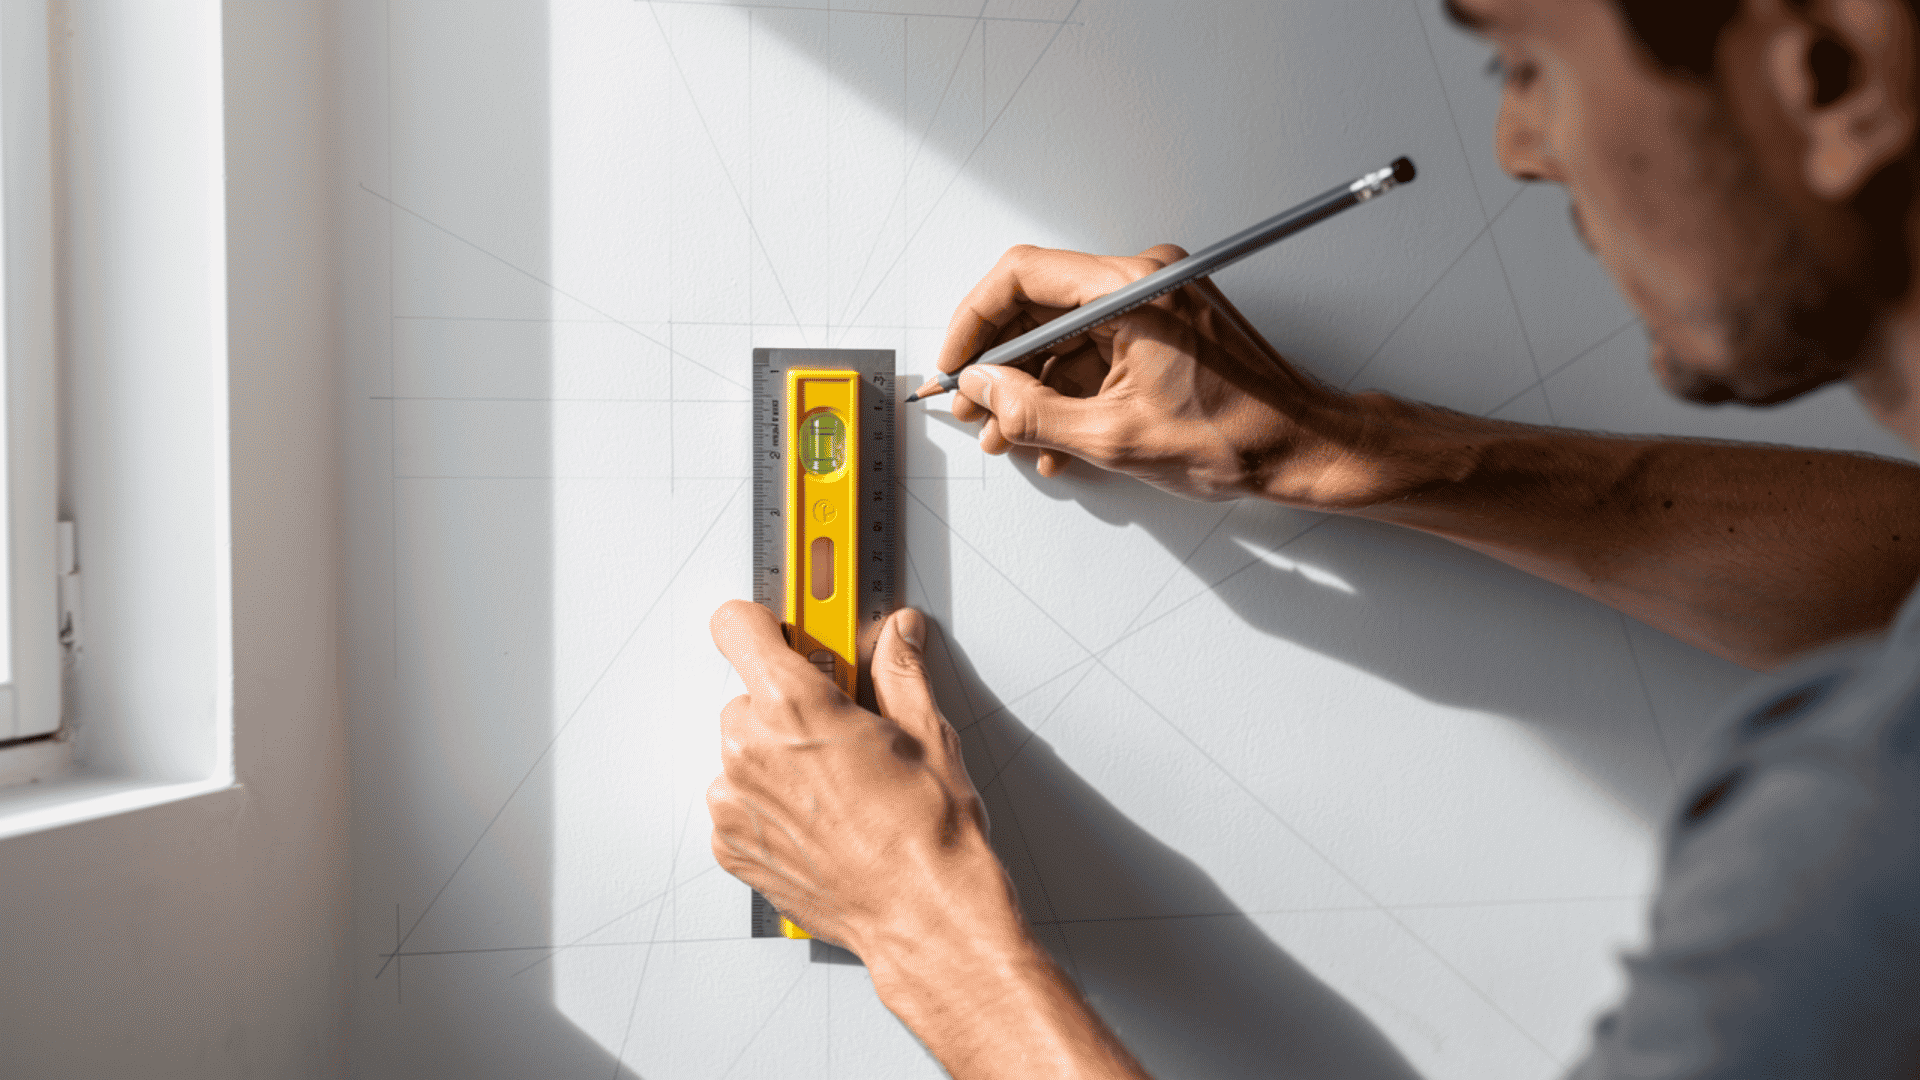
Now it is time to bring the design from paper to the wall. I use a pencil, a ruler, and a level to mark the key points of the pattern directly on the surface. Light pencil marks work best because they are easy to cover with paint later.
I always start from the center of the wall and work outward. This keeps the pattern balanced and makes sure no shape gets cut off awkwardly at the edges.
Take your time here. The more accurate your marks, the cleaner your lines will look in the end.
Step 6: Install Trim or Tape the Design
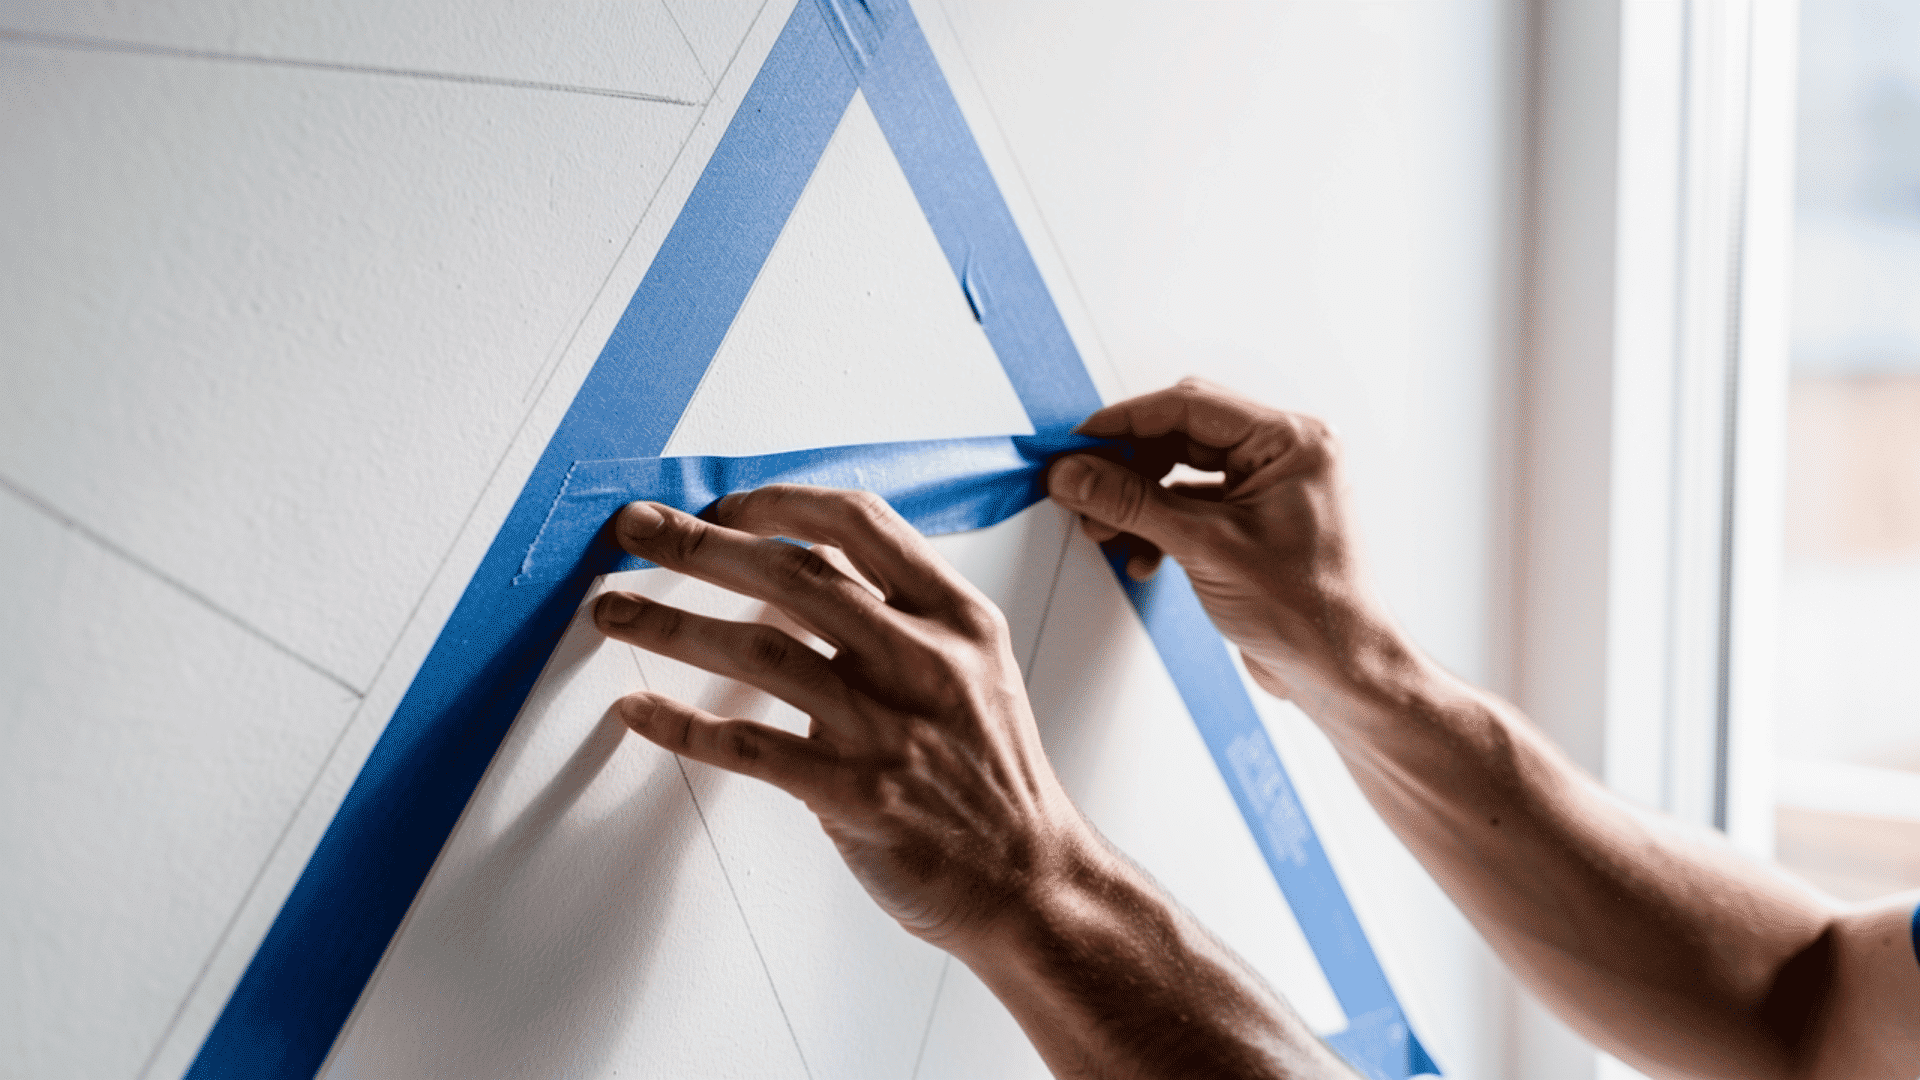
This is the step that makes or breaks the whole project. I use painter’s tape to outline every shape, pressing the edges down firmly with a flat tool or even my fingernail. If the tape is not sealed properly, paint bleeds underneath, and the lines look messy.
For more detailed or three-dimensional looks, some designers use thin wood trim pieces instead of tape. I have done this in a few projects, and the results are really impressive.
But for a beginner, painter’s tape is the way to go. It is easier to work with and very forgiving.
Step 7: Paint or Finish the Wall
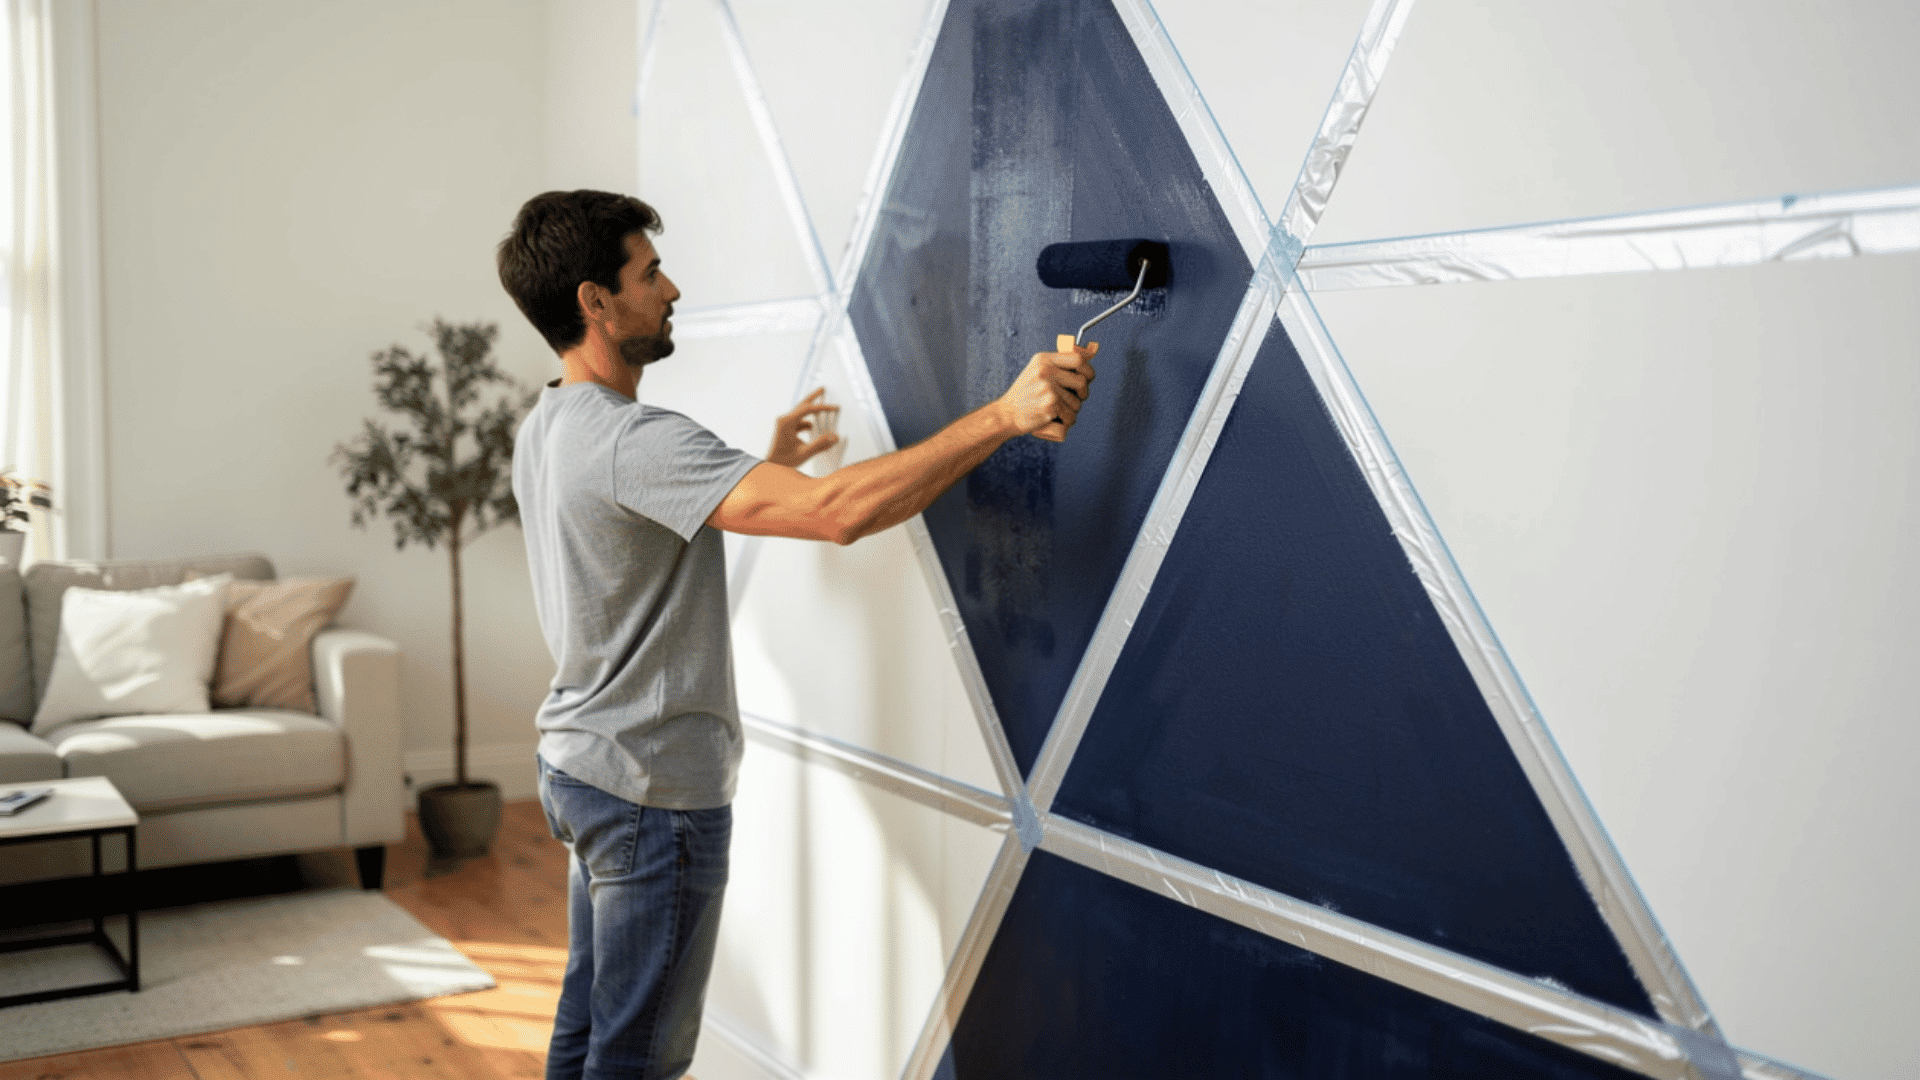
With the tape in place, it is time to paint. I always apply a base coat first and let it dry completely before adding the second color. Rushing this step is the most common mistake I see, and it leads to smudging and uneven edges.
Use a small roller for larger sections and a thin brush for tight corners. Apply the paint in thin, even layers rather than one thick coat.
Two light coats always look better than one heavy one. Once the paint is dry to the touch, carefully peel the tape back at a 45-degree angle. Pull it slowly and steadily for the cleanest lines.
Complete the final touches, and you are good to go. After the touch-ups are done, the whole room feels completely different.
This is a video from CCS and Sons Workshop showing a geometric accent wall built from start to finish in a dining room.
Watching it first will give you a clear idea of what the process looks like, making the steps even easier to follow.
Popular Geometric Accent Wall Designs to Try
Over the years, I have worked with dozens of geometric wall designs across all kinds of rooms and budgets. Some are simple enough to finish in a few hours. Others take a little more planning but are absolutely worth the effort.
Here are the designs I recommend most, especially if you are just getting started.
1. Simple Line Pattern
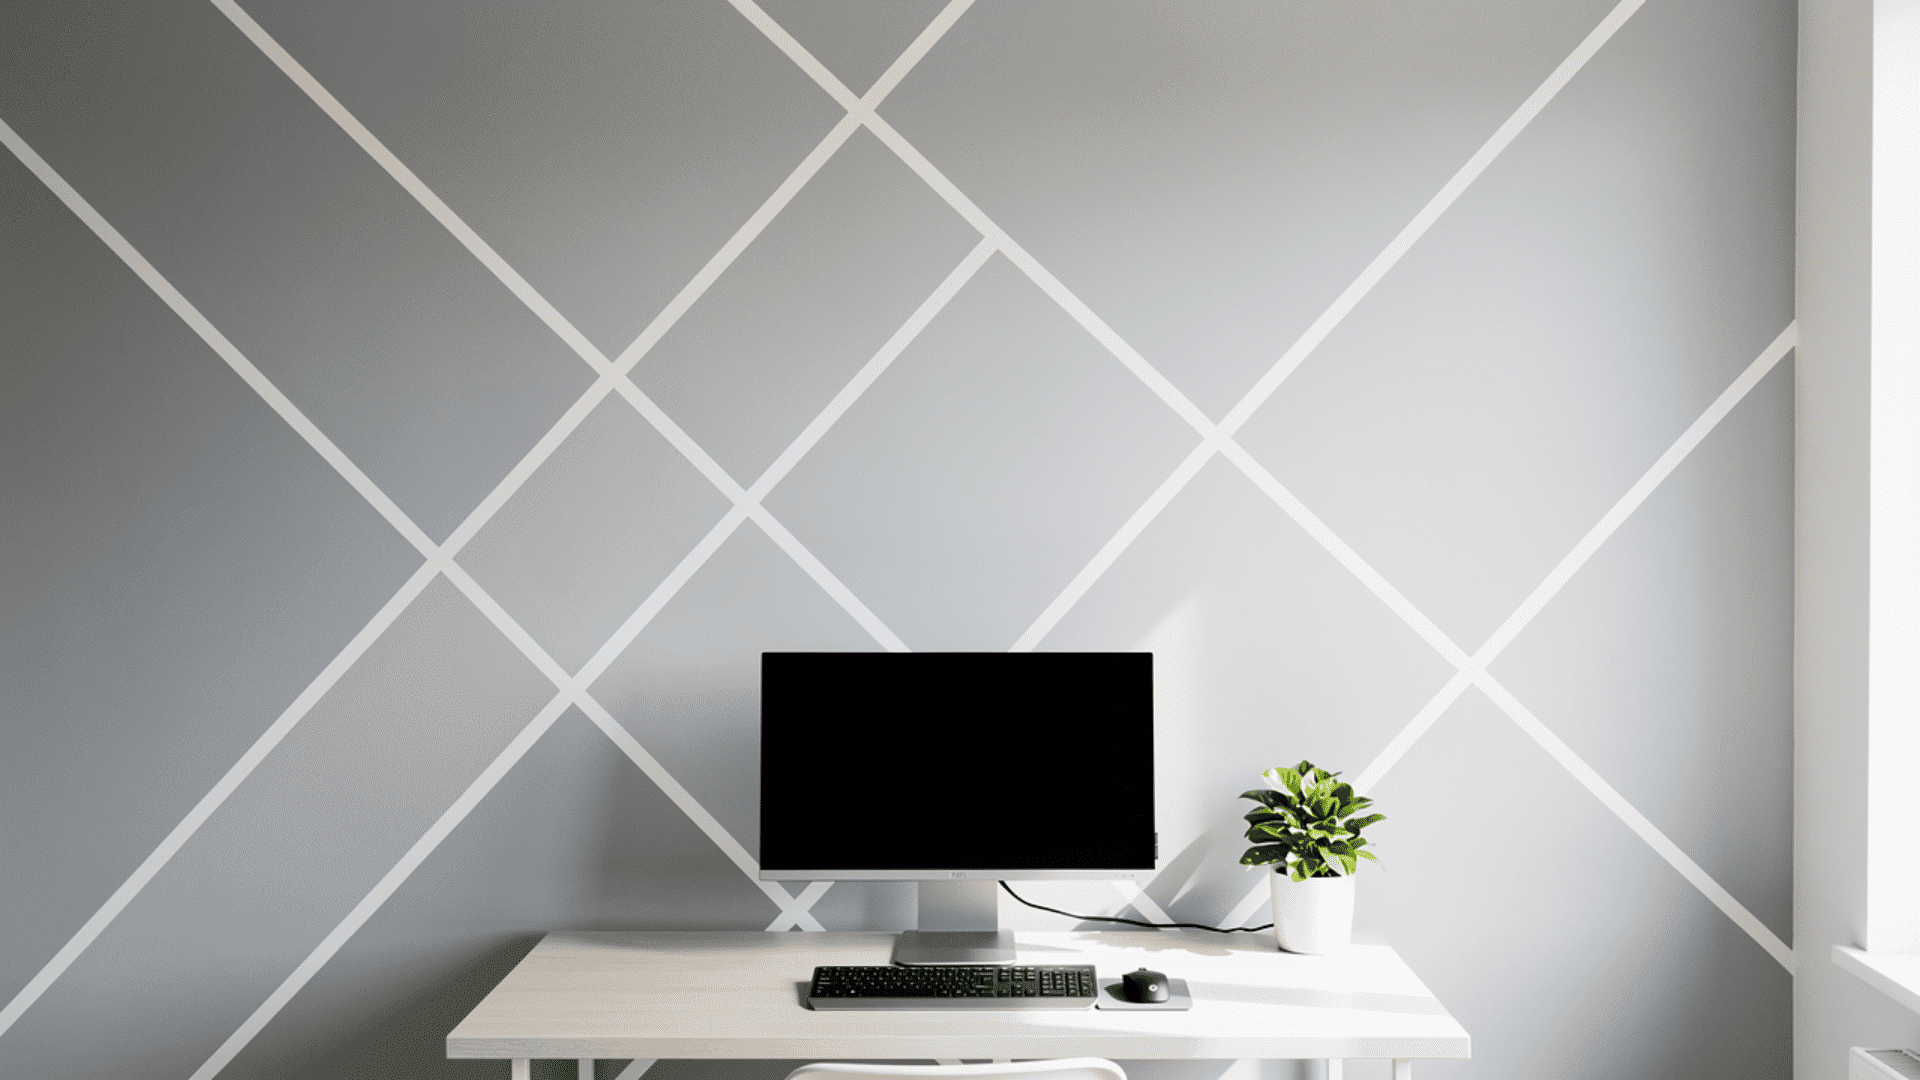
If you are trying a geometric wall for the first time, this is where I always suggest starting. A simple line pattern uses straight horizontal, vertical, or diagonal lines to create a clean, structured look on the wall.
It requires minimal measuring and very little paint.
I have used this design in home offices and hallways where the goal is to add some visual interest without making the space feel too busy. All you need is painter’s tape, one or two paint colors, and a steady hand.
The result is sharp and modern, and it looks far more thought-out than the effort it takes.
2. Triangle Accent Wall
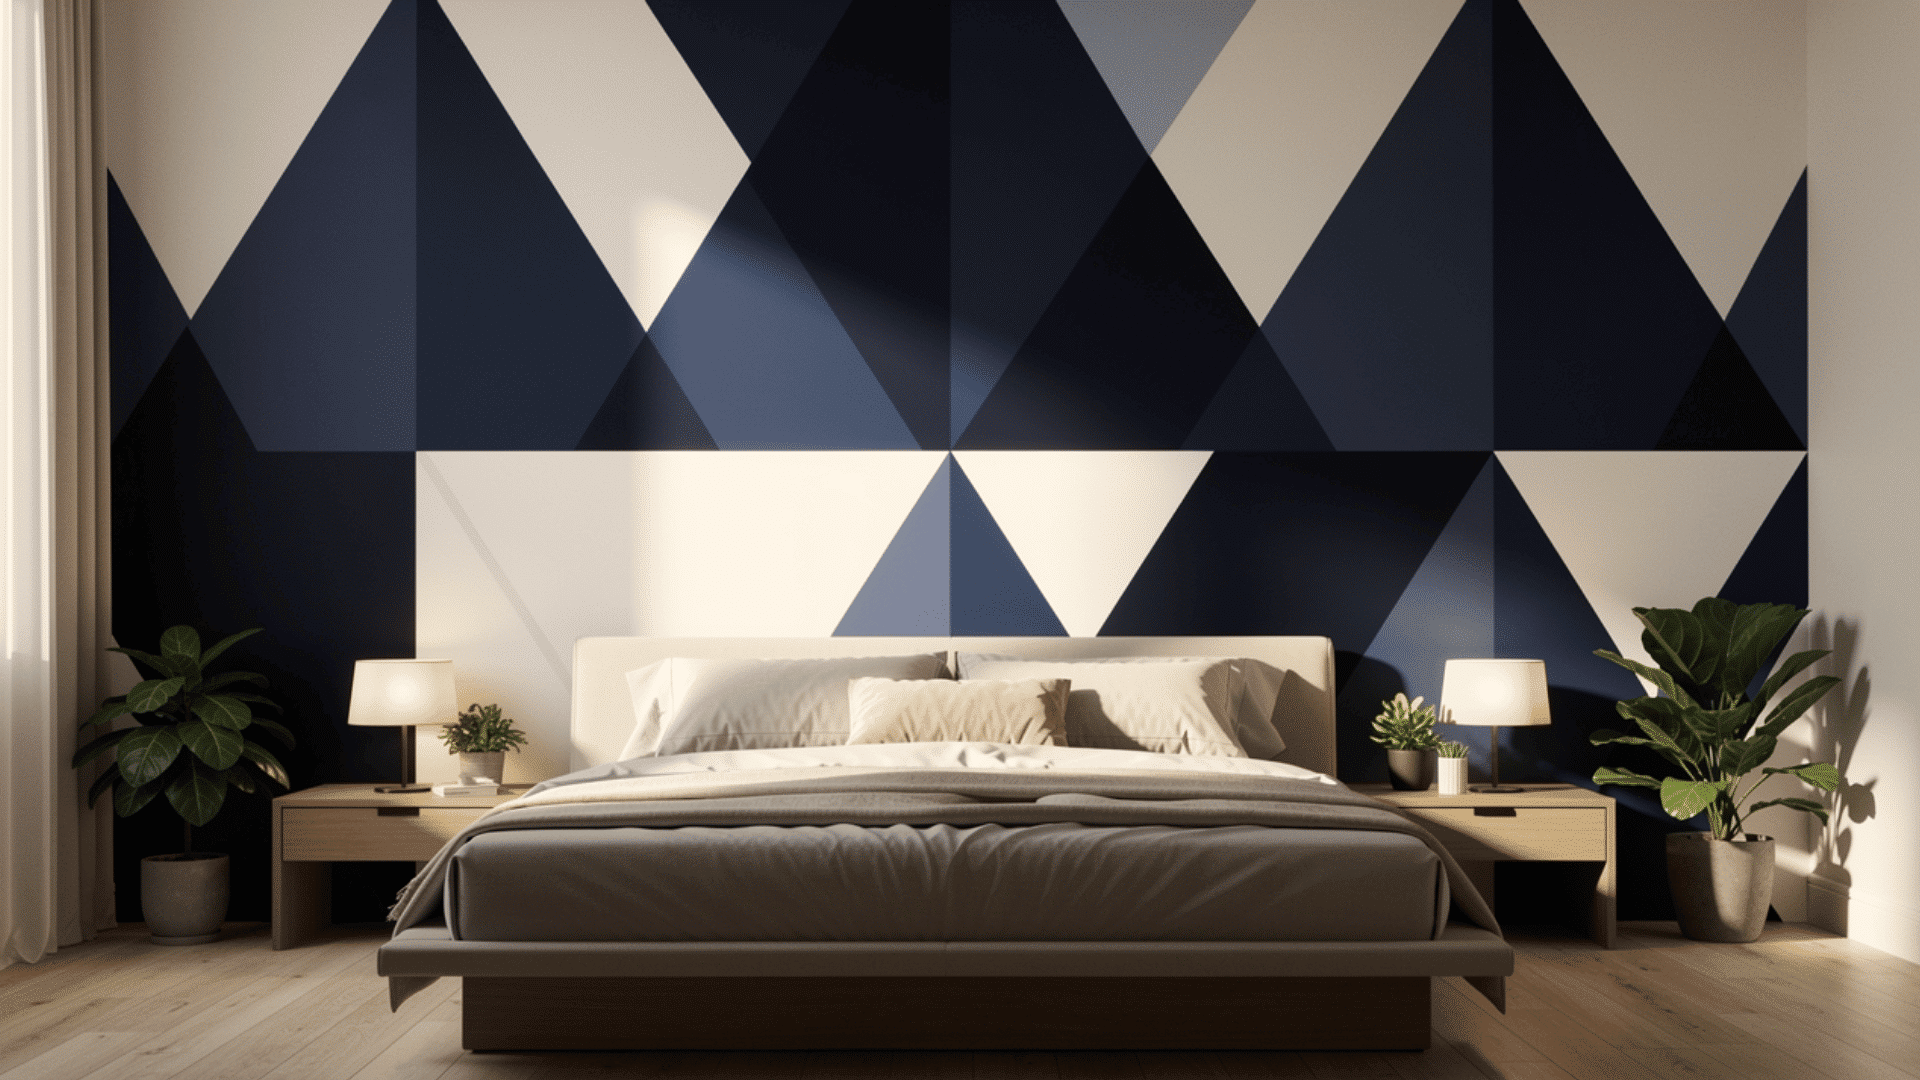
The triangle pattern is one of my personal favorites and one of the most requested designs I get from clients. Triangles create a bold, angular look that makes a room feel more energetic and modern.
They work especially well behind a bed or sofa where the wall is the main focal point.
To get this right, I measure the wall carefully and map out the triangles in equal sizes before taping. Two or three colors work best.
I usually go with one neutral base and one or two accent shades to keep it balanced. The contrast between the shapes is what makes this design stand out.
3. Diamond Pattern Wall
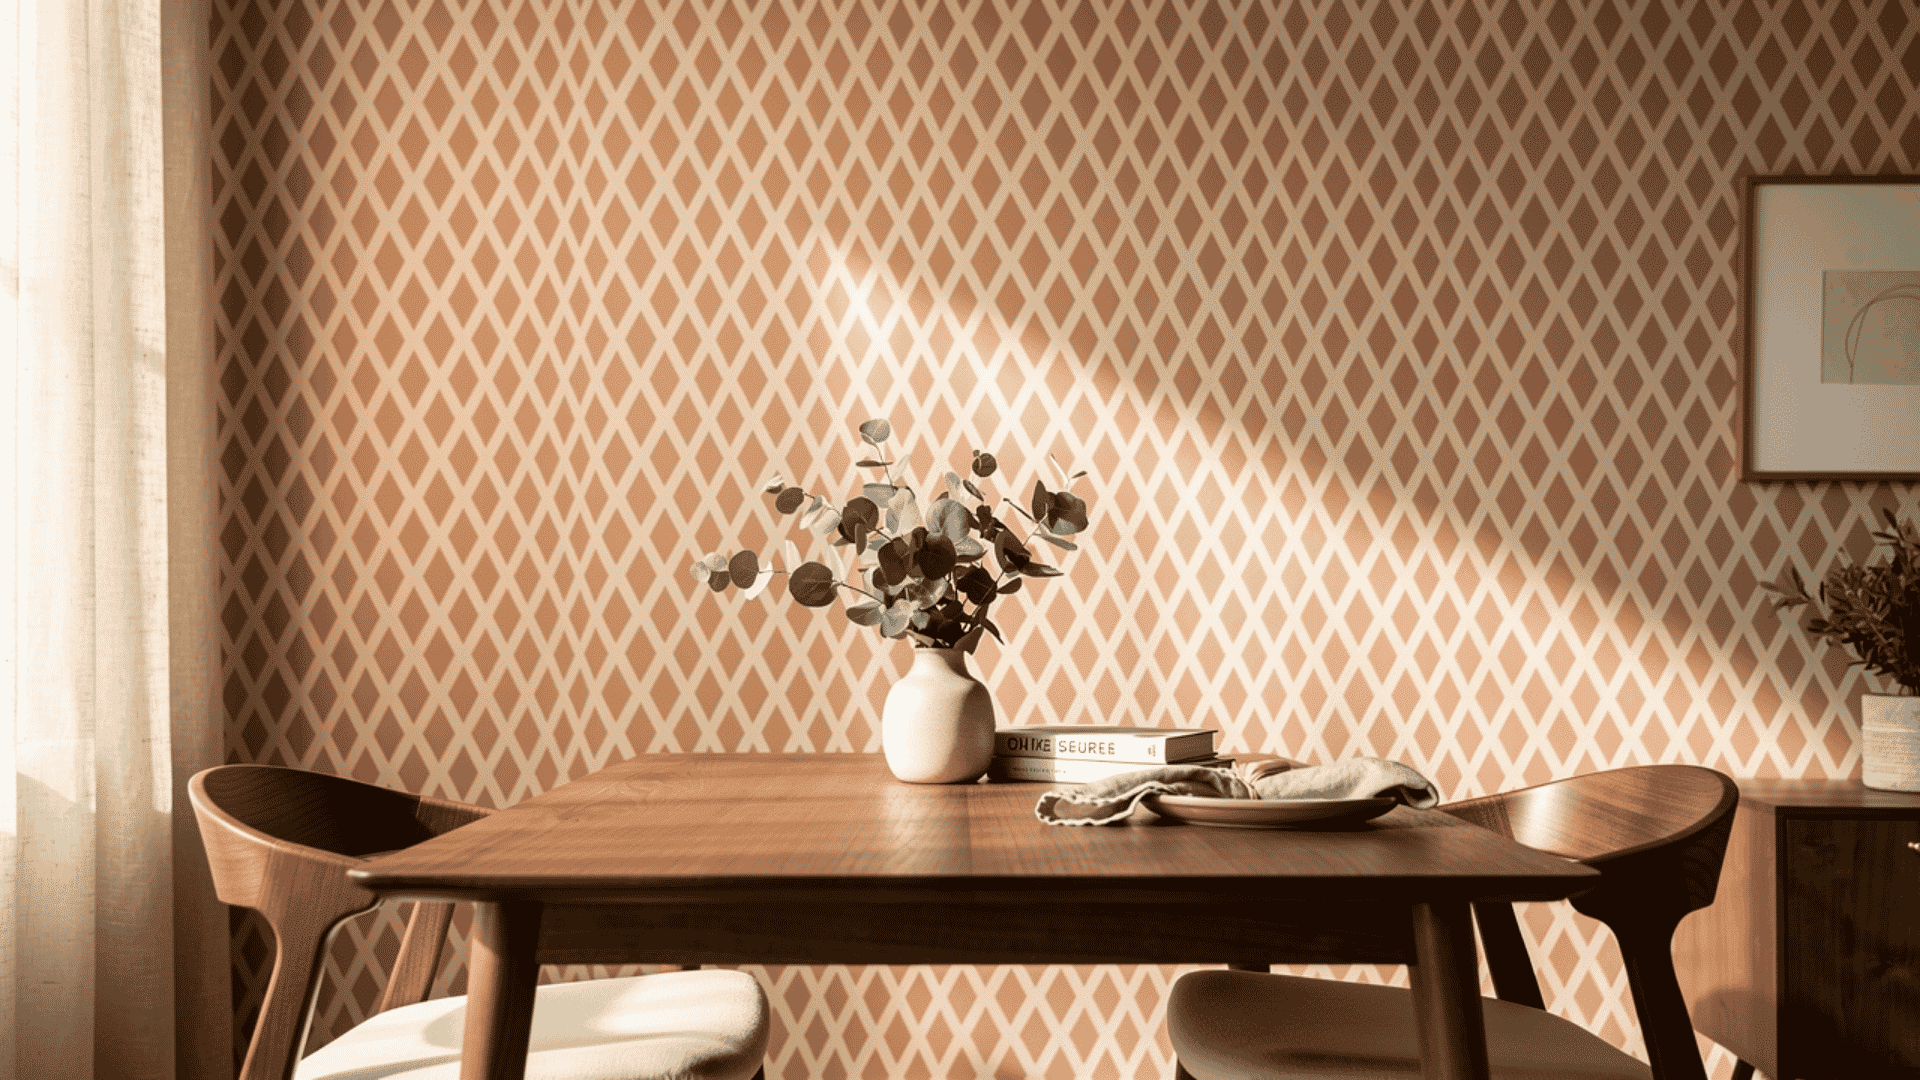
The diamond pattern gives a room a more polished and put-together look. It is very similar to the triangle design in terms of technique, but the shapes are rotated to create a diamond grid across the wall.
I find this pattern works really well in living rooms and dining areas. What I love about diamonds is that they can be scaled up or down depending on the size of the wall.
Larger diamonds make a bold statement. Smaller ones feel more refined and detailed. Either way, clean tape lines and two well-chosen colors are all you need to make it work.
4. Abstract Geometric Design

This one is for those who want something a little more original. An abstract geometric wall does not follow a fixed, repeating pattern.
Instead, it uses a mix of shapes, sizes, and angles to create something that feels more like wall art than a paint job.
I always sketch this one out carefully on paper before touching the wall. The planning stage is more important here because there is no set grid to follow. That said, this is also the design that gets the most reactions.
Every time I have done an abstract geometric wall for a client, it becomes the first thing people notice when they walk into the room.
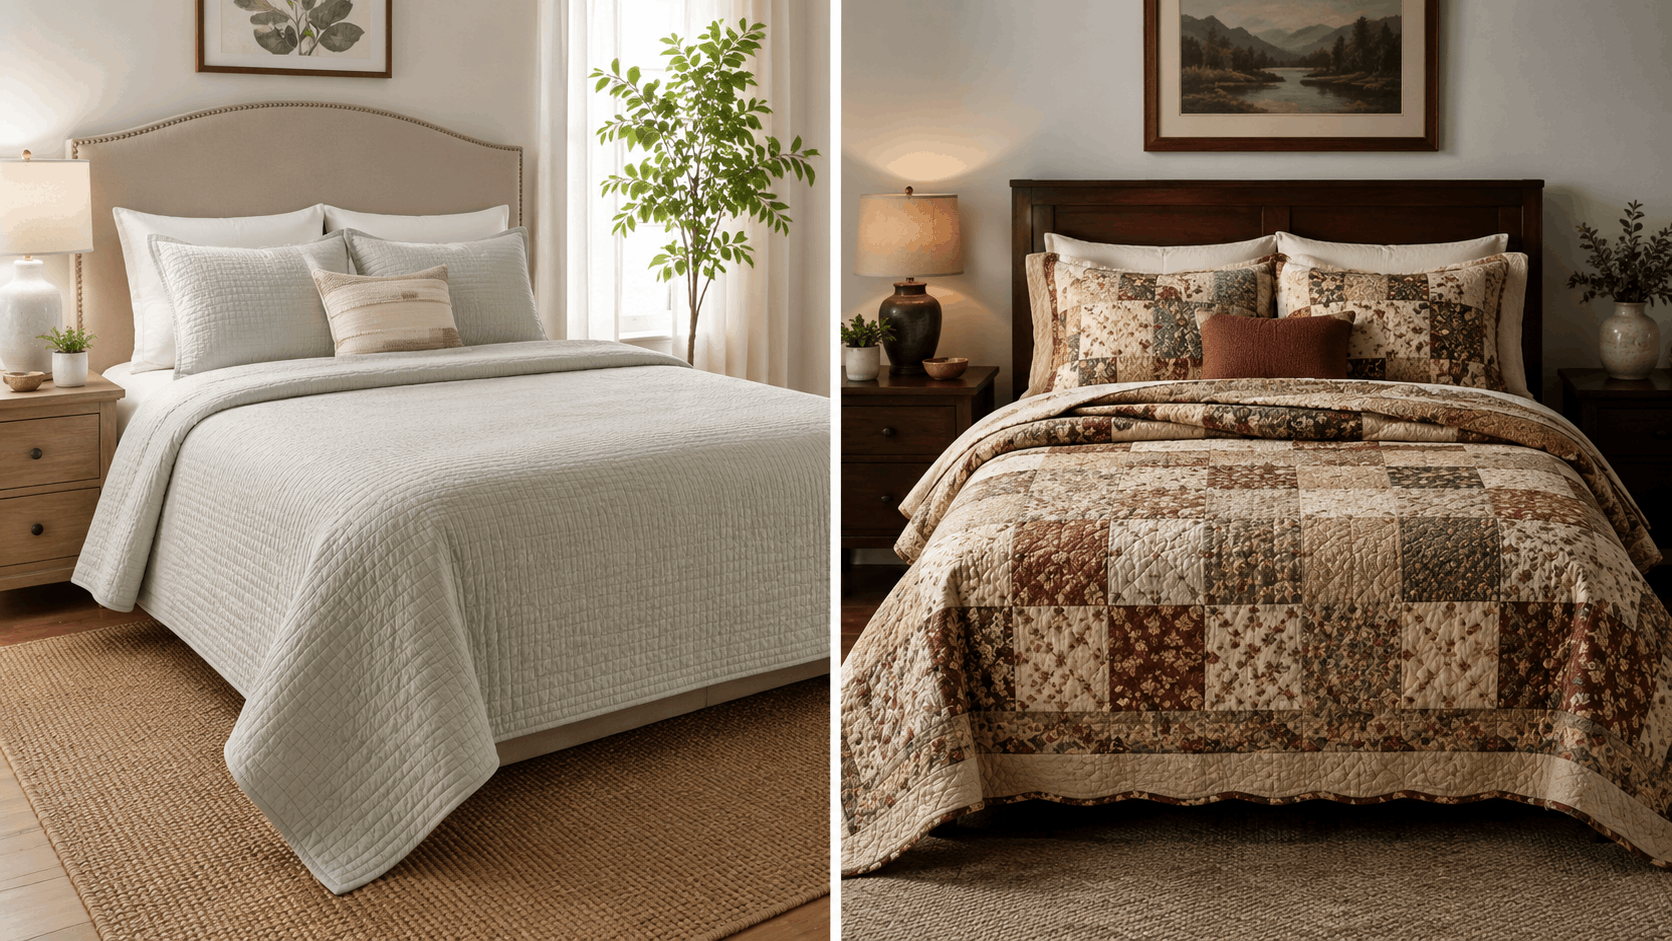
5. Geometric Wood Slat Wall
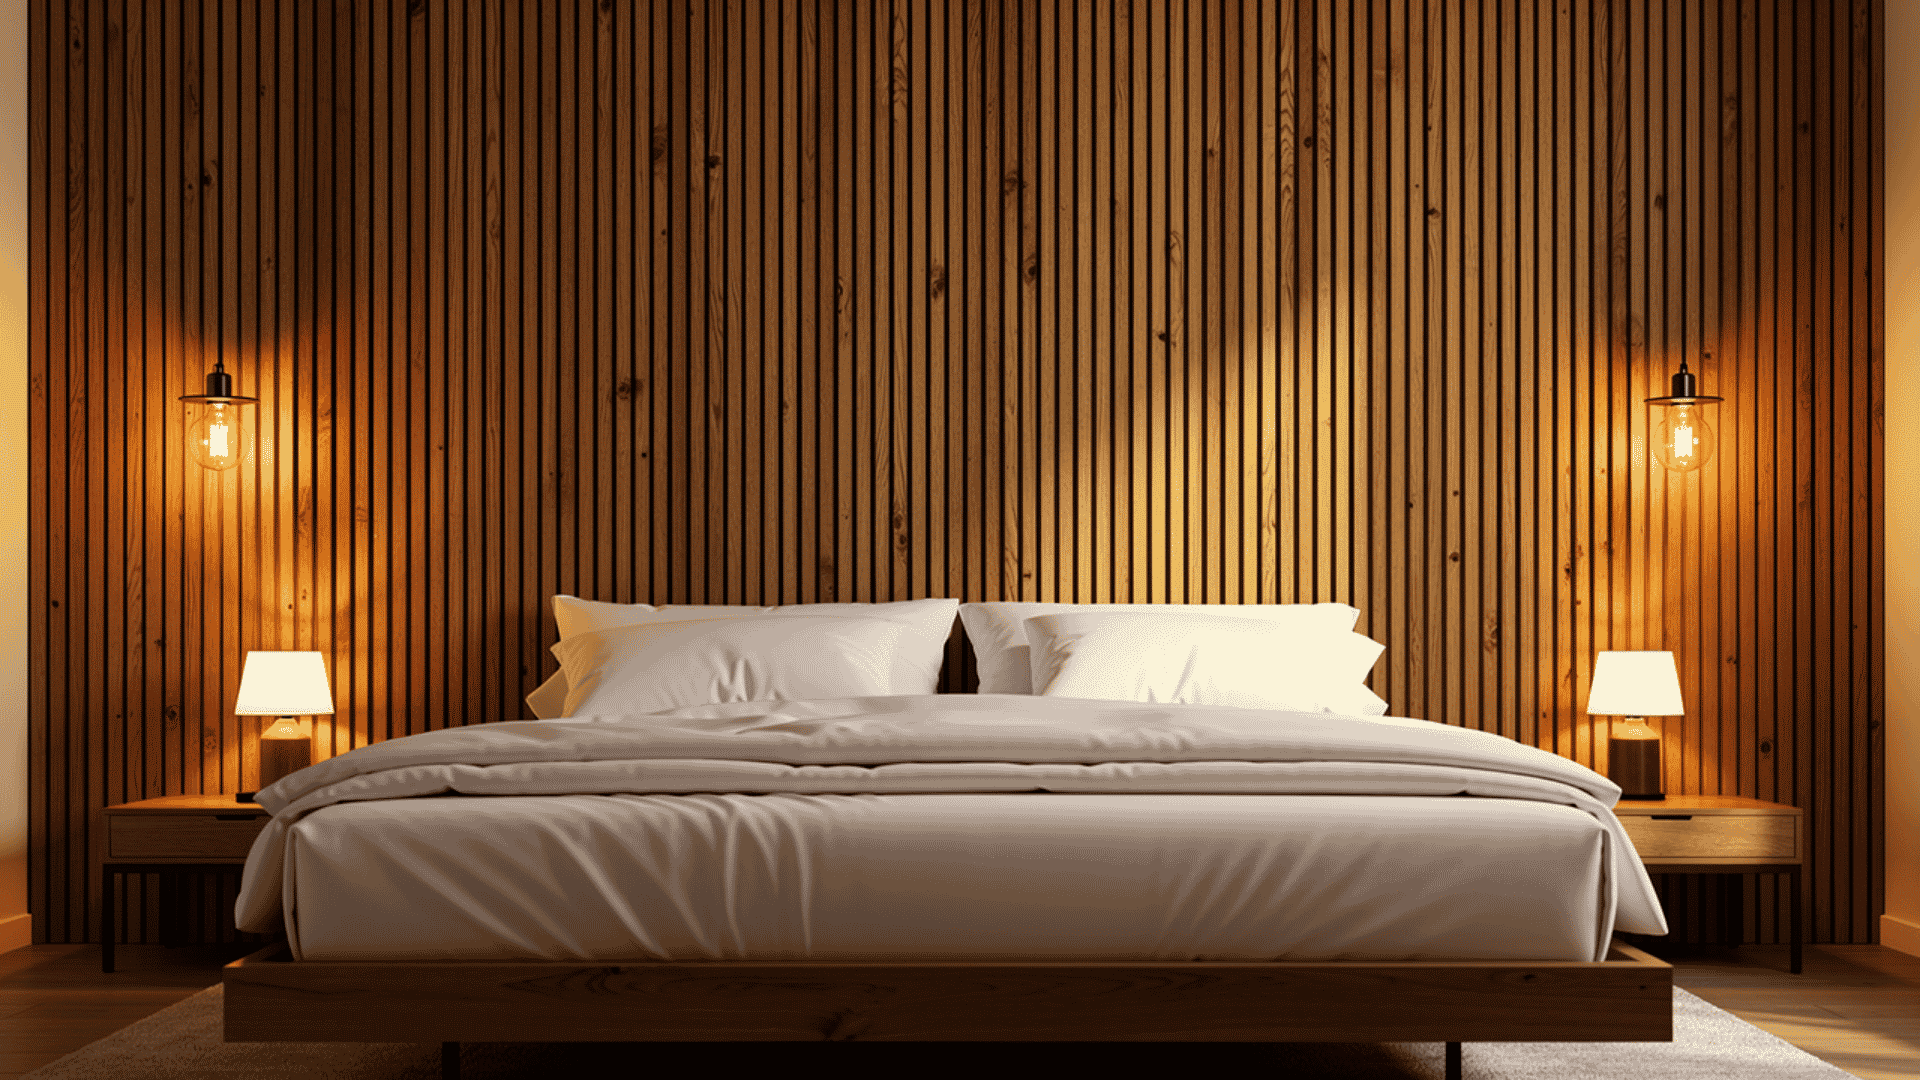
This design brings in a different material altogether. Instead of paint and tape, you use thin strips of wood mounted directly onto the wall in a geometric arrangement.
The result is a textured, three-dimensional look that paint alone cannot achieve.
I recommend this design for living rooms and bedrooms where you want warmth and depth. Natural wood tones pair really well with neutral wall colors like white, beige, or soft gray.
The installation takes a bit more time and tools, but the finished wall looks like something straight out of a professional interior shoot.
6. Two-Tone Painted Geometric Wall

This is one of the most versatile designs I work with. The concept is simple. You paint the wall in two colors, divided by a geometric line or shape.
It could be a diagonal split, a large triangle taking up one corner, or a bold zigzag running across the middle of the wall.
Two-tone walls work in almost any room and suit a wide range of styles, from modern to rustic.
I usually pick one lighter and one deeper shade from the same color family to keep it cohesive. The contrast does all the work, and the result always looks intentional and well-planned.
Painted vs Wood Geometric Accent Walls
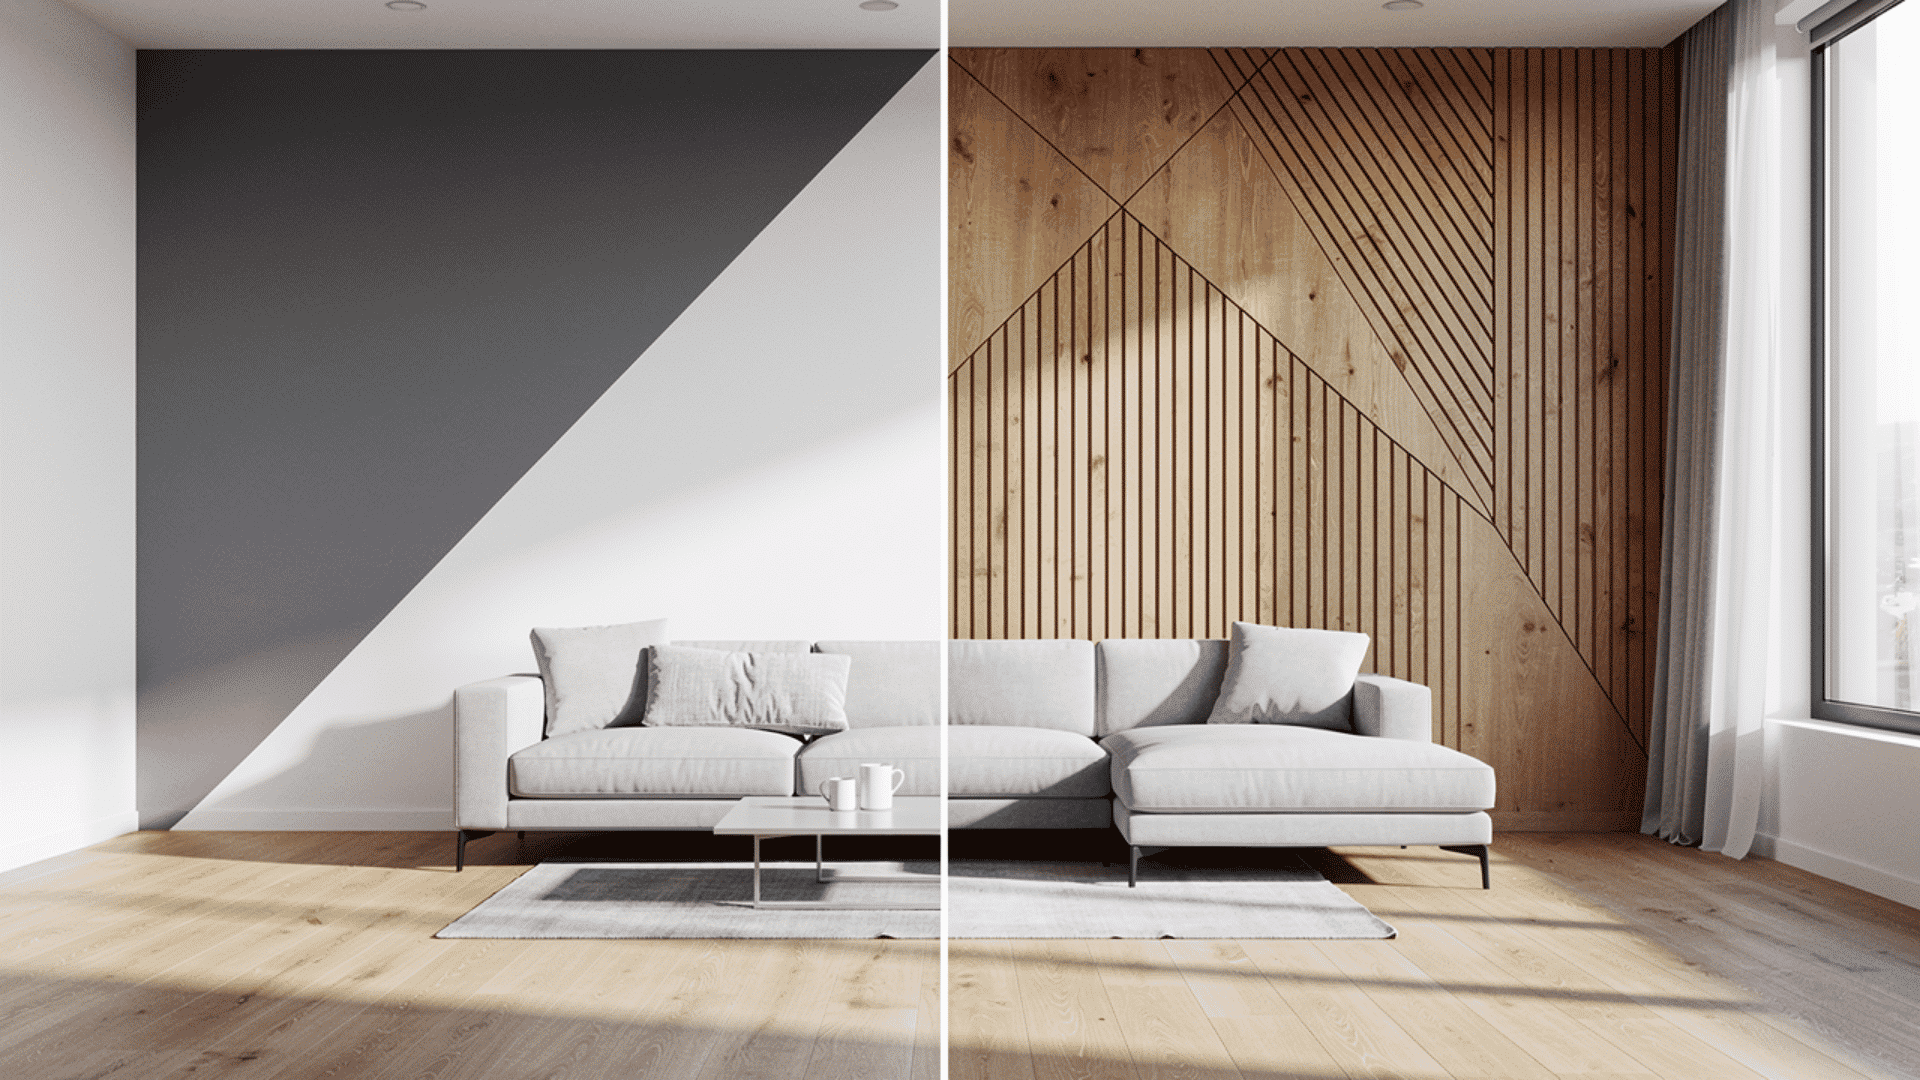
One of the most common questions I get from clients is if they should go with paint or wood for their geometric accent wall. Both options look great.
Both can fit a range of budgets. But they are very different in terms of effort, cost, and the final result. Here is how I break it down when helping someone make a decision.
Painted vs Wood Geometric Accent Wall: Quick Comparison
| Feature | Painted Geometric Wall | Wood Geometric Accent Wall |
|---|---|---|
| Cost |
Low cost. Just paint and painter’s tape are needed. No special equipment required. |
Higher cost. Requires wood slats, nails, and additional tools. |
| Ease of Change |
Very easy to change. Simply paint over it whenever you want a new look. |
Harder to change. Wood needs to be removed and the wall patched before redoing. |
| Works On | Works on any wall surface, including bedrooms, hallways, and bathrooms. | Works best on main feature walls, such as living rooms and bedrooms. |
| Time to Complete | Can be finished in a single weekend. Quick and beginner-friendly. | Takes longer depending on design complexity and tool comfort. |
| Color Options | Full control over color. Go bold, subtle, or anywhere in between. | Limited to natural wood tones unless painted over the slats. |
| Texture | Flat finish. No physical dimension was added to the wall. | Adds real depth and texture that paint alone cannot replicate. |
| Durability | Paint can chip or scuff over time and may need touch-ups. | Lasts for years with minimal maintenance. |
| Visual Impact | Sharp and clean look that draws attention with the right colors. | Becomes the centerpiece of the room with a natural, strong presence. |
| Best For | Beginners, renters, and anyone on a tighter budget. | Those wanting a permanent, high-impact, and textured result. |
Painted vs Wood Geometric Accent Wall: Which is Easier for Beginners?
Painted geometric walls win here, and it is not even close. I always steer first-timers toward paint because the materials are cheaper, the process is more forgiving, and mistakes are much easier to fix.
With a painted wall, if a line comes out slightly uneven or a shape does not look right, you can tape over it and repaint without any major setback. With wood, every cut and every nail placement needs to be more precise. A small measuring error can throw off the entire pattern.
That said, if you have some basic DIY experience and you are comfortable using a saw and a drill, a wood slat wall is absolutely something a beginner can take on.
I recommend starting with paint to get comfortable with the geometric process, then moving on to wood for your next project.
Both options are worth trying. It really comes down to the look you want and how much time you are ready to put in.
Common Mistakes to Avoid
I have seen a lot of geometric walls over the years, both good ones and not-so-good ones. And most of the time, the ones that did not turn out well came down to the same handful of mistakes.
I made some of these myself when I was starting out. Here is what to watch out for so you do not have to learn the hard way.
1. Skipping Measurements
This is the most common mistake I see, and it causes the most problems. When someone skips measuring and just eyeballs the spacing, the shapes end up uneven, the pattern looks off-center, and the whole wall feels unbalanced.
I always measure the wall from top to bottom and side to side before I do anything else. I mark reference points with a pencil and use a level to make sure every line is straight. It adds maybe twenty minutes to the process, but it saves hours of fixing later.
2. Choosing an Overly Complex Design
I completely understand the temptation to go big on the first try. But a design that looks simple in a photo can be surprisingly tricky to execute on an actual wall. Too many shapes, too many colors, or difficult angles leave very little room for error.
My advice is always to start with something clean and straightforward. A simple triangle grid or a two-tone diamond pattern gives you a great result without the added stress.
3. Ignoring Wall Imperfections
A geometric pattern draws a lot of attention to the wall, highlighting any cracks, bumps, or uneven patches that were easy to ignore before.
Before I start any project, I inspect the surface closely, fill in any cracks with spackle, sand down rough spots, and wipe the wall clean. A smooth, clean surface is the foundation of a sharp finished result.
4. Rushing the Painting Process
I know it is exciting to get to the painting stage after all the measuring and taping. But rushing through it is where many projects go wrong at the very last step.
Always let each coat of paint dry completely before adding the next one. I also make sure to remove the tape slowly while the paint is still slightly tacky. That window gives the cleanest peel every time.
5. Failing to Test the Layout First
What looks great on paper does not always translate perfectly to a full-size wall. What I do instead is cut out a few paper shapes in the size I plan to use and hold them up against the wall before committing to anything.
This gives me a real sense of how the pattern will look at full scale. It takes ten minutes and has saved me from a lot of unnecessary rework.
Wrapping It All Up
A geometric accent wall is one of those projects that looks far harder than it actually is. Now that you have seen the full process, from choosing the right wall and picking a design to taping, painting, and adding the final touches, you know it is something you can absolutely do on your own.
The key things to remember are simple. Plan before you tape. Measure twice. Use good-quality materials. Take your time with the painting. And do not skip the prep work on the wall surface.
These small steps are what make the difference between a wall that looks homemade and one that looks professionally done.
You have everything you need to get started. Pick your wall, choose your design, and go for it.
If you found this guide helpful, share it with a friend who has been thinking about refreshing their space, too!
Frequently Asked Questions
What Is the Easiest Geometric Accent Wall for Beginners?
A simple triangle or straight line pattern works best. It requires minimal measuring, uses just two colors, and is very forgiving for first-timers.
Can You Create a Geometric Wall Without Wood Trim?
Yes. Painter’s tape and paint are all you need. Most geometric walls I have worked on use no wood trim at all and still look sharp.
How Long Does a DIY Geometric Accent Wall Take?
A painted geometric wall can be finished over one weekend. Measuring and taping take a few hours, and painting, including drying time, takes the rest.
What Paint Colors Work Best for Geometric Walls?
One neutral base color paired with one bolder accent shade works best. The strong contrast between the two is what makes the shapes stand out clearly.
Are Geometric Accent Walls Still in Style?
Yes. Geometric walls have been a consistent part of interior design for years and continue to work well across modern, rustic, and minimalist spaces.