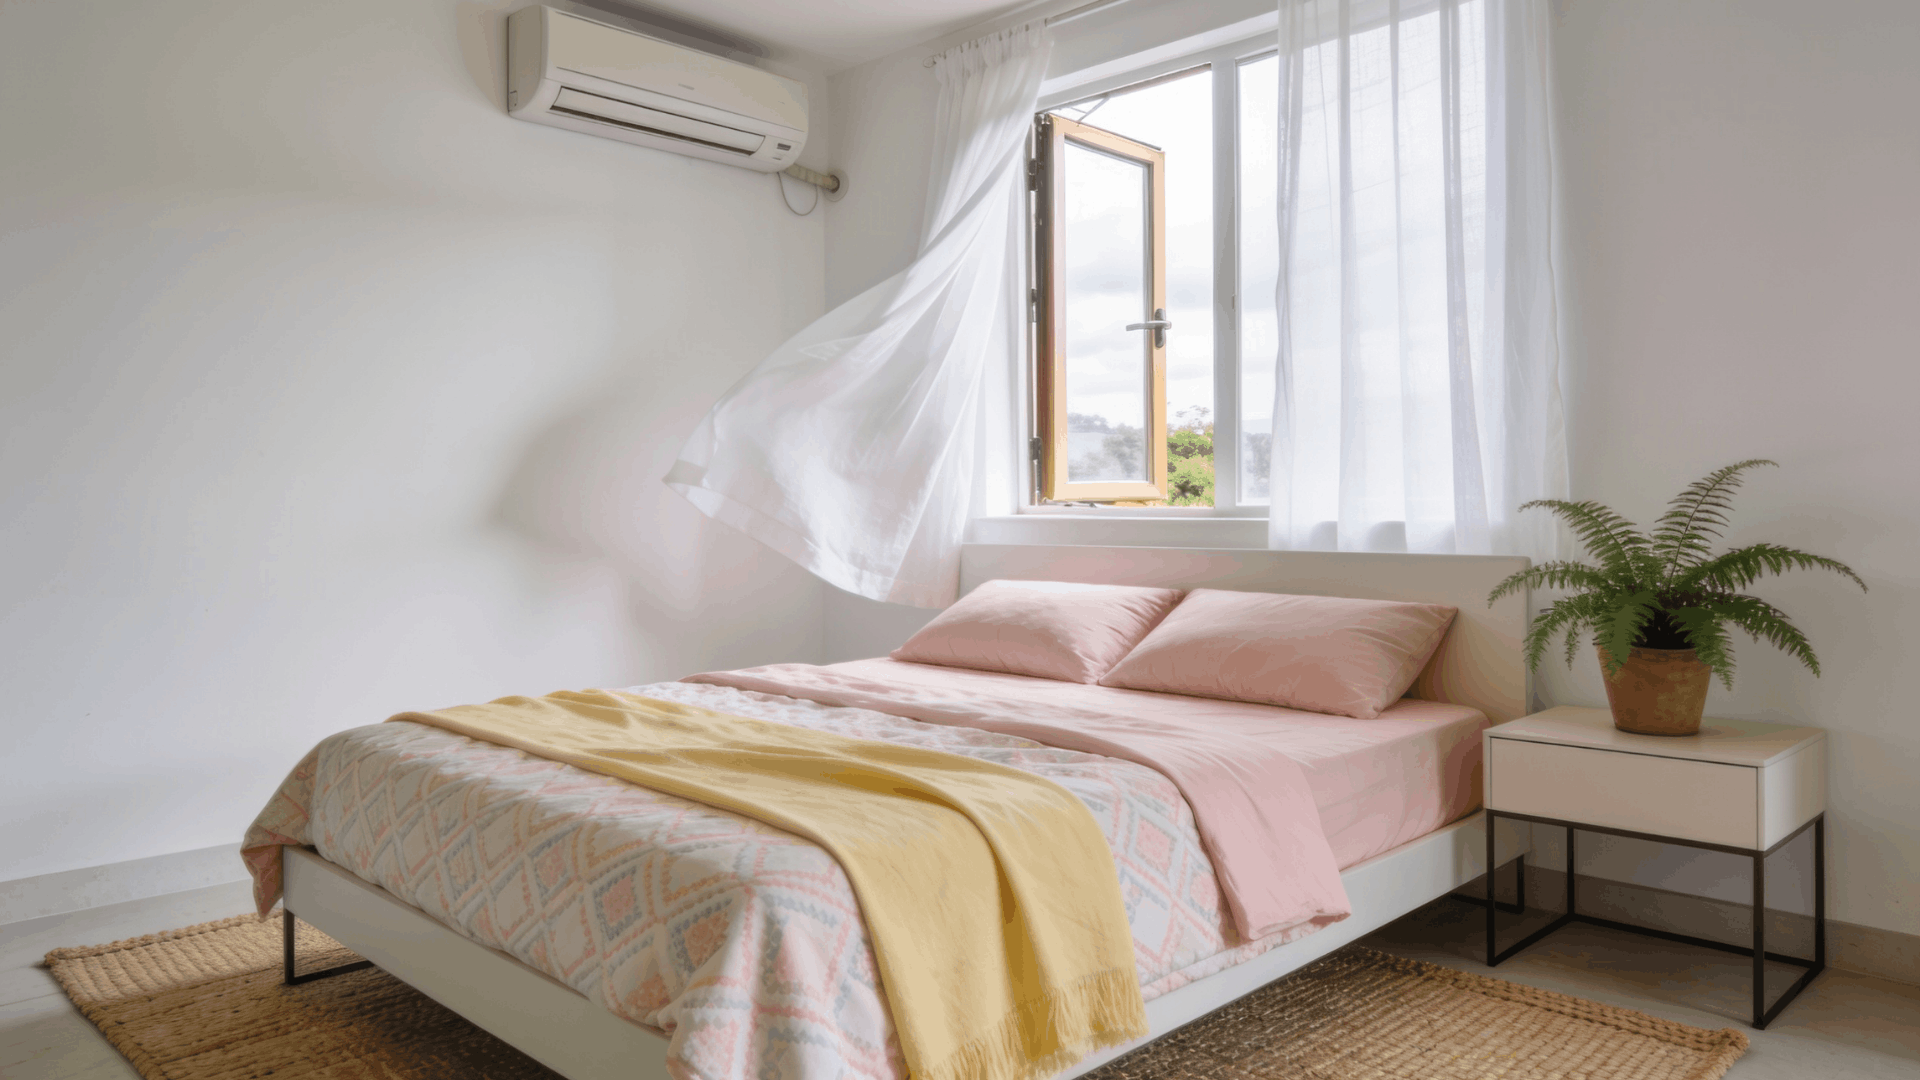
A plain wall is a missed opportunity. With the right design, one wall can completely change how a room looks and feels without touching the rest of the space.
I’ve been working on home improvement projects for over seven years, and accent walls are one of my favorite upgrades to recommend. They’re affordable, beginner-friendly, and the results speak for themselves.
In this guide, I’ll walk you through everything from picking the right wall and choosing a style that suits your space to a clear step-by-step build process, paint color tips, and the most common mistakes to avoid.
By the end, you’ll have a solid plan and the confidence to get started. Let’s build something worth looking at.
What is an Accent Wall and Why Make One?
An accent wall is one wall in a room that looks different from the rest. It could have a bold paint color, a wood-panel design, a geometric pattern, or a textured finish.
The idea is simple. One wall stands out and draws attention, while the other three stay neutral.
Designers often use accent walls to balance proportions, highlight architectural features, or break visual monotony in open rooms.
Even in small apartments, a well-planned accent wall can create depth and make the room feel more structured.
This is why it remains one of the most practical DIY upgrades for homeowners who want a noticeable change without major renovation work.
Why Accent Walls Work
These benefits explain why accent walls remain one of the most popular DIY upgrades for homeowners.
- Add character to plain rooms
- Make spaces feel more intentional and styled
- Offer a budget-friendly design upgrade
- Work in almost any room type
- Require minimal tools or experience
Tip: If this is your first DIY project, start with a bold paint color. No cutting or nailing required. Just tape, paint, and a few hours of your time.
Which Wall Should You Choose?
Pick the wall that faces you when you walk into the room.
That’s the wall your eyes go to first. It already has the most attention. You’re just giving it something worth looking at.
Here’s a quick room-by-room breakdown:
| Room | Best Wall to Use | Why It Works |
|---|---|---|
| Living Room | The wall where the TV sits | This wall already gets the most attention because everyone faces it while sitting. |
| Bedroom | The wall behind the bed | The bed and the wall behind it are usually the first things people notice when they walk in. |
| Bathroom | The vanity wall | The vanity wall works best. You can also do the wall across from it for a more balanced look. |
| Kids Room or Laundry Room | All four walls | These rooms often lack a clear focal wall, so using the same design on every wall works well. |
Tip: Stand at the doorway and take a photo of the room on your phone. Whichever wall your eye goes to first in the photo is your accent wall.
How to Pick the Right Style for Your Home
Before you buy a single board or open a can of paint, figure out what design style your home already has. Putting a rustic shiplap wall in a sleek modern room won’t look right, no matter how well it’s built.
Once you know your style, choosing an accent wall type becomes much easier. Here’s a simple pairing guide to help:
- Traditional: Board-and-batten, beadboard paneling, or wainscoting are your best options. These styles use clean vertical and horizontal lines that complement the symmetry and formality of traditional interiors. They work especially well in dining rooms, hallways, and bedrooms with classic furniture.
- Modern or Minimalist: Flat MDF panels, simple geometric grids, or a single bold paint color keep things sharp and uncluttered. The goal is clean lines and deliberate negative space. Avoid anything with too much texture or ornate detail; it works against the overall look of the room rather than supporting it.
- Farmhouse or Rustic: Shiplap is the obvious choice, and for good reason. Horizontal wood planks painted white or left in a natural finish bring warmth and texture without overcomplicating the space. Works equally well in living rooms, bedrooms, and kitchens.
- Contemporary: Vertical slat walls or diamond panel designs add structure and visual rhythm without leaning too traditional or too casual. These styles sit comfortably in spaces that mix clean lines with warmer materials like leather or linen.
- Bold or Eclectic: Textured walls using joint compound or a terra cotta finish give you the most creative freedom. The surface itself becomes the design element, and it can be painted any color to match the energy of the room. Great for spaces that already have a lot of personality.
Popular DIY Accent Wall Ideas
Here are seven of the most popular accent wall styles, ranging from simple weekend-friendly upgrades to more detailed designs that take a bit more planning but are still completely doable on your own.
1. Bold Paint Wall
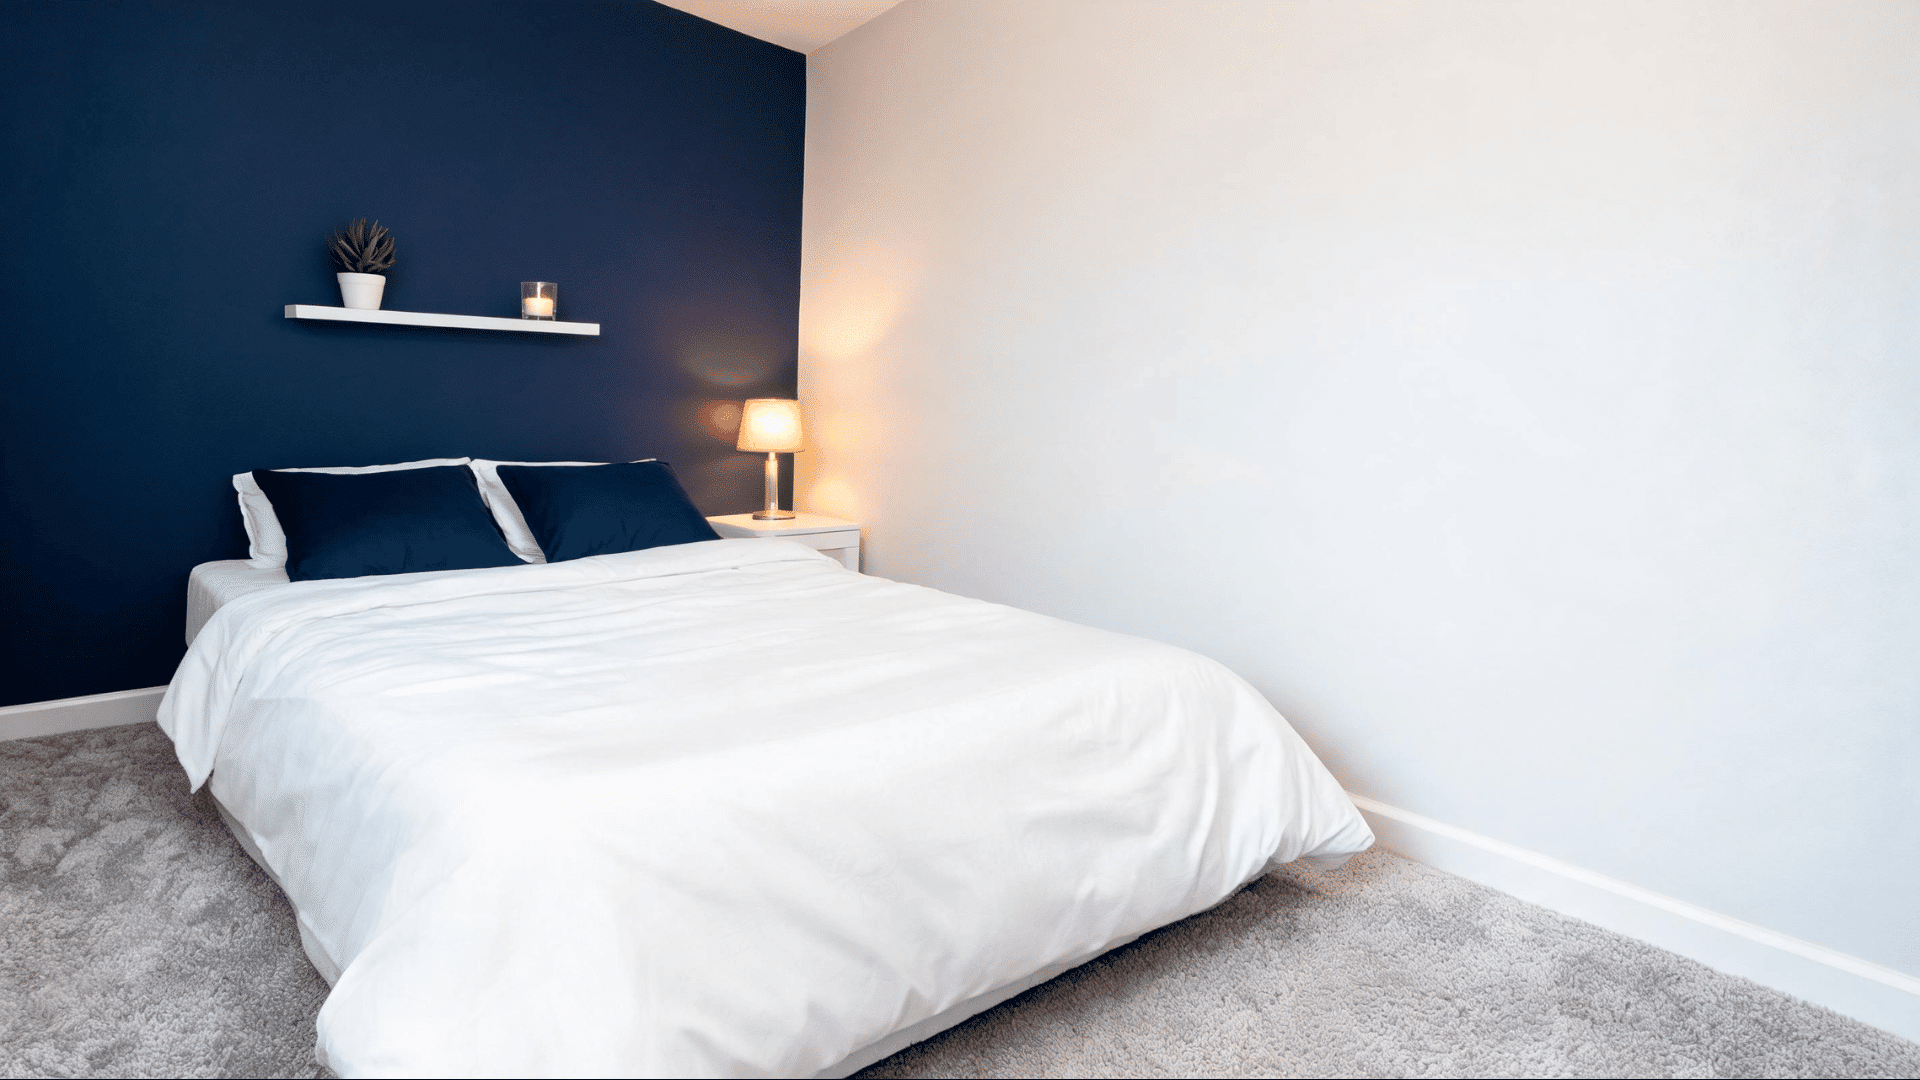
This is the most accessible option and often the most underestimated. A single wall painted in a deep, contrasting color can completely shift the mood of a room without a single nail or power tool.
Choose a color that’s at least two shades darker than your surrounding walls for enough contrast to make an impact.
This works in every room type, especially bedrooms, and is the easiest to change if you want a refresh later. If you’ve never done a DIY project before, start here.
2. Board and Batten Wall
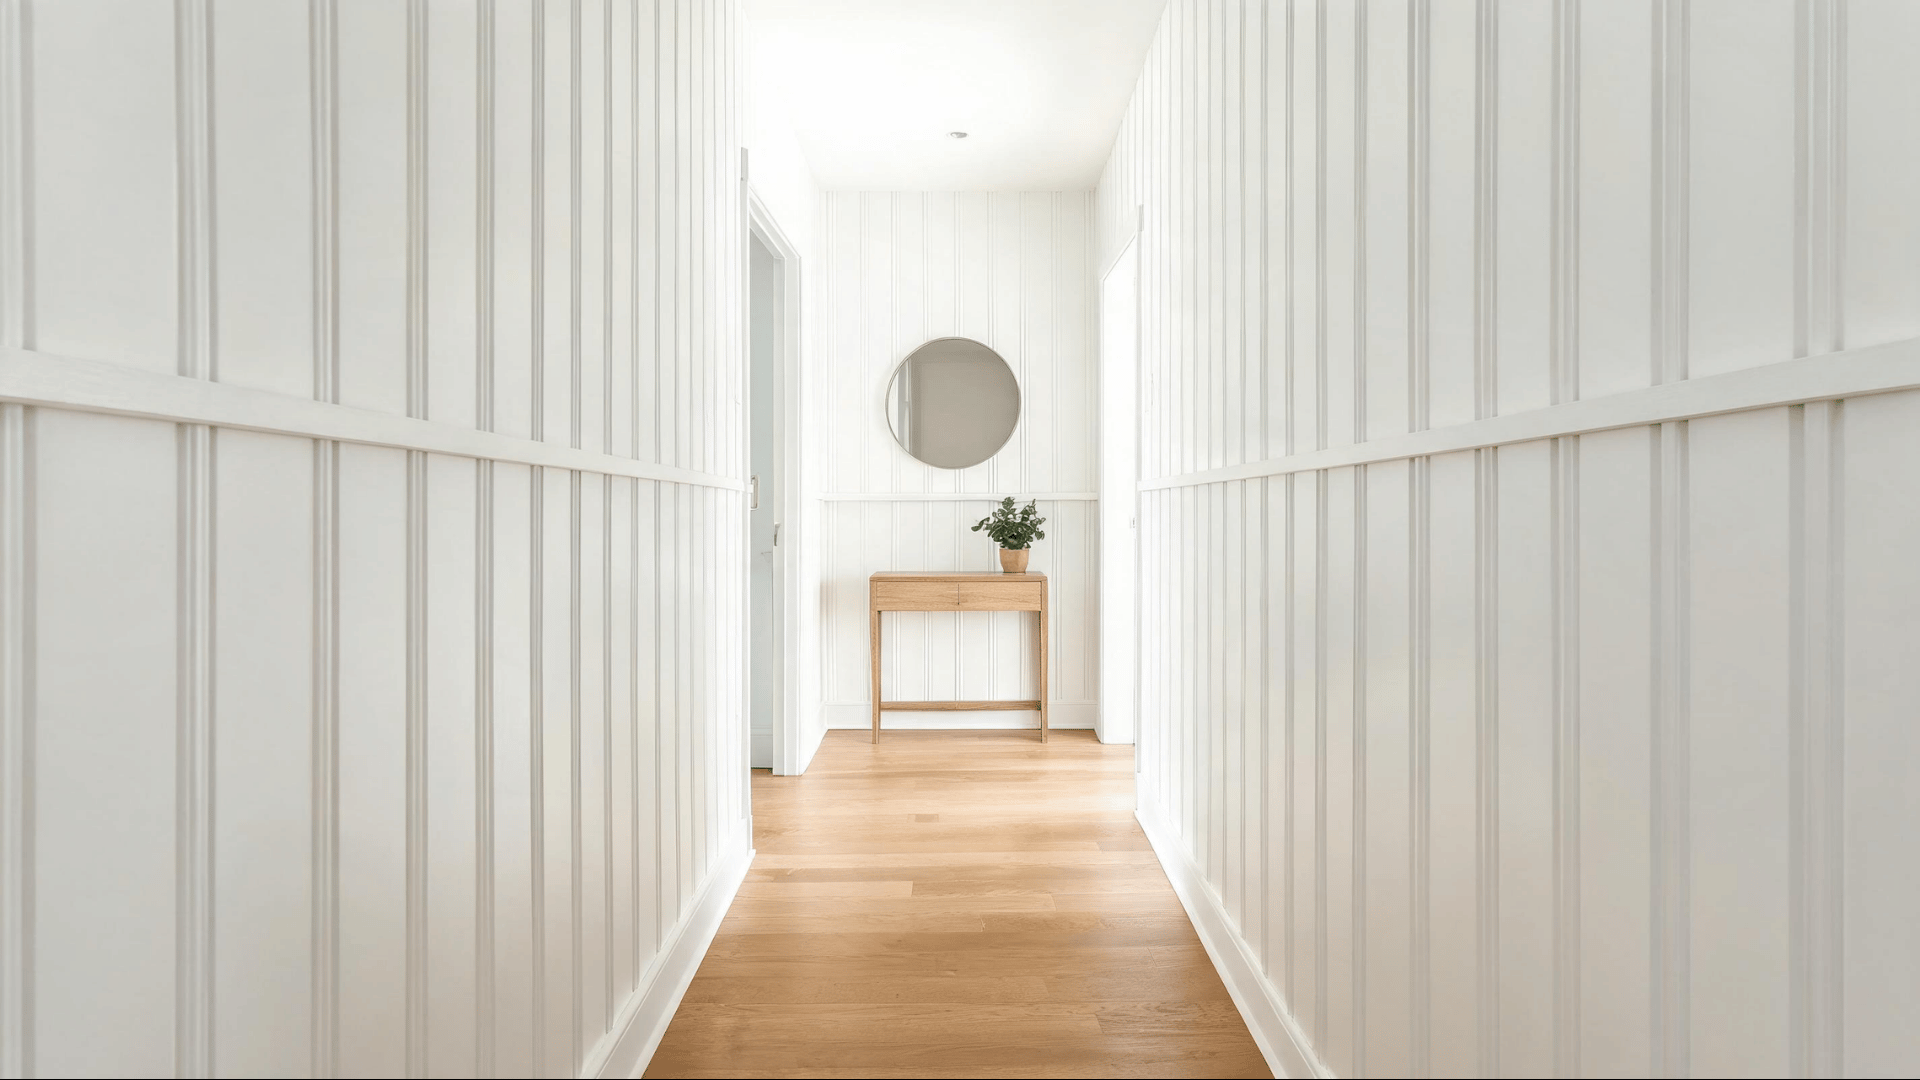
Board and batten uses evenly spaced vertical boards running from floor to ceiling, with a single horizontal board crossing them partway up the wall.
The result is structured, clean, and visually substantial. It works especially well in hallways, living rooms, and bedrooms. Paint the boards and the wall behind them the same color for a polished, cohesive finish. The shadow lines between the boards do all the visual work.
3. Shiplap Wall
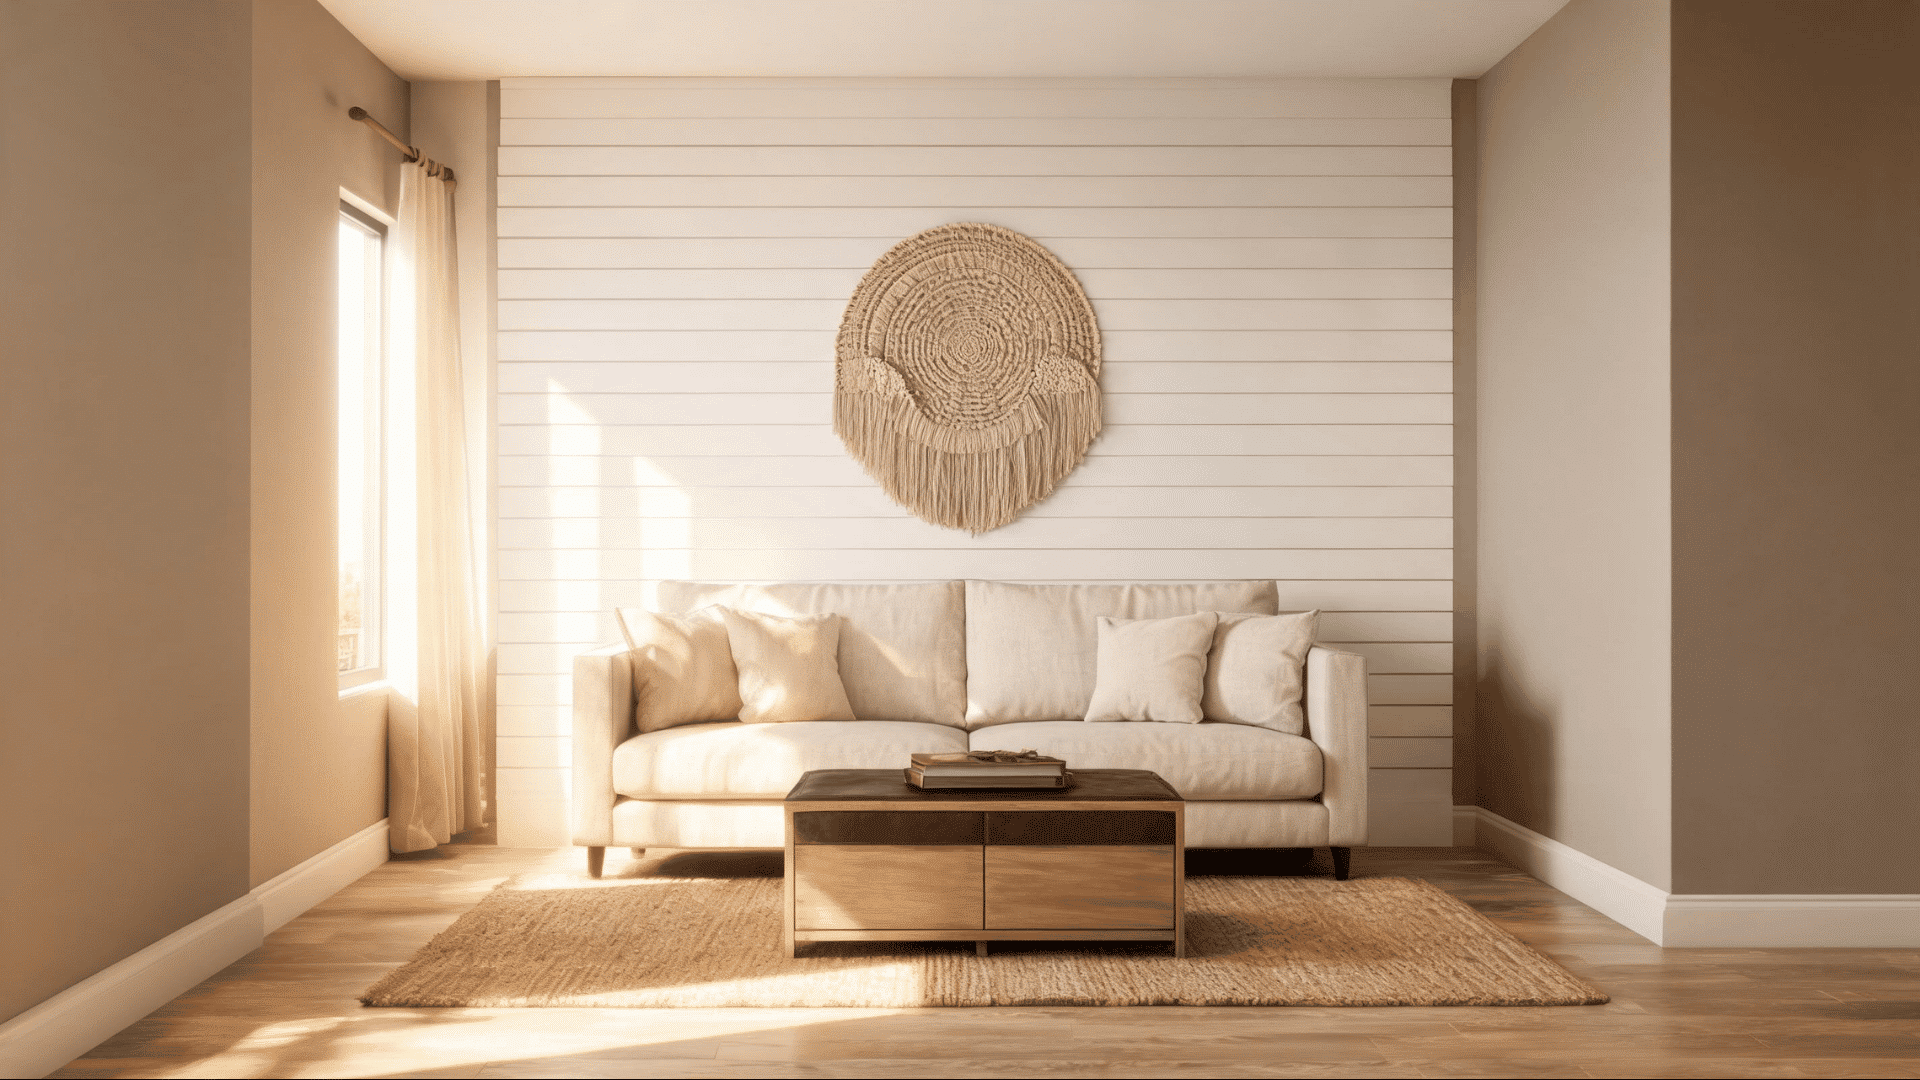
Shiplap uses horizontal wood planks stacked from floor to ceiling or halfway up the wall.
It’s one of the most requested styles right now because it works across multiple designs, farmhouse, coastal, transitional, and even modern, when painted in the right color.
White shiplap gives a clean, airy feel. Paint it white for a farmhouse look, or go with a dark color for something bolder.
A dark color like charcoal or forest green makes it feel more dramatic and intentional.
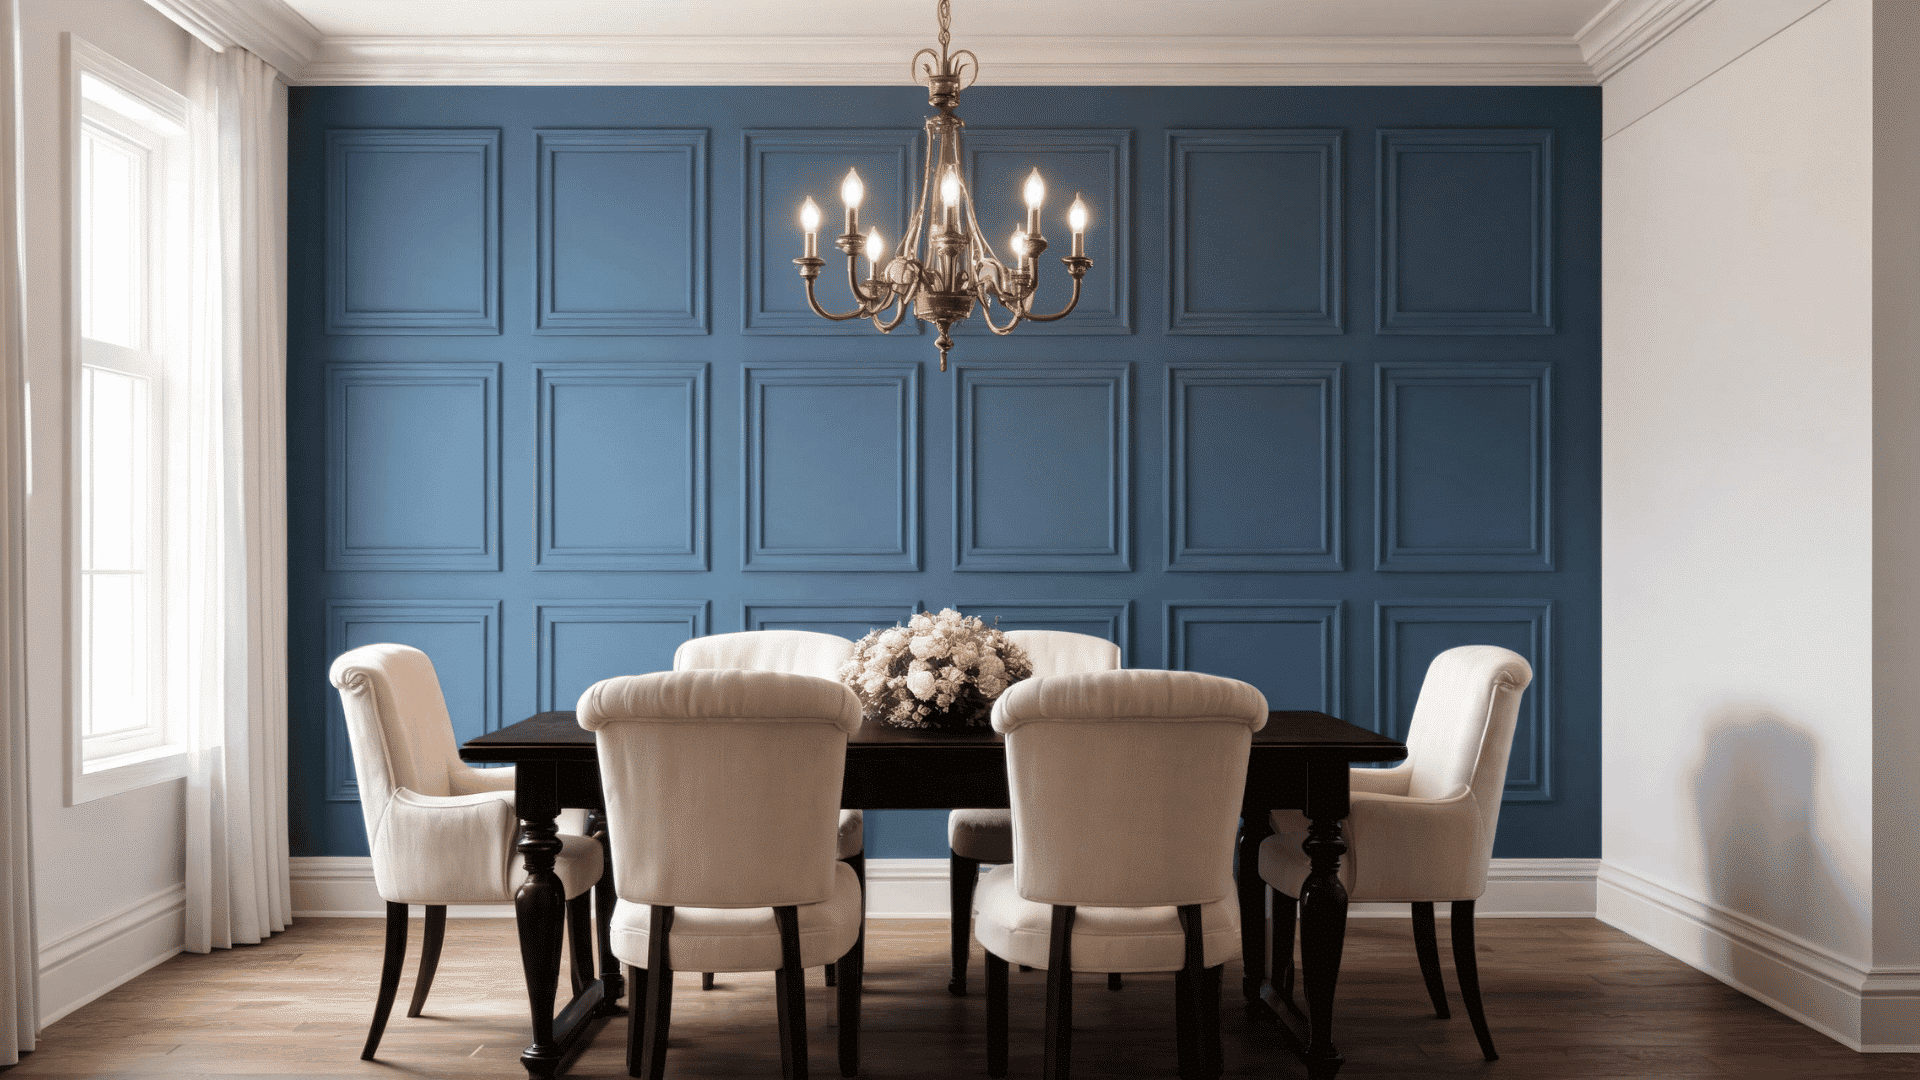
4. Raised Panel Wall
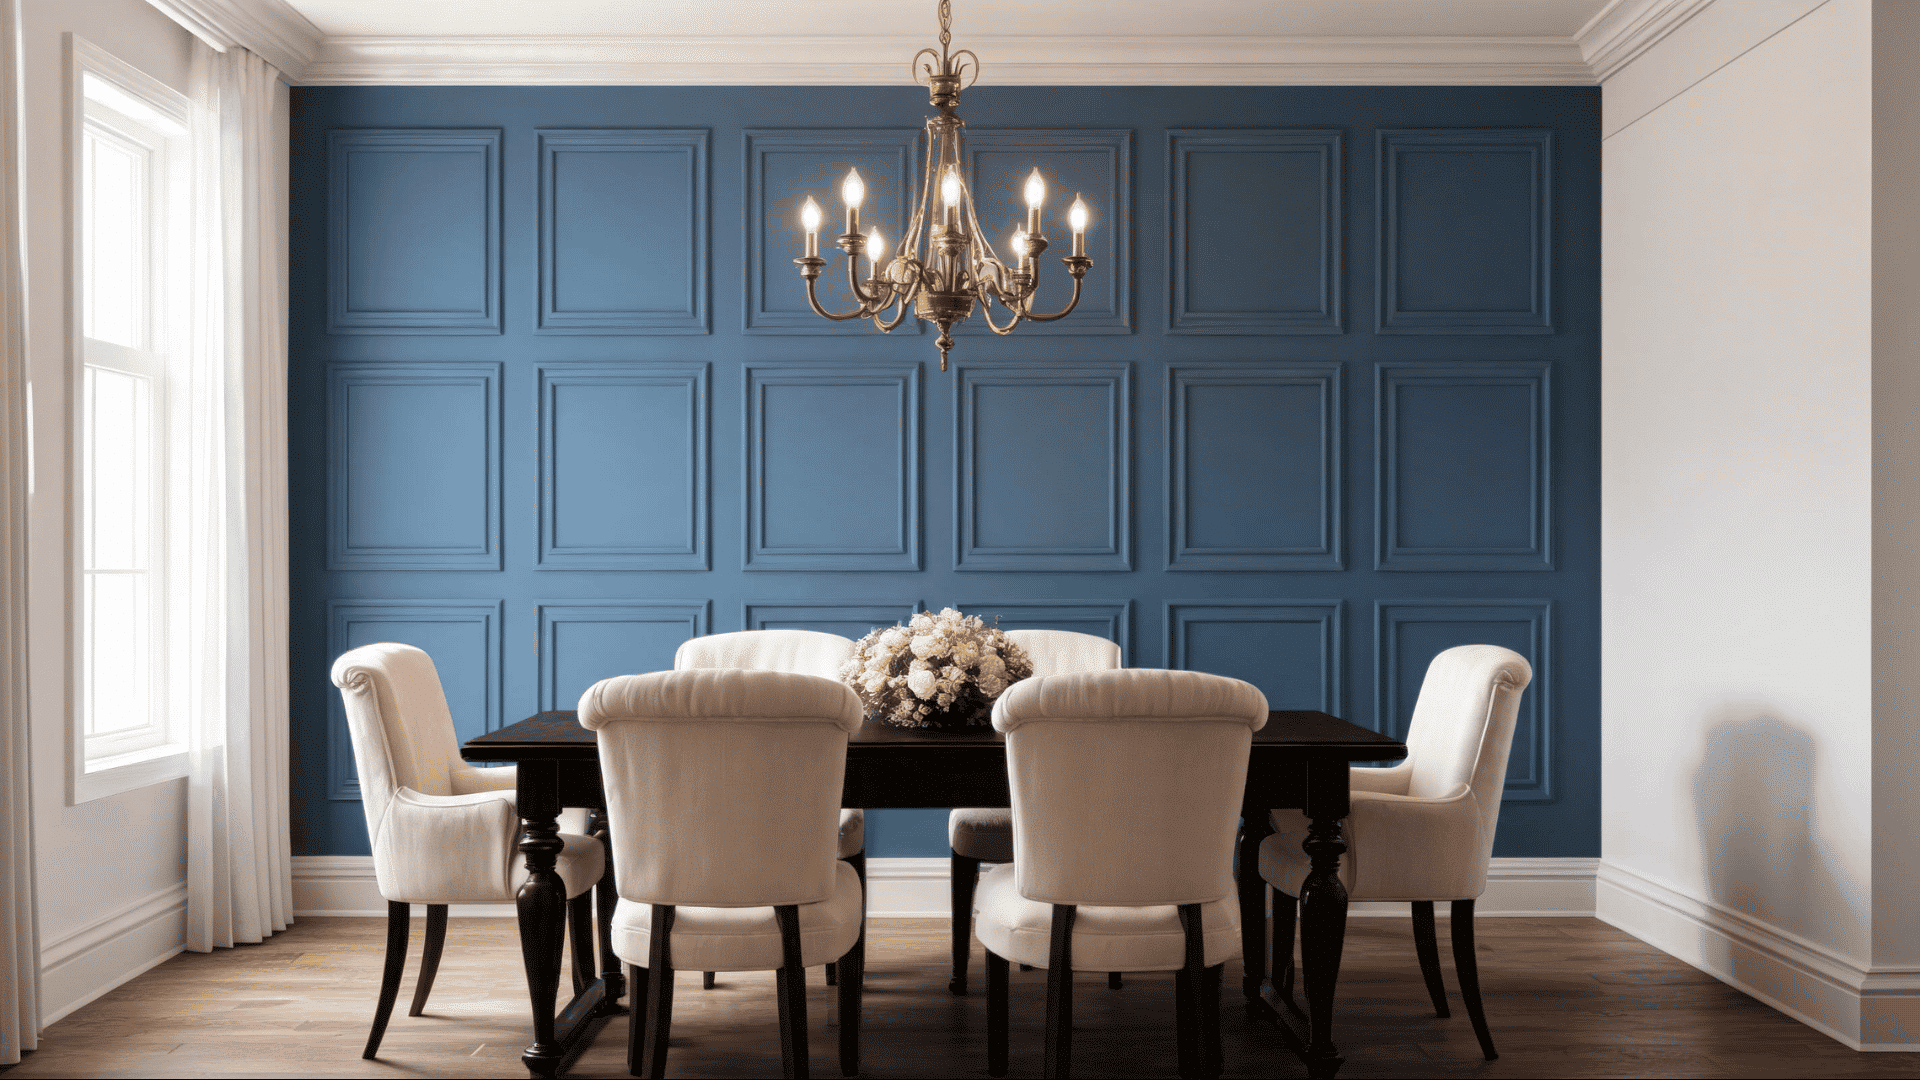
Raised-panel walls use wood trim arranged in a grid of evenly spaced rectangles across the wall surface.
The panels sit flush against the wall and are painted the same color, so the design shows through shadow and depth rather than color contrast.
It gives a room a more formal, put-together feel and works particularly well in dining rooms, primary bedrooms, and home offices where a polished look is the goal.
Step back and look at it from across the room. If any panel looks noticeably wider or narrower than the others, adjust the spacing now rather than after the boards are up.
5. Geometric Wall
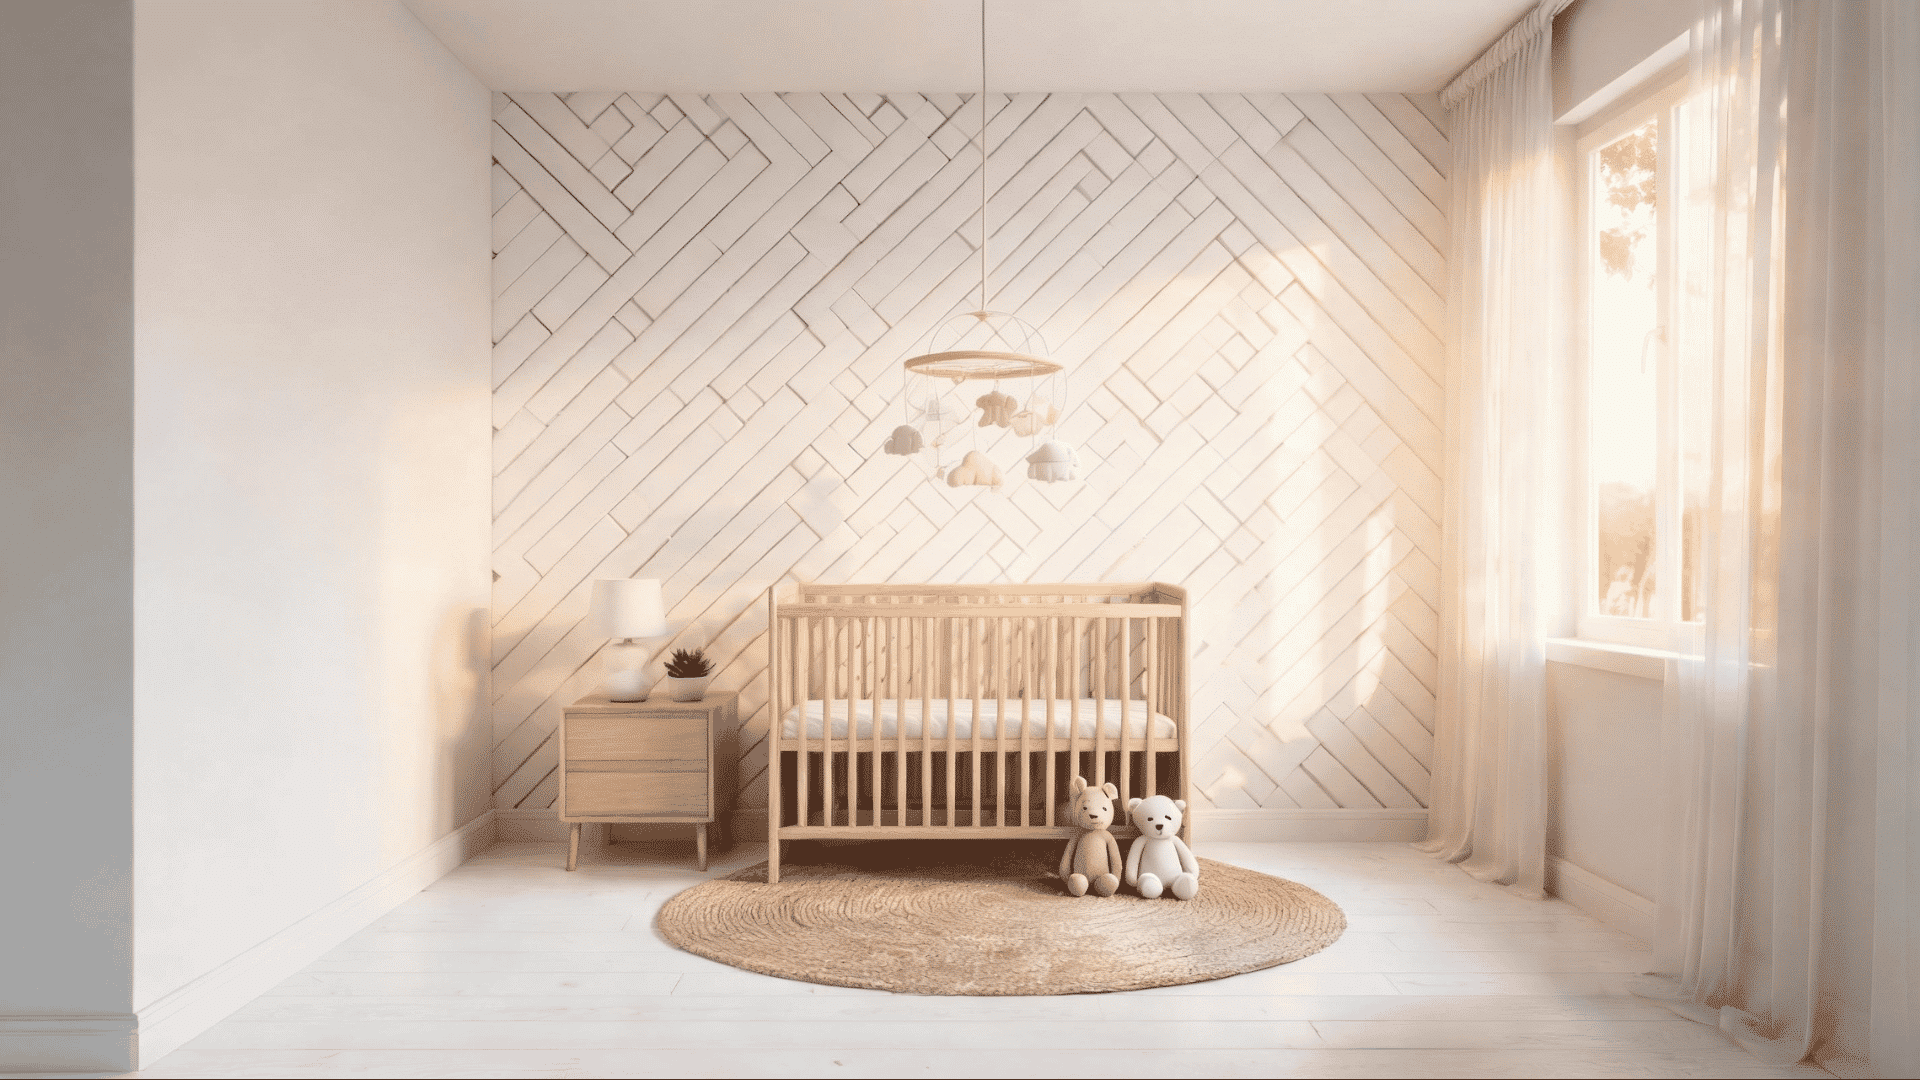
A geometric wall uses wood strips or MDF cut at angles to form repeating shapes like diamonds, triangles, chevrons, or custom patterns.
It takes more planning than the other styles, but the finished result has a level of visual impact that’s hard to match. Works especially well in bedrooms, nurseries, and home offices.
Use a bold contrasting paint color to make the pattern pop, or keep it tonal for something more subtle and architectural.
6. Diamond Panel Wall
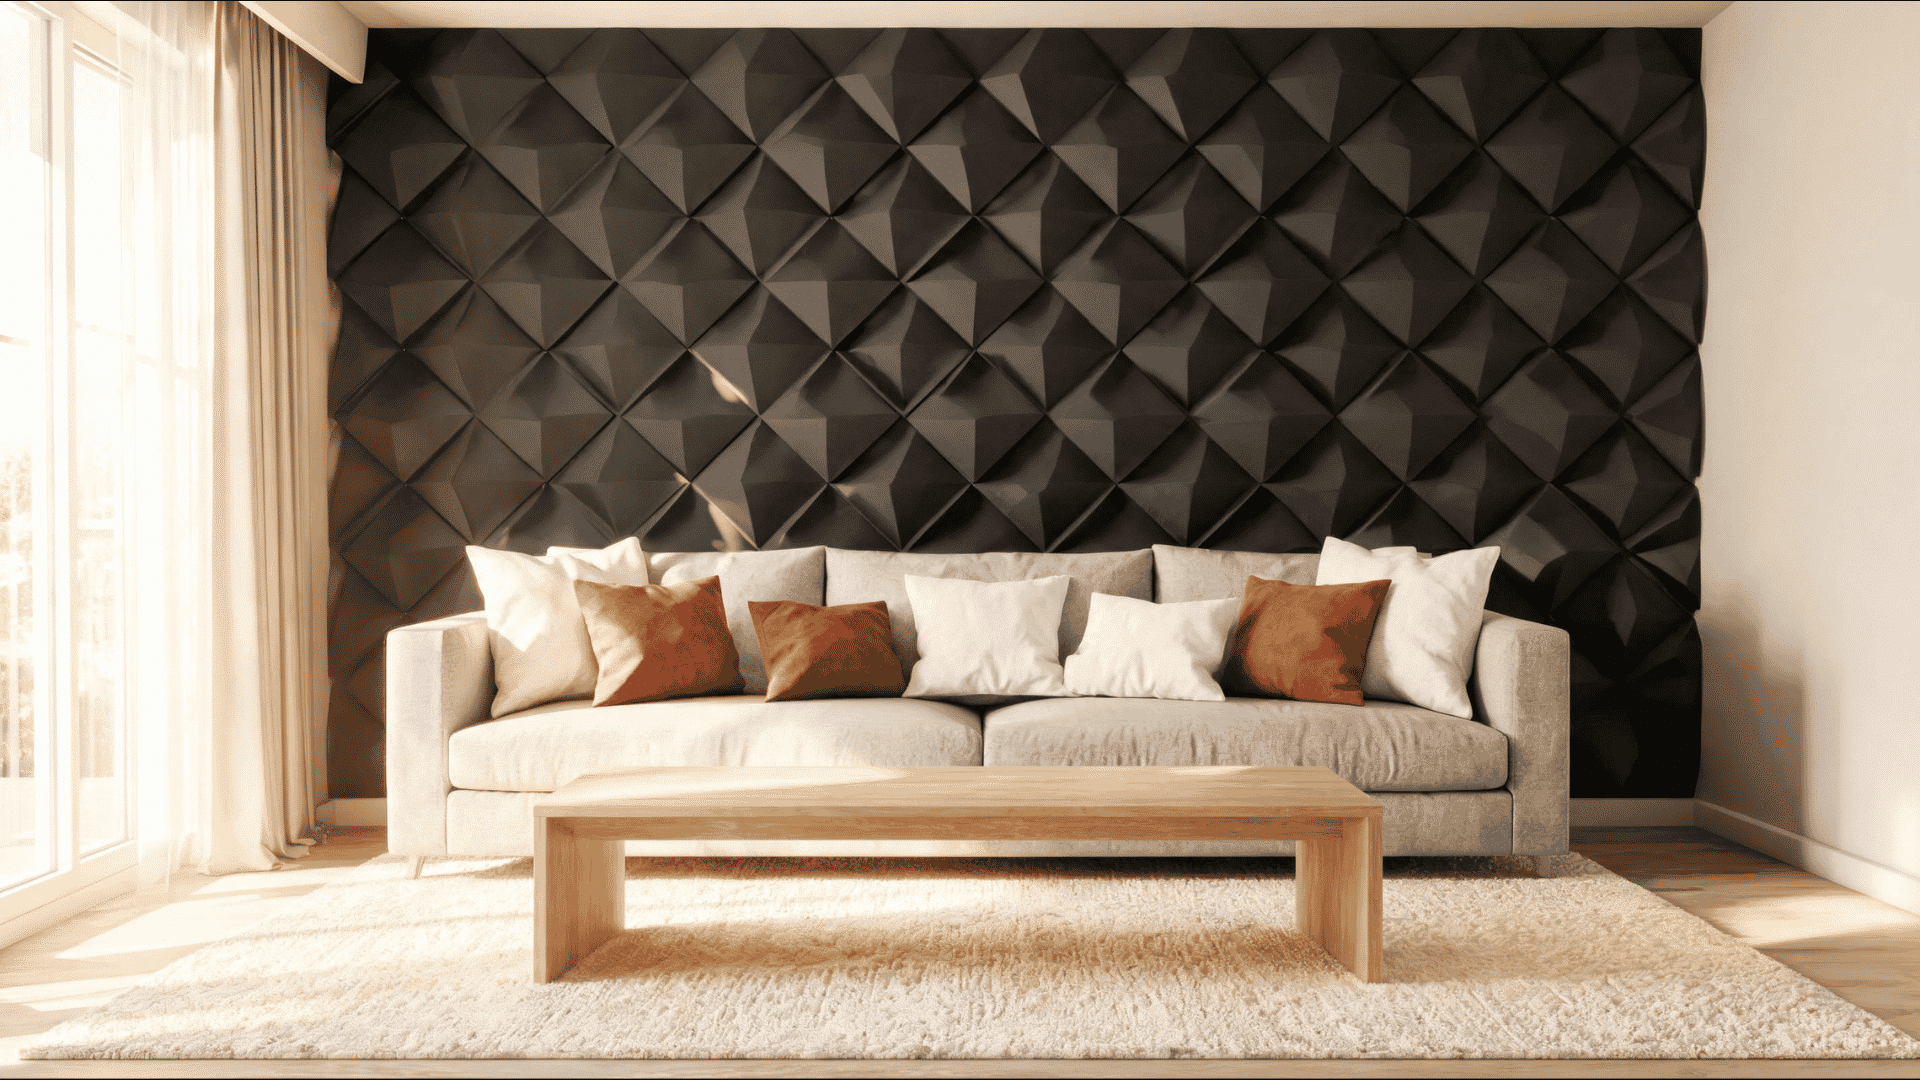
Diamond panels use MDF pieces cut into diamond shapes and attached to the wall in a repeating grid.
The raised surface creates shadows that give the wall a three-dimensional quality, especially under directional lighting.
It’s one of the more impressive-looking styles on this list and tends to work best in living rooms and primary bedrooms where you want a strong focal point without adding furniture or accessories.
7. Textured Wall
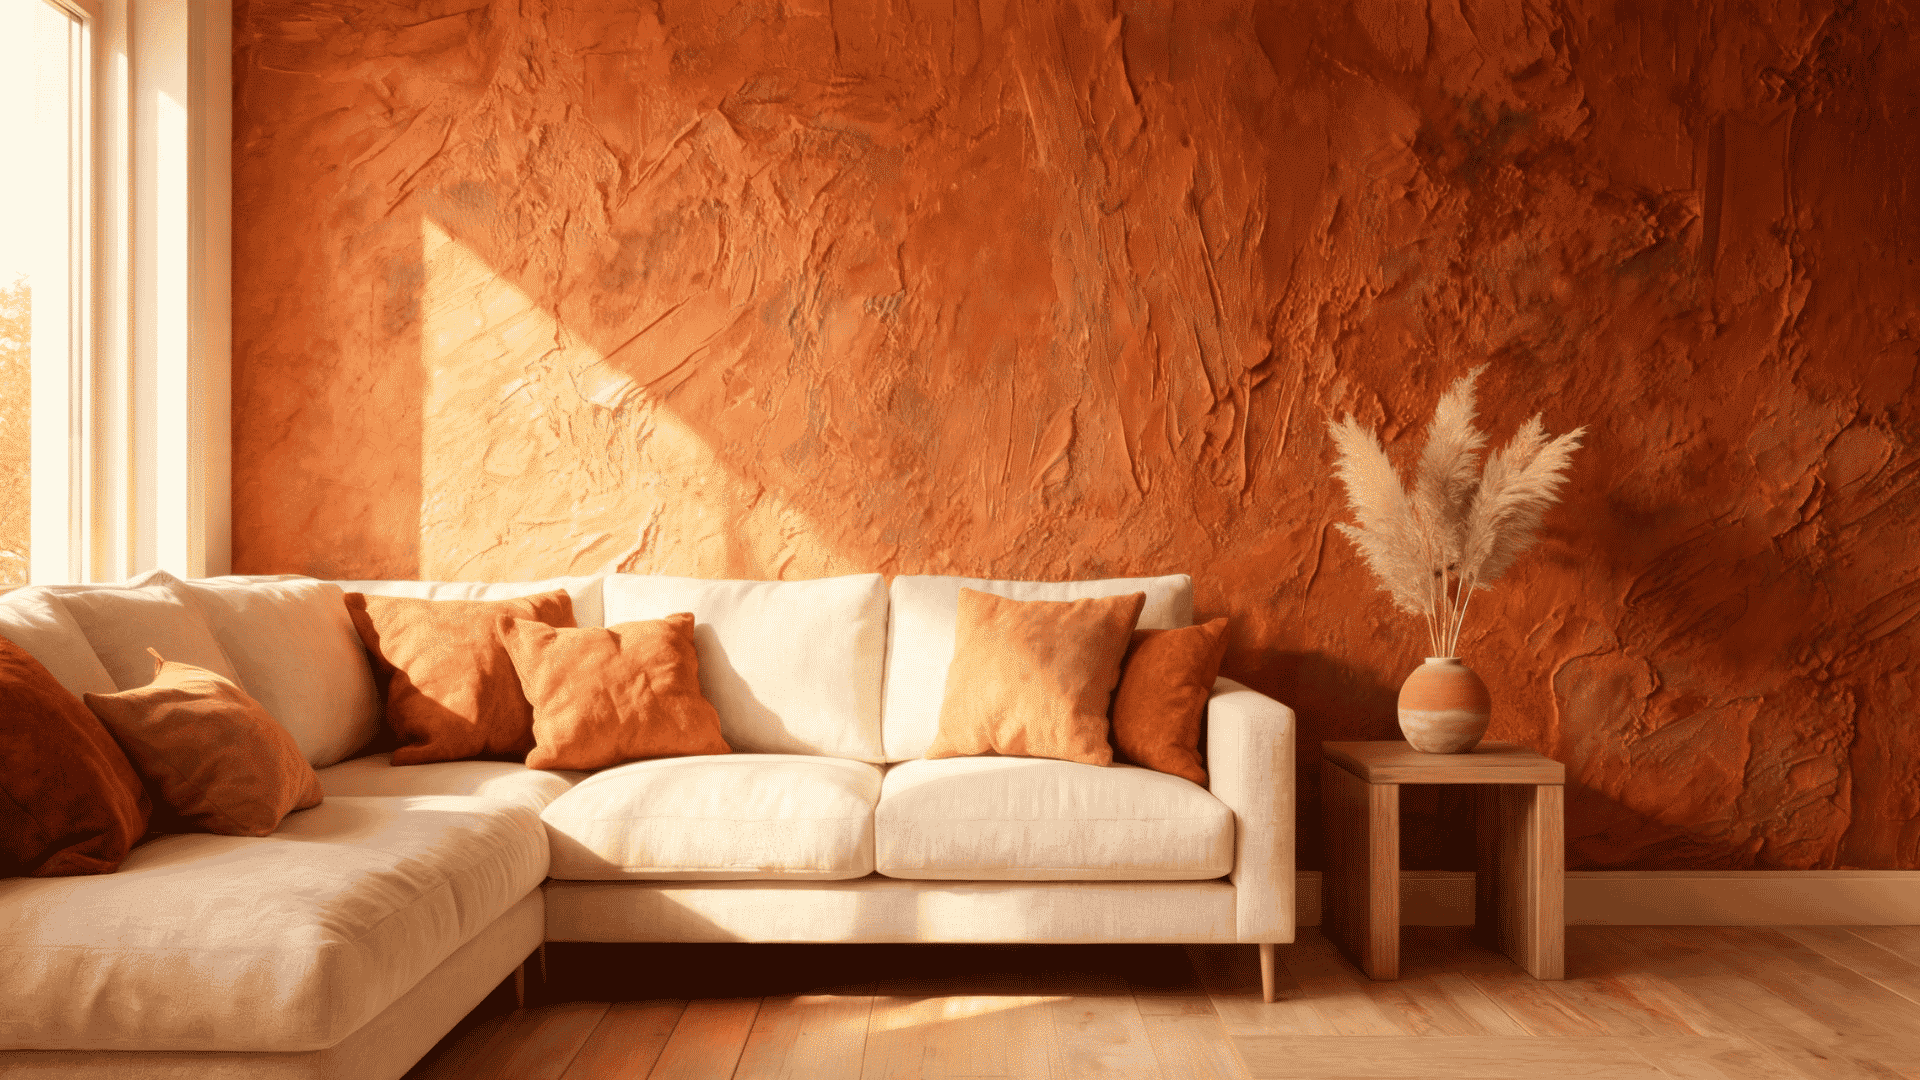
A textured wall uses joint compound or a dedicated texture product applied directly to the wall surface with a brush, roller, or trowel. Once dry, it can be painted any color.
This style works well in living rooms and adds a lot of character without any cutting or nailing.
The texture creates natural light variation across the surface, which gives the wall depth and warmth even in neutral tones. This is a great option if you want a high-impact result without any cutting, measuring, or woodwork.
8. Wallpaper Accent Wall
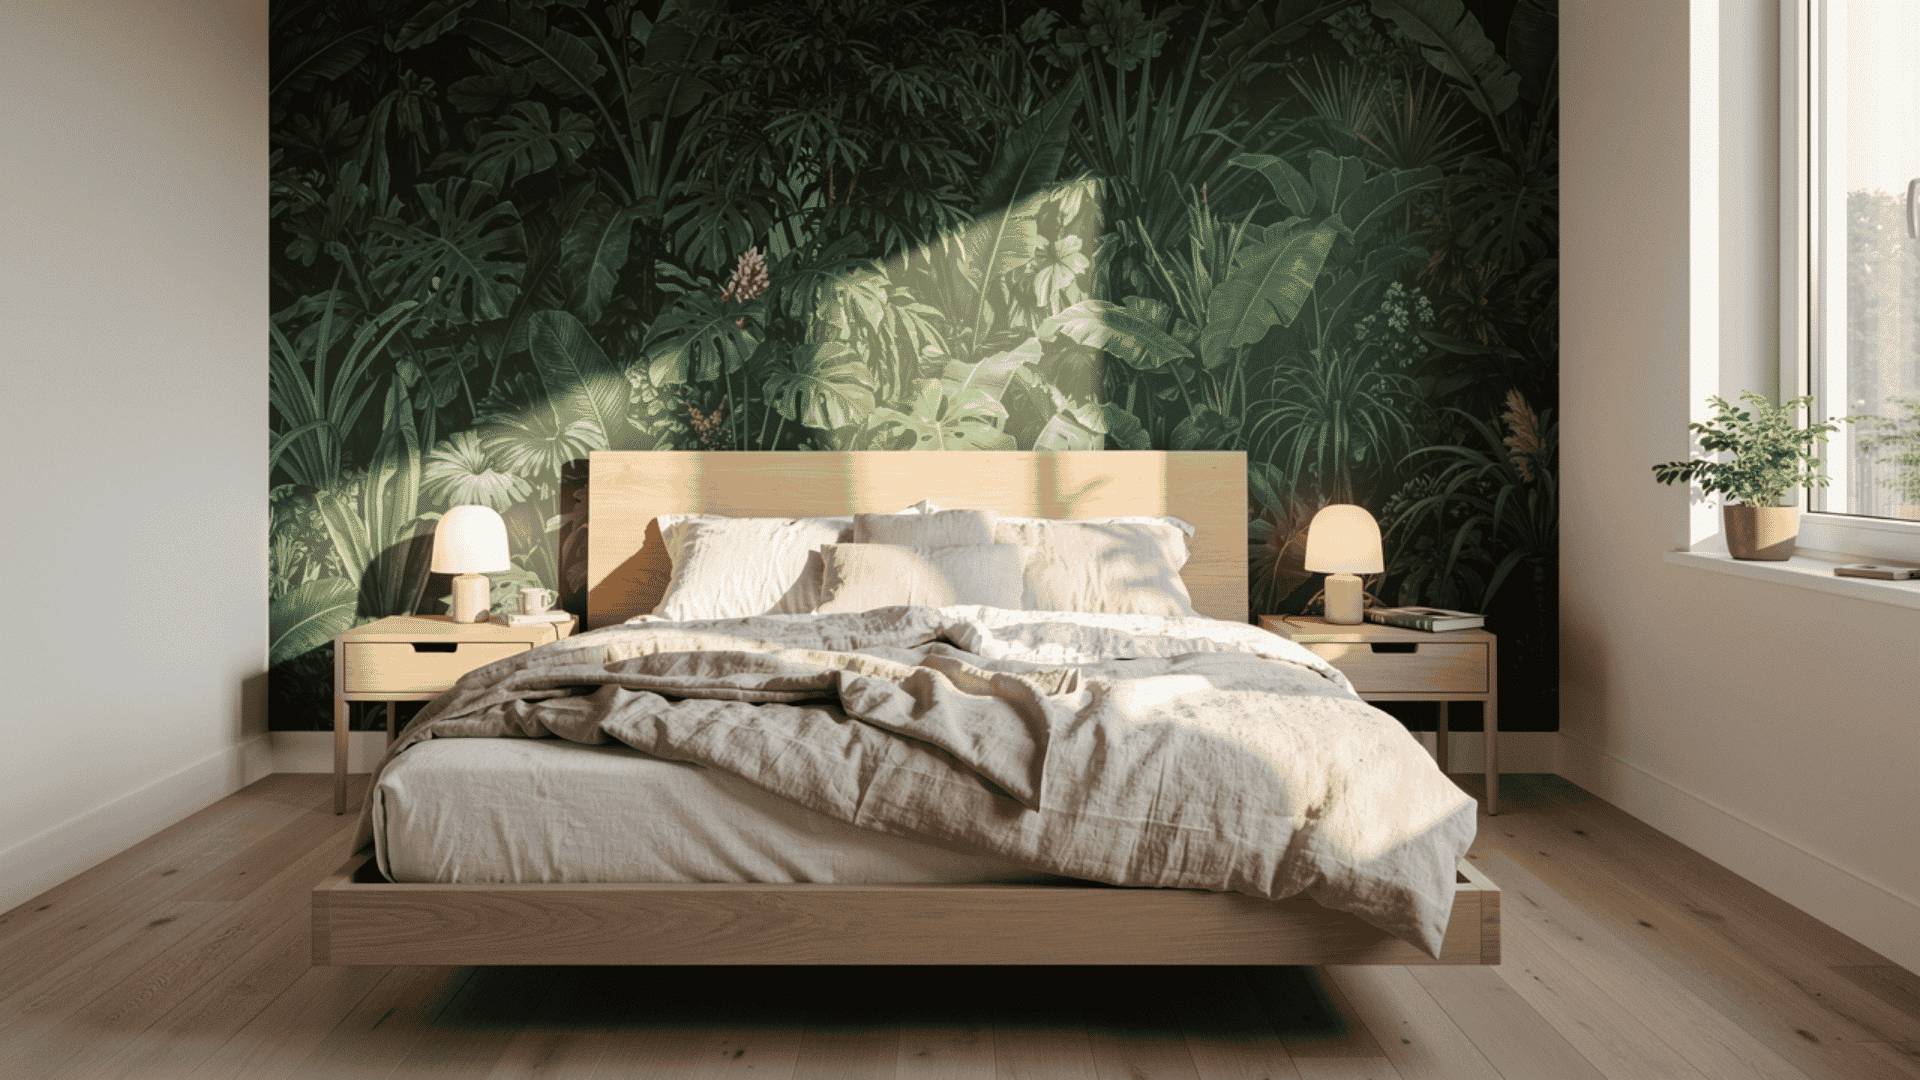
Wallpaper has made a strong comeback, and using it on a single accent wall is one of the
fastest ways to add pattern, color, and personality to a room all at once. Peel-and-stick options have made this even more beginner-friendly.
No paste, no soaking, no professional installer. You apply it like a giant sticker, smooth out the bubbles, and you’re done. Choose a bold botanical print for a living room, a subtle geometric repeat for a home office, or a moody dark pattern for a bedroom.
The key is keeping the other three walls neutral so the wallpaper has room to breathe and do its job. If you ever want a change, peel-and-stick versions come off without damaging the paint underneath.
9. Brick or Stone Veneer Wall
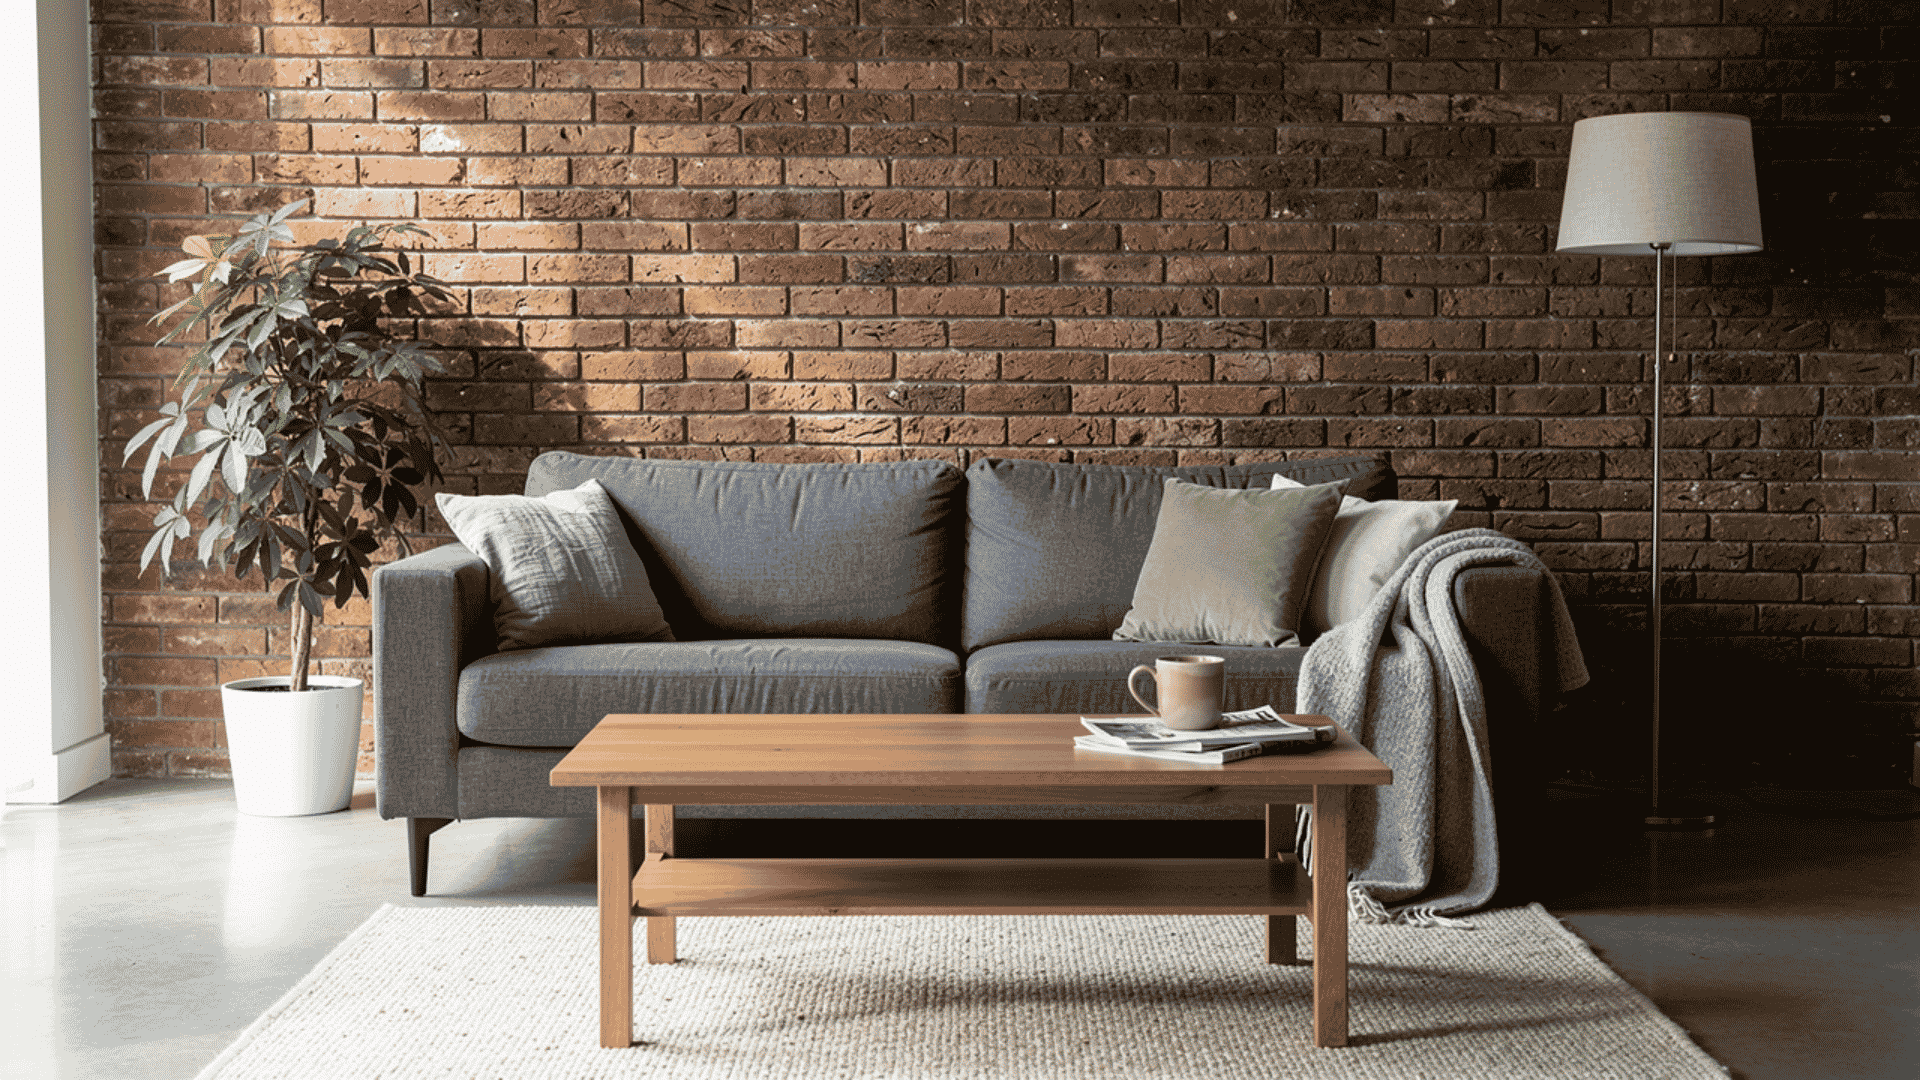
Faux brick panels and stone veneer sheets give you the look of exposed masonry without the cost or structural work of real brick. These panels are lightweight, easy to cut with a utility knife or circular saw, and attach directly to the wall with construction adhesive.
They work especially well in living rooms, home offices, and basement spaces where you want a raw, industrial, or cabin-like feel. Once installed, you can leave them in a natural finish, whitewash them for a softer look, or paint them a solid color for a more modern look.
The texture and depth they add to a wall are difficult to replicate with any other material at this price point.
10. Limewash Paint Wall
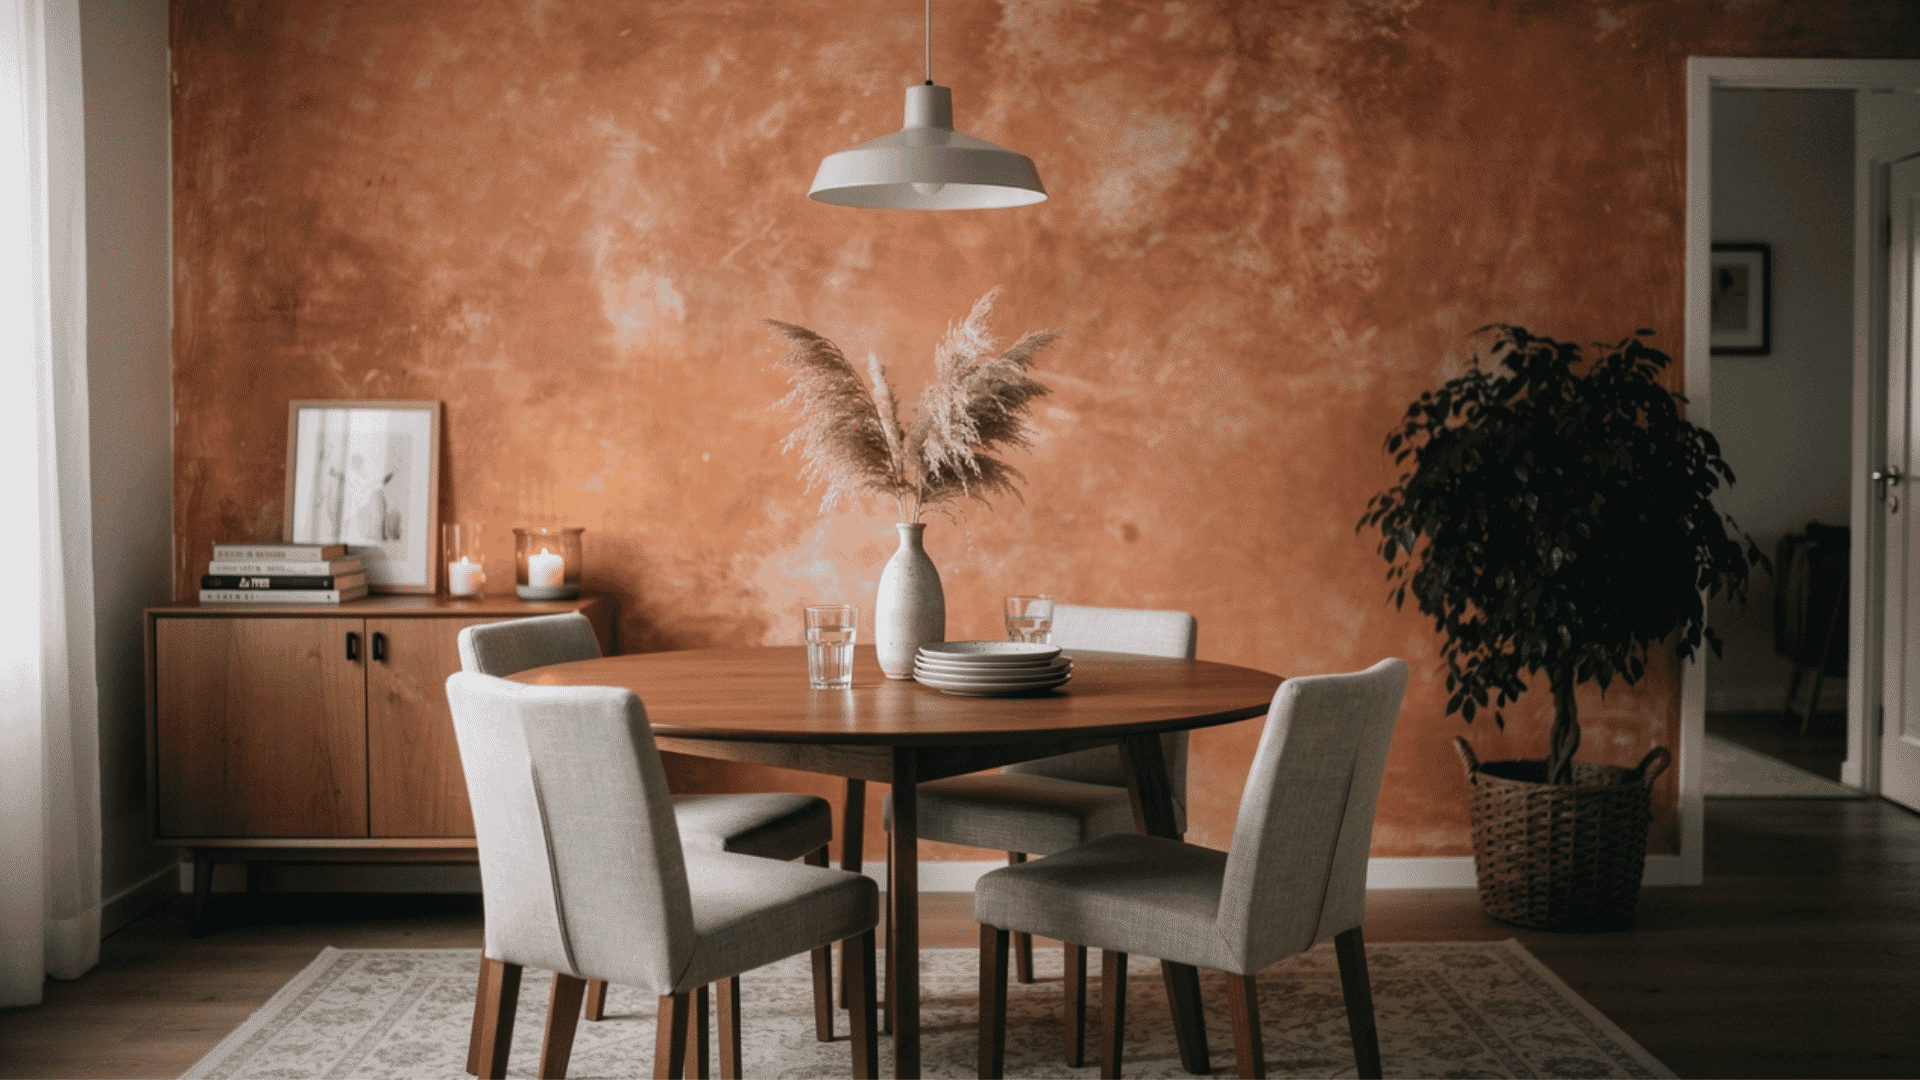
Limewash paint is applied in layers with a wide brush, then partially wiped back while still wet. The result is a soft, mottled, aged finish that looks like plaster or weathered stone.
It adds a lot of warmth and character to walls without adding any physical dimension, making it a good option for rooms where you want texture and depth but don’t want to deal with wood or panels. It works particularly well in living rooms, dining rooms, and bedrooms.
It pairs naturally with linen, terracotta, natural wood, and other organic materials. Application takes some practice, but most first-timers get comfortable with the technique within the first few square feet.
11. Bookshelf or Built-In Wall
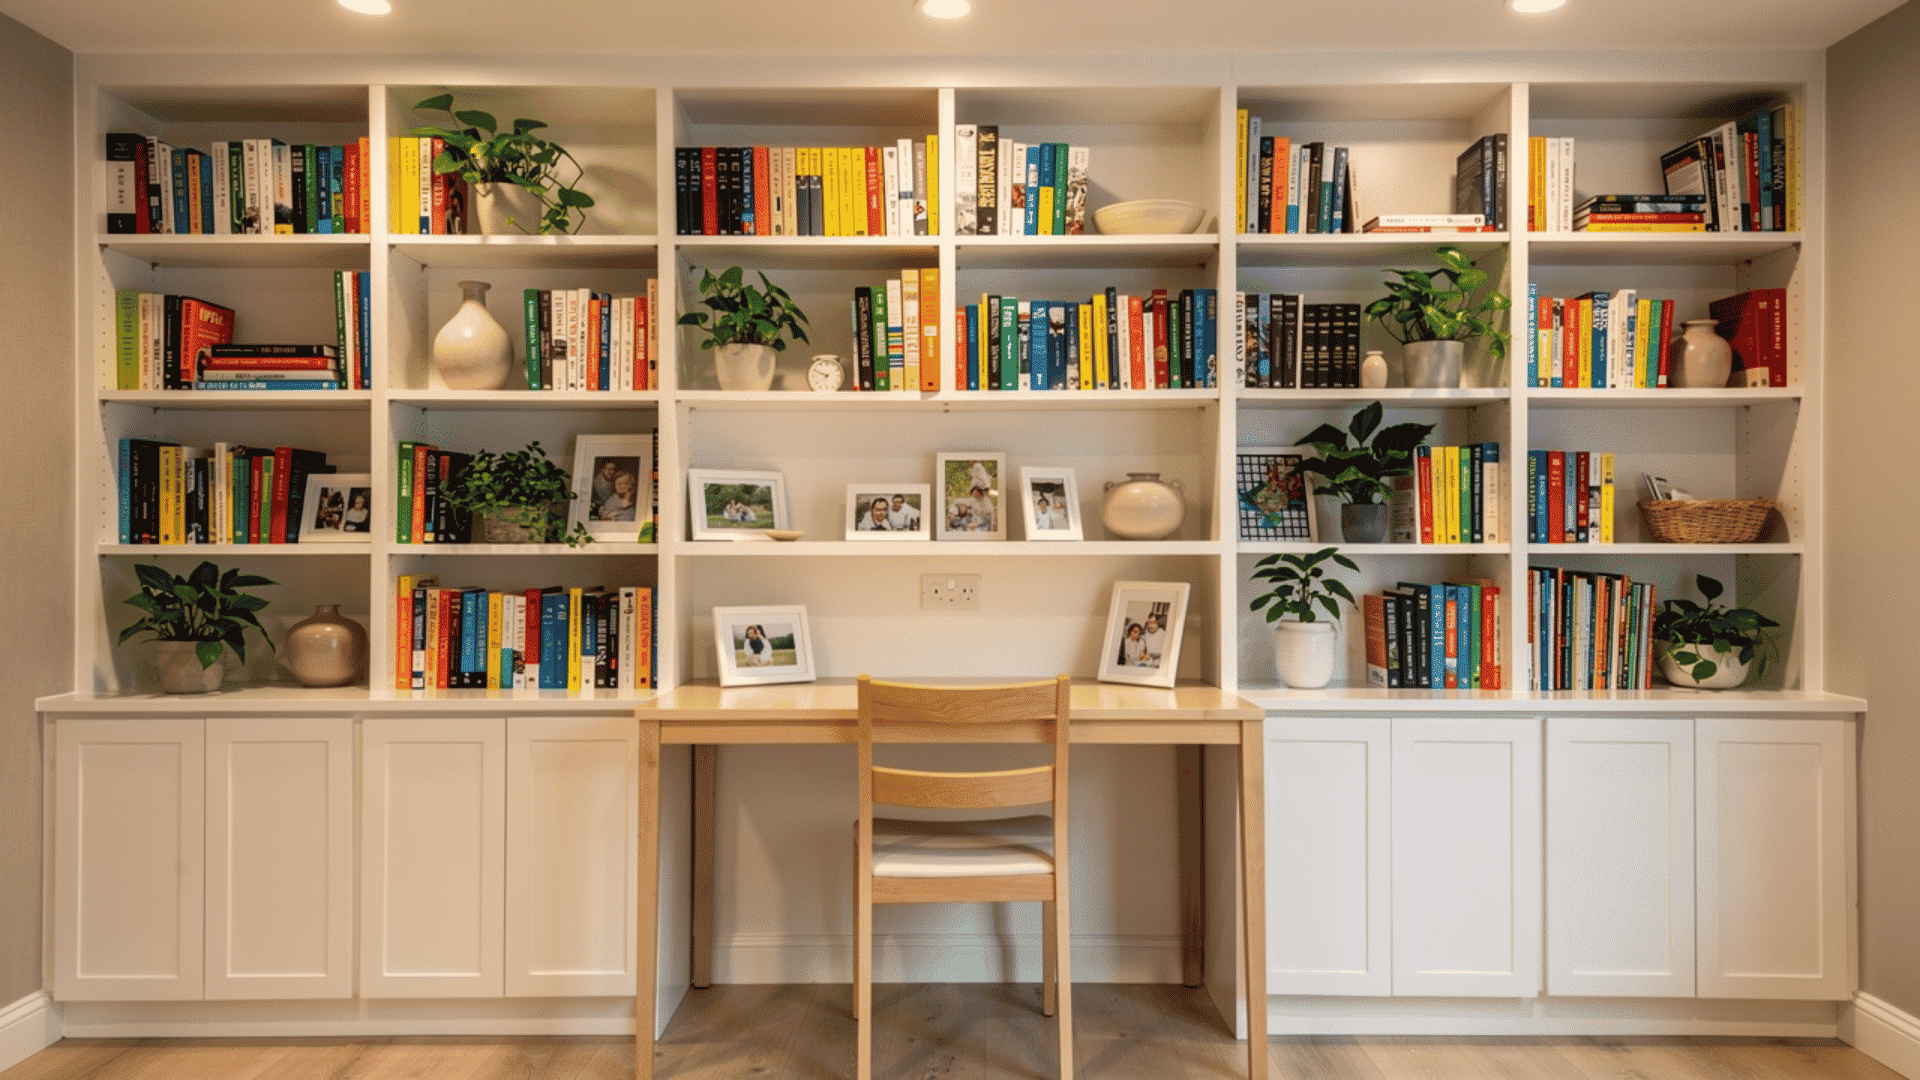
A built-in bookshelf or floor-to-ceiling shelving unit turns an entire wall into a functional design feature. You don’t need carpentry skills to pull this off.
Line them up side by side, add trim around the edges, paint everything the same color as
the wall, and the result looks custom-built. This style works well in living rooms, home offices, and reading nooks.
It adds storage and structure to a room that might otherwise feel flat or underused. Styling the shelves with a mix of books, plants, and objects finishes the look.
Tools and Materials You’ll Need
Before you start, get everything together in one place. Running back to the hardware store mid-project wastes time and breaks your momentum.
Here are a few tools and materials that you need for designing an accent wall on your own:
| Item | What It’s Used For |
|---|---|
| Tape Measure | Measuring wall dimensions and board lengths |
| Stud Finder | Locating studs behind the wall for secure nailing |
| Level | Making sure every board is straight |
| Miter Saw or Circular Saw | Cutting boards to the correct length and angle |
| Brad Nailer or Finishing Nailer | Attaching boards to the wall quickly and cleanly |
| Portable Air Compressor | Powers the nailer |
| Caulk Gun | Applying construction adhesive and caulk |
| Drill | Pre-drilling holes and driving screws where needed |
| Sanding Block or Power Sander | Smoothing rough edges and surfaces before painting |
| Paint Roller and Brushes | Applying primer and paint to the wall and boards |
| Painter’s Tape | Protecting edges and marking guidelines on the wall |
| 1×4 Pine Boards or MDF Panels | The main building material for the wall design |
| Construction Adhesive | Bonding boards to the wall, especially on textured surfaces |
| Finishing Nails | Securing boards in place alongside the adhesive |
| Paintable Caulk | Filling nail holes and gaps between boards |
| Sandpaper (Medium and Fine Grit) | Smoothing surfaces before priming and painting |
| Primer | Sealing the surface, especially important for MDF |
| Interior Paint | The final finish coat for the wall |
Tip: MDF is cheaper and easier to paint than solid wood. It’s a good choice for paneled and geometric walls. For shiplap or board and batten, pine boards give a better finish.
Step by Step: How to Build a Paneled Accent Wall
A paneled wall uses wood boards arranged in a grid pattern on the wall. It’s one of the most popular styles and works in bedrooms, living rooms, and dining rooms.
- Measure the wall: Write down the height and width of the wall. This tells you how many boards you need and how long each one should be.
- Sketch your design: Draw the wall on paper and map out where each board will go. Decide how many panels you want across and how tall each one will be. Even spacing looks best, so take your time with the math here.
- Find and mark your studs: Use a stud finder to locate the studs behind the wall. Mark them lightly with a pencil. You’ll want to nail into these for a stronghold.
- Cut your boards: Use a miter saw to cut each board to the correct length. Cut all your pieces before you start nailing anything up. This keeps the process moving smoothly.
- Attach the horizontal boards first: Apply a thin line of construction adhesive to the back of each board, press it against the wall, and secure it with finishing nails. Use a level to make sure each board is straight before nailing.
- Add the vertical boards: Once the horizontal boards are up, fill in the vertical pieces the same way. Check each one with a level as you go.
- Fill nail holes and gaps: Run a bead of paintable caulk along every joint and over every nail hole. Smooth it with your finger and let it dry completely.
- Sand, prime, and paint: Once the caulk is dry, sand any rough spots smooth. Apply a coat of primer first, let it dry, then finish with two coats of interior paint.
Tip: Paint the wall the same color as the boards for a tonal look. It makes the panels stand out through shadow and depth rather than color contrast, and it looks really clean.
Watch this video from Life with JennyQfora step-by-step visual guide to the full process, from a bare wall to a finished panel design.
Step by Step: How to Build a Geometric Accent Wall
A geometric wall uses wood strips cut at angles to create patterns like diamonds or triangles. It takes a bit more planning than a paneled wall, but the result is very bold and eye-catching.
- Plan your pattern on paper: Decide what shape you want. Diamonds are the most common and easiest to work with. Draw the full pattern on graph paper and work out the angles before you cut anything.
- Mark a reference grid on the wall: Use painter’s tape and a level to map out your pattern directly on the wall. This acts as a guide when you start placing the boards.
- Cut your MDF panels or boards: Use a miter saw to cut each piece at the correct angle. For a diamond pattern, most cuts will be at 45 degrees. Cut all pieces before you start attaching anything.
- Attach the pieces to the wall: Start from the center of the wall and work outward. Apply construction adhesive to the back of each piece and press it into place. Use finishing nails to secure it. Work slowly and check your angles as you go.
- Fill gaps and nail holes: Apply paintable caulk to every joint and nail hole. Smooth it out and let it dry fully before moving on.
- Sand, prime, and paint: Sand any rough spots, apply primer, and finish with two coats of paint. A bold, contrasting color works really well for geometric walls.
Tip: For geometric walls, always start from the center and work your way out to the edges. Starting from a corner makes it much harder to keep the pattern even across the whole wall.
If you are doing this for the first time, watch this video by MrsAshleyFrench for the reference. It gives you a clear picture of how the whole process looks in real life.
Common Mistakes to Avoid
Even simple projects can go wrong if you skip a few basics. Here are the most common mistakes I see and how to avoid them.
| Mistake | Why It’s a Problem | What to Do Instead |
|---|---|---|
| Skipping the planning step | Cutting and nailing without a sketch can lead to uneven spacing, wasted materials, and frustration. | Plan the design on paper before touching the wall. |
| Not priming MDF | MDF soaks up paint, especially at the edges, so skipping primer may mean you need four or five coats. | Apply one coat of primer first to save time and paint. |
| Ignoring the baseboard and crown molding | Working around trim can make the finished wall look uneven. | Remove the baseboard if needed, install the boards, then reinstall the baseboard. |
| Choosing a wall with too many openings | Windows, doors, and outlets break up the wall, making clean patterns harder. | Choose a solid, uninterrupted wall for the best result. |
| Using nails alone on textured walls | Boards may not sit flush, and nails alone may not hold them tight. | Use construction adhesive along with nails on walls that are not completely flat. |
| Rushing the caulk and paint steps | Nail holes, joints, and gaps will show if the finishing stage is rushed. | Take your time, let each coat dry fully, and sand between coats if needed. |
Choosing the Right Paint Color
Paint color can make or break an accent wall. The right color pulls the whole room together. The wrong one makes the wall look out of place.
Here are a few simple rules to follow:
- Go darker than the surrounding walls: A darker shade on the accent wall makes it stand out naturally. If your walls are light gray, try a deep charcoal or navy on the accent wall.
- Stay in the same color family: If your room already has warm tones, stick with warm colors on the accent wall. Mixing warm and cool tones in the same room can feel off.
- Use a different finish for extra depth: If the rest of your walls are painted in a flat or matte finish, try a satin or semi-gloss on the accent wall. The slight sheen adds depth without changing the color.
- Test before you commit: Always buy a small sample pot and paint a section of the wall first. Look at it in both natural and artificial light before painting the whole thing.
Tip: For paneled and geometric walls, painting the boards and the wall behind them the same color gives a clean, professional look. The shadows from the raised boards do all the work.
Final Thoughts
An accent wall is one of those projects that looks like a big job but is very manageable once you break it down step by step. The process is simpler than most people expect.
The best part is that you don’t need a big budget or professional skills to get a great result. A little planning, the right materials, and some patience go a long way.
Start with a style that feels right for your skill level. A bold painted wall or a simple board-and-batten is a great first project. Once you finish your first one, the next one gets even easier.
Now pick your wall, grab your tools, and get started. Your room is waiting!
Frequently Asked Questions
Which Wall Should I Pick if My Room Has No Clear Focal Point?
Look for the wall with the fewest interruptions. No windows, no doors, no outlets running through it. A clean, solid wall gives you the most space to work with and the best finished result.
Do I Need to Remove the Baseboard Before Installing a Wood Panel Wall?
In most cases, yes. If you install boards over or around the baseboard, the panels won’t sit flush against the wall, and the finished result will look uneven. Remove it before you start, do the installation, then reattach it at the end.
How do I Make Sure My Boards are Evenly Spaced?
Measure the total width of the wall and divide it by the number of gaps you want between the boards. Cut a small piece of scrap wood to that measurement and use it as a spacer as you go.
What Paint Finish Should I Use on an Accent Wall?
Satin is the best all-around choice for most accent walls. It has a slight sheen that adds depth, it’s easy to clean, and it holds up better than flat or matte paint over time. Save flat paint for ceilings and semi-gloss for trim and doors.
How do I Avoid Visible Nail Holes in the Finished Wall?
Fill every nail hole with paintable caulk right after nailing. Smooth it with your finger, let it dry fully, then sand it lightly before painting. If you paint over unfilled holes, they’ll show through even after multiple coats.