
I wanted a simple way to refresh my room without spending on new decor, so I started looking into how to make curtains at home.
After working on home projects for years, I’ve learned that small changes can shift the whole feel of a space.
Curtains are one of those details that people often overlook, but once they’re in place, the room feels more complete.
At first, I thought it would be complicated. But once I tried it myself, I realized it’s a very straightforward process if you follow the right steps.
In this guide, we will walk through the process and exactly what works, from taking the right measurements to sewing neat hems and adding grommets for a clean finish.
If you’ve been searching for DIY curtains or wondering how to sew curtains, this method keeps things simple and easy to follow.
By the end, you’ll have curtains that fit your space well and look clean without much effort.
Why Making Curtains Yourself Makes Sense
Making your own curtains is one of the easiest ways to change how a room feels without taking on a big project.
When you learn how to make curtains, you’re not just saving money; you’re also getting something that fits your space exactly the way you want.
Store-bought options often come in fixed sizes, which may not work well for every window.
One of the biggest benefits is full control over size and fabric. You can choose the length, width, and material based on your needs.
Another key point is cost savings. Fabric and basic supplies usually cost less than ready-made curtains, especially for larger windows.
On top of that, this method works well even if you only know the basics of sewing. With a few straight stitches, you can complete a full set of DIY curtains that look clean and hold up well over time.
Materials and Tools You Will Need
Before starting, it helps to have everything ready in one place. The items listed below are simple and commonly used for basic sewing tasks.
Having the right tools makes the steps in making curtains smoother and more accurate.
- Curtain Fabric: Choose a fabric with a standard width of 44 inches. This works well for simple curtain panels and is easy to handle.
- Measuring Tape: Used to measure window size and fabric length. Accurate measurements help avoid fitting issues later.
- Fabric Scissors: Sharp scissors make clean cuts and prevent uneven edges while preparing the fabric.
- Tailor’s Chalk or Marking Tool: Helps mark folds, hems, and cutting lines clearly without damaging the fabric.
- Sewing Machine: Needed to stitch hems and secure folds. A basic machine works well for this project.
- Strong Needle (Denim Needle): A size 14 needle handles thick fabric better and prevents breakage during stitching.
- Iron for Pressing Folds : Pressing helps create sharp folds, which makes sewing straight and clean.
- Grommet Kit With Template: Used to create holes and attach grommets evenly at the top of the curtain.
- Curtain Rod: Required to hang the finished curtains and check the final fit.
How to Make Curtains: Step-By-Step
The process is simple when you follow each step in order. Each part builds on the last, so taking your time helps. This method keeps things clear and practical, even if you are new to making curtains.
Step 1: Measure the Window
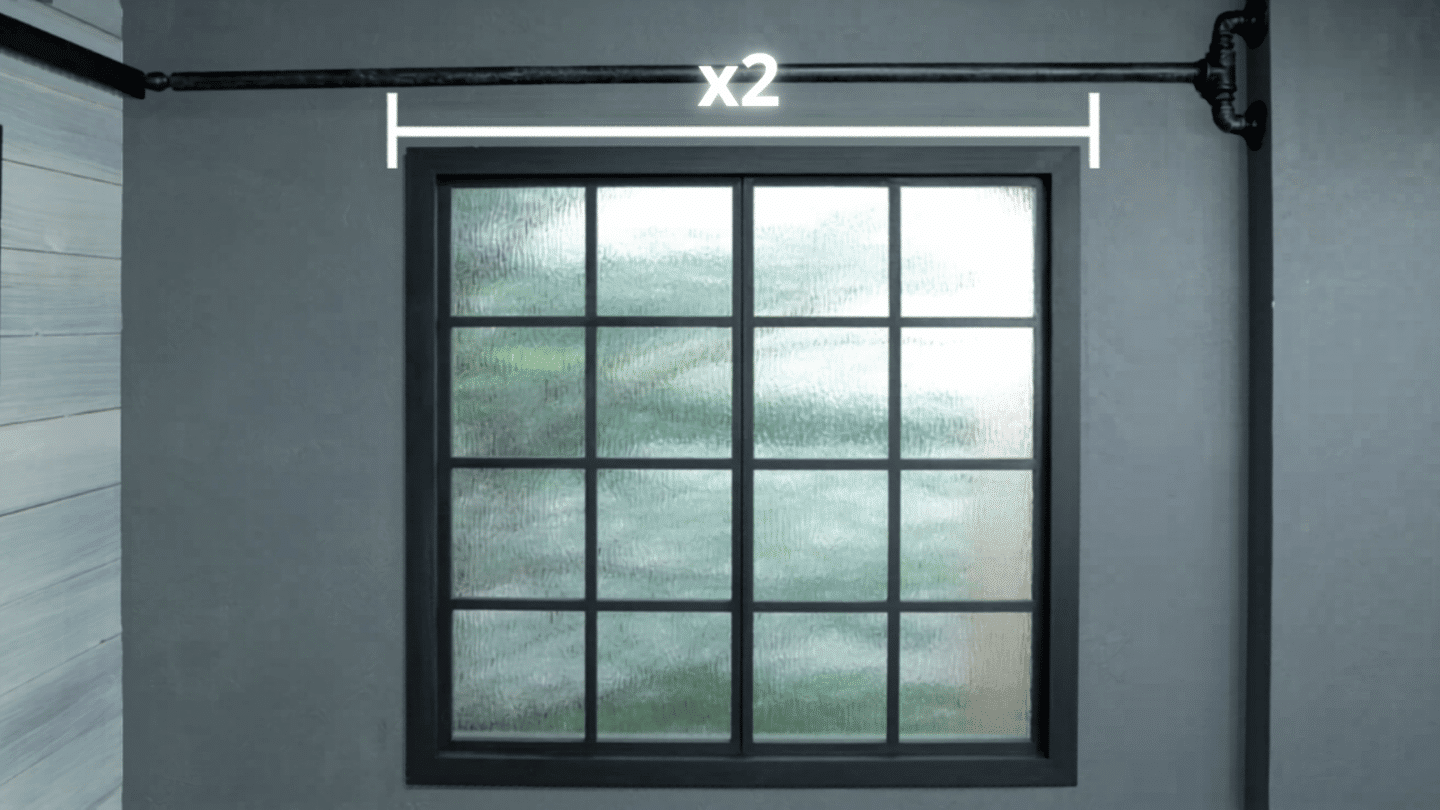
Start by measuring from the curtain rod down to where you want the curtain to end. Make sure the tape is straight so your measurement stays accurate.
Add 16 inches to this length to allow space for the top fold and bottom hem. This extra fabric is important for structure and finishing.
Next, measure the full width of your window. If you want the curtain to look fuller, double this width. Taking time with this step helps everything else fit properly later.
Step 2: Prepare the Fabric
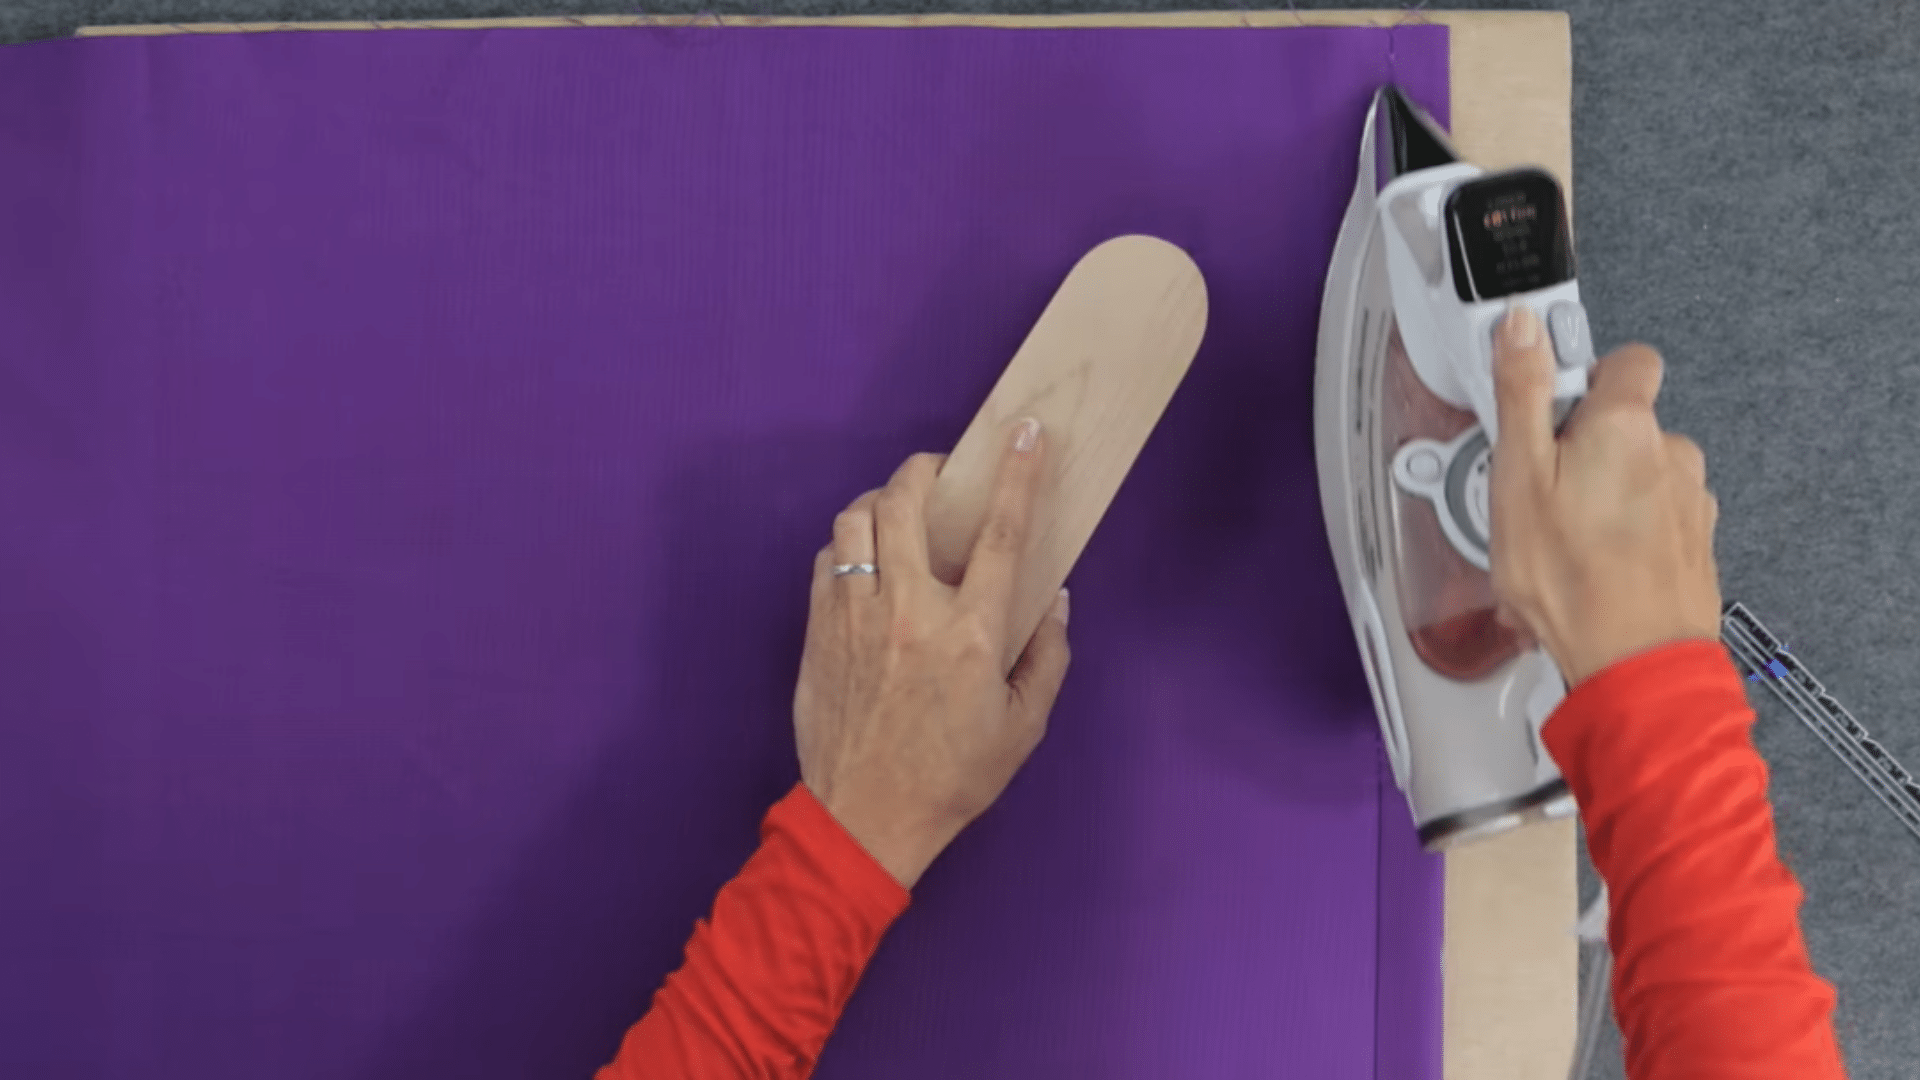
Lay the fabric on a flat surface and cut it based on your measurements. Keep your cuts straight so the edges line up when you fold and sew.
Before moving forward, trim off the selvage edges on both sides. These edges are tighter than the rest of the fabric and can cause uneven hanging.
Removing them helps the fabric fall smoothly. This small step makes a clear difference when working on DIY curtains at home.
Step 3: Sew the Side Hems
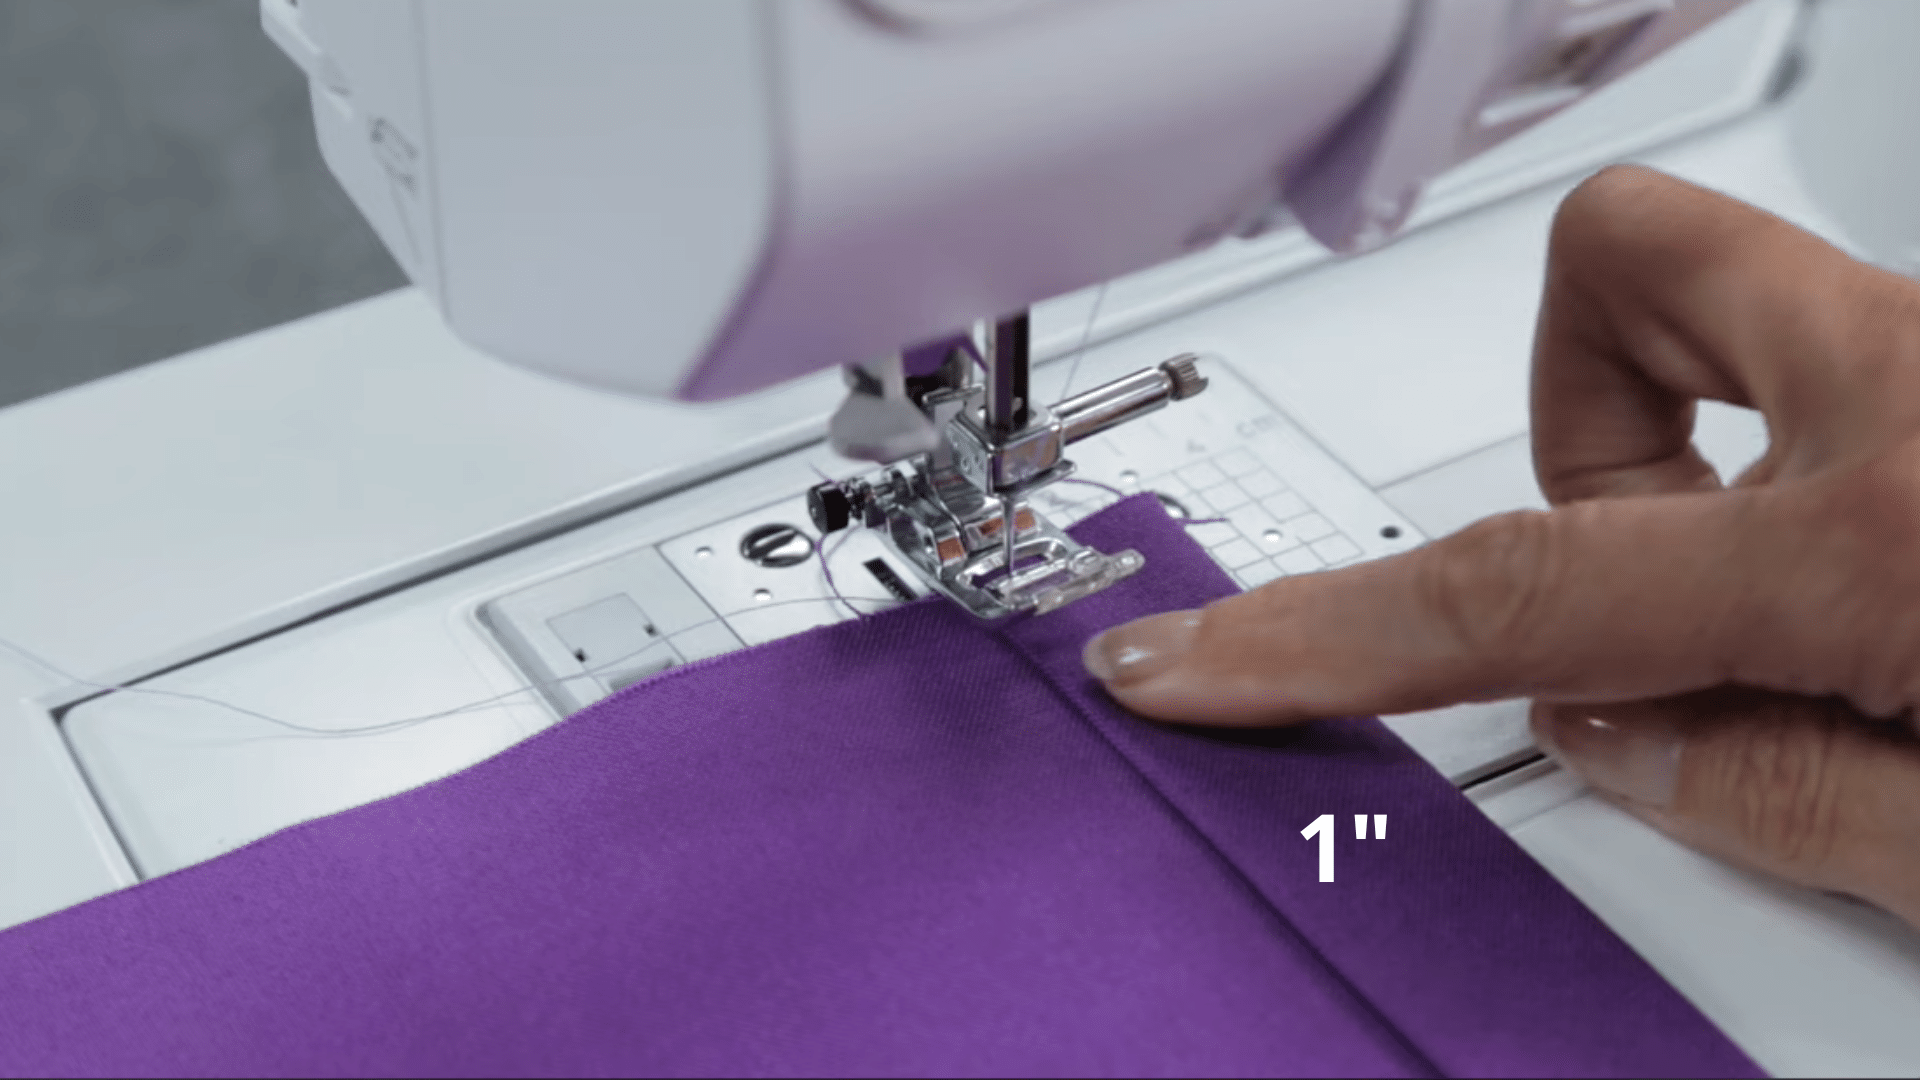
Fold one side of the fabric 1 inch toward the back. Press it flat using an iron to keep the fold in place. Then fold another inch over it and press again.
This double fold hides the raw edge and keeps the sides looking clean. Stitch along the inner fold in a straight line.
Try to keep your stitching even from top to bottom. Repeat the same process on the other side to finish both edges neatly.
Step 4: Create the Bottom Hem
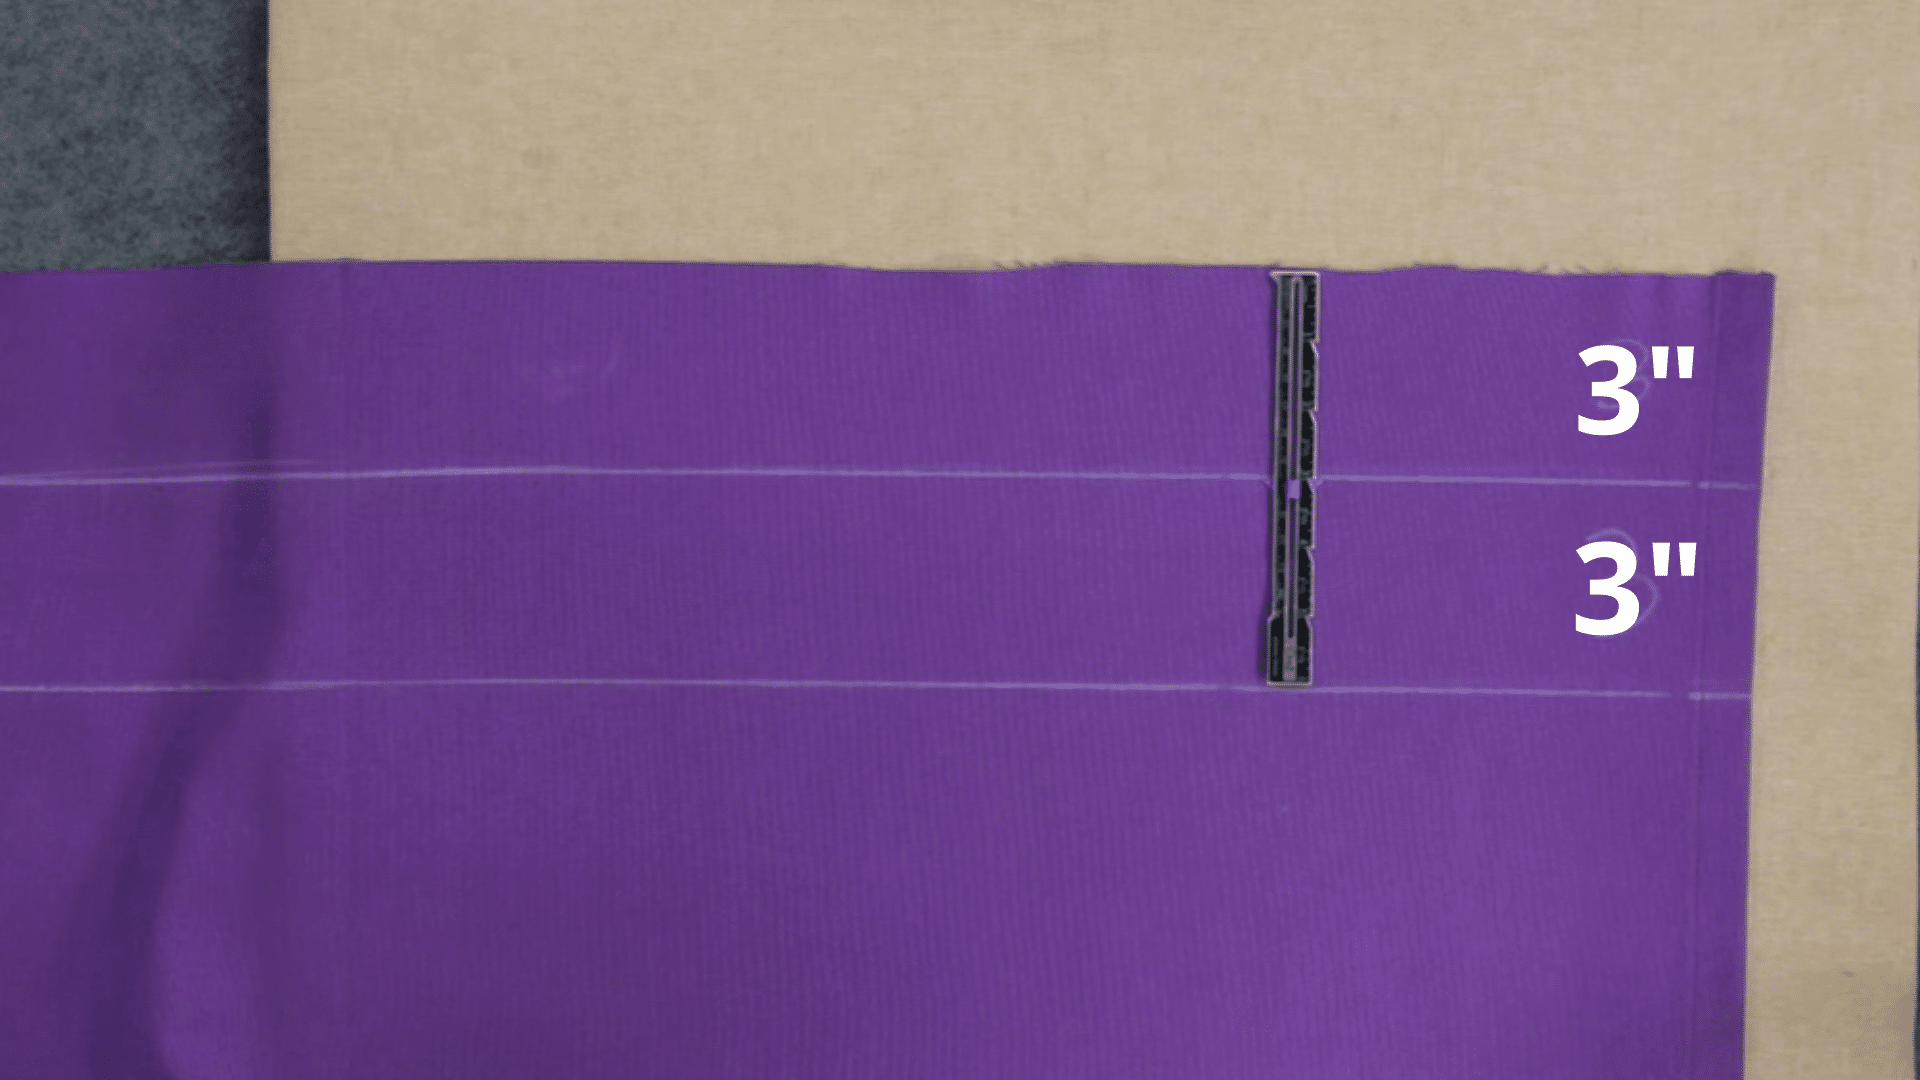
Measure 3 inches up from the bottom edge, then mark it with chalk. Fold the fabric up to this mark and press it flat. Then fold it up again by another three inches and press once more. Stitch along the top edge of the fold to secure it.
This wider hem adds a bit of weight at the bottom, which helps the curtain hang straight. It also gives the curtain a more balanced look once it is placed on the rod.
Step 5: Prepare the Top Section
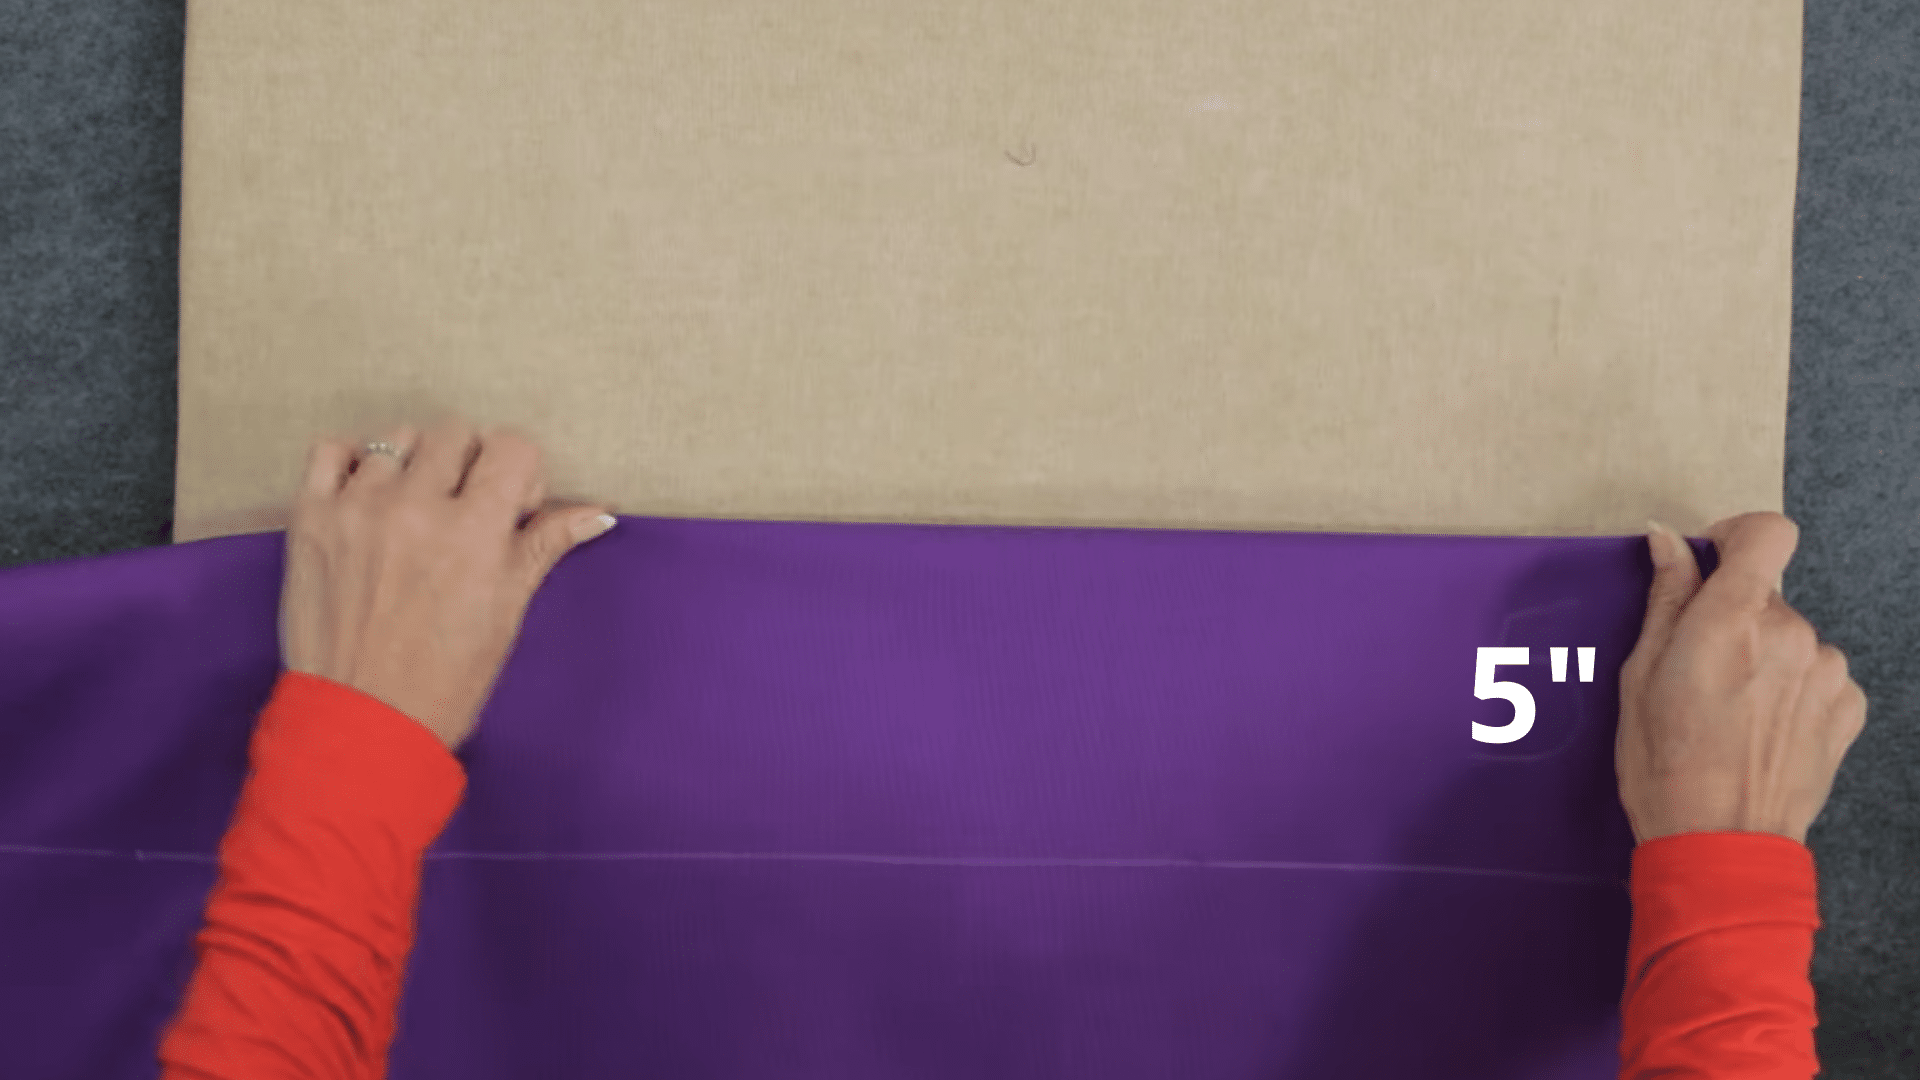
Measure 5 inches down from the top edge, then mark a straight line. Fold the fabric inward along this line and press it firmly.
Then fold it again by another five inches and press once more to create a thick band. Stitch along the lower edge of this fold to hold it in place.
This top section needs to be strong, as it will support the grommets and the weight of the curtain when it is hung.
Step 6: Add Grommets
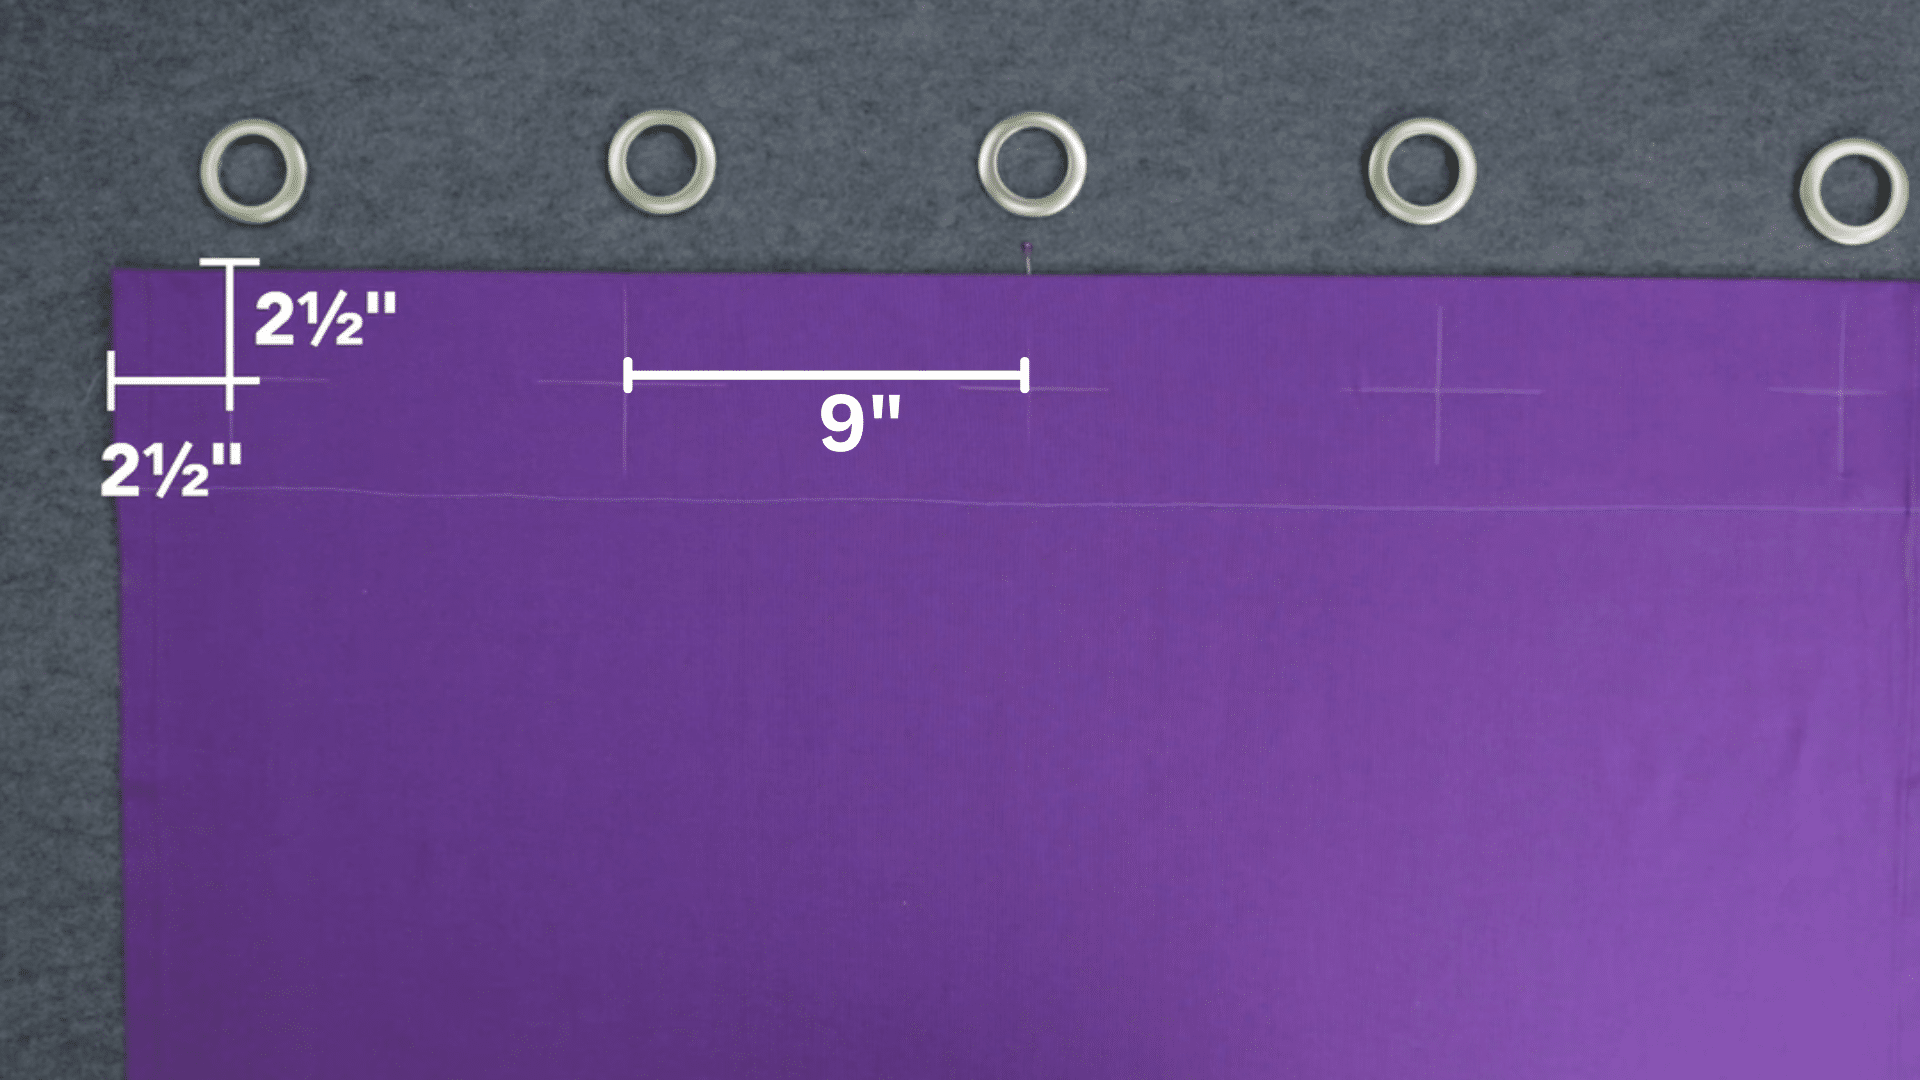
Mark the positions for the grommets, starting about 2.5 inches from the top and sides.
Keep equal spacing between each mark so the curtain hangs evenly. Use the template from the grommet kit to trace circles. Carefully cut out each circle without stretching the fabric.
Insert the bottom ring from the front side, then press the top ring from the back until it snaps into place. Make sure each grommet is secure before moving on.
Step 7: Hang the Curtains
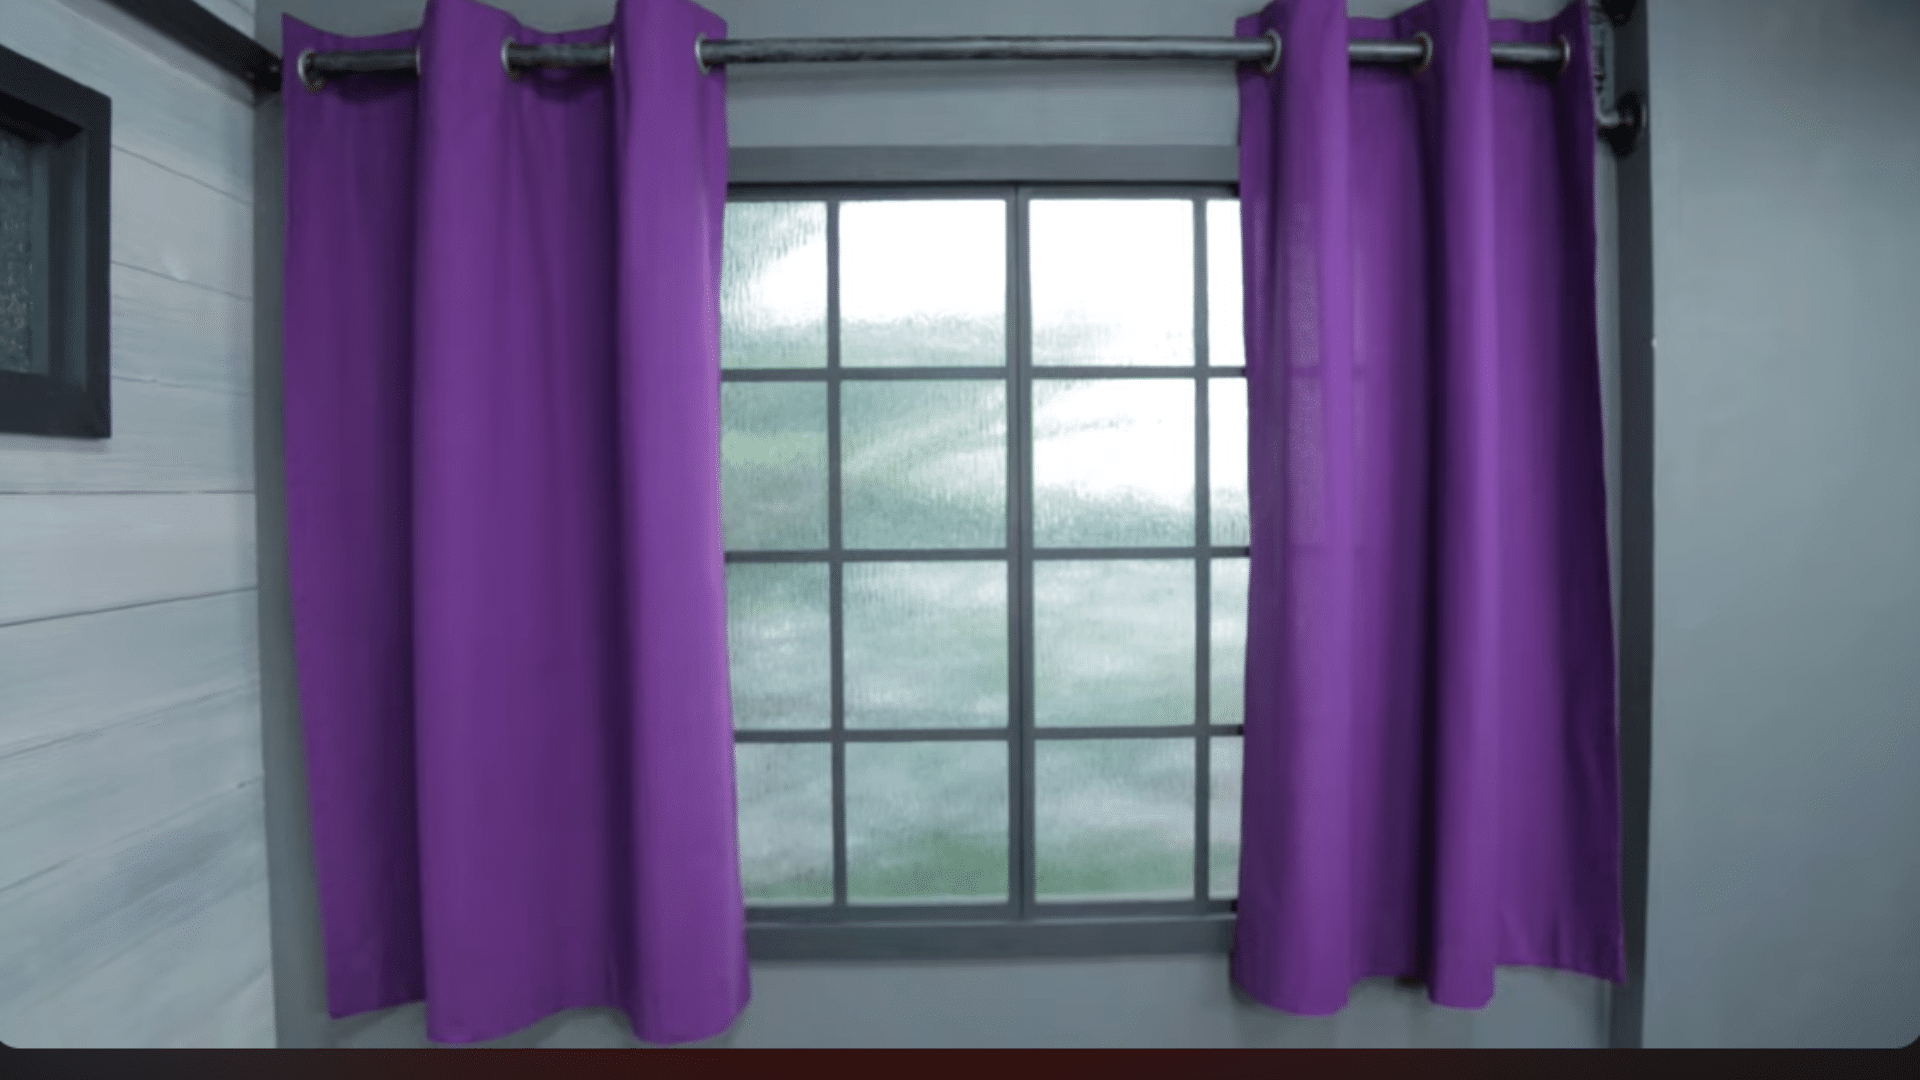
Slide the curtain rod through the grommets one by one. Once the curtain is on the rod, place it onto the brackets.
Adjust the fabric so the folds are spread evenly across the rod. Step back and check if both sides are level.
If needed, shift the fabric slightly to make it even. This final step brings everything together and completes your DIY curtains, ready to use in your space.
This tutorial is based on a helpful video by Craftsy. You can check out the original video below for a more detailed visual guide:
Curtain Heading Types: Which Style Should You Make?
Grommet-top curtains (the style in this guide) are the most beginner-friendly and work well for a clean, modern look.
But the heading style changes how your curtain hangs and how much fabric you need. Here is a quick comparison:
| Heading Type | Best For | Fullness Ratio Needed | Skill Level |
|---|---|---|---|
| Grommet top | Modern, casual, easy open/close | 1.5–2x window width | Beginner |
| Rod pocket | Stationary, decorative panels | 2–2.5x window width | Beginner |
| Tab top | Relaxed, bohemian look | 1.5–2x window width | Beginner–Intermediate |
| Pinch pleat | Formal, tailored rooms | 2.5–3x window width | Intermediate |
| Eyelet/ring top | Lightweight, sheer fabrics | 1.5–2x window width | Beginner |
Common Curtain Sizes and Standard Measurements
Understanding standard curtain sizes makes it easier to plan and cut fabric correctly.
Most ready-made curtains come in common lengths like 63, 84, 96, and 108 inches. These sizes are based on typical wall heights and window placements.
For wider windows, panels are usually 40 to 54 inches wide each.
For a full look, the curtain width should be about 1.5 to 2 times the window width. This helps the fabric fall into soft folds rather than appearing flat.
Length depends on style. Curtains can stop at the window sill, just below it, or reach the floor. Floor-length curtains are the most common choice for a clean and balanced look.
When making curtains at home, these standard measurements act as a starting point. Adjust them based on rod height and personal preference to get the right fit for the space.
| Curtain Drop Style | Length from Rod | Best For |
|---|---|---|
| Sill length | Ends at the window sill | Kitchens, bathrooms, casual rooms |
| Below sill/apron | 4–6 inches below the sill | Transitional spaces, utility rooms |
| Floor length | ½ inch above the floor | Living rooms, bedrooms, formal spaces |
| Puddle length | 3–6 inches on the floor | Dramatic, decorative looks only |
Best Fabric Choices for DIY Curtains
Choosing the right fabric plays a big role in how DIY curtains look and hang. The material affects light control, weight, and the overall feel of the room.
- Cotton: A popular choice for DIY curtains because it is easy to cut and sew. It works well for everyday use and gives a clean, neat finish in most rooms.
- Linen: Linen has a light feel and allows some natural light to pass through. It hangs well and suits spaces that prefer a soft, relaxed look.
- Polyester: This fabric is durable and resists wrinkles, helping curtains maintain their shape. It is a practical option for long-term use with less maintenance.
- Velvet: Velvet is thicker and blocks more light, making it useful for bedrooms. It also adds weight, which helps curtains hang straight and steady.
- Sheer Fabric: Sheer materials allow maximum light while still offering some privacy. They are best used in living areas where brightness is important.
I’ve used cotton muslin for a home office where I wanted diffused light without total darkness, linen for a living room where the loose weave matched the relaxed feel of the space, and a cotton-velvet blend for a bedroom that needed near-blackout coverage without buying lining fabric separately.
The cotton-velvet blend was the most forgiving to sew and gave the cleanest hang of the three.
Mistakes that Can Affect the Final Look
Small errors during the process can change how the curtains look once they are hung. If you are working on DIY curtains or learning how to sew curtains, avoiding these mistakes will improve your results.
| Common Mistakes | What Happens | How To Avoid It |
| Inaccurate Measurements | Curtains turn out too short, too long, or uneven, ruining the overall look and fit. | Measure at least twice, keep the tape straight, and note both length and width before cutting. |
| Skipping Fabric Prep | The fabric may hang stiffly or unevenly, making the curtains look unpolished. | Trim selvage edges and smooth out fabric before sewing for a better drape. |
| Uneven Stitching Lines | Edges look messy and unbalanced, reducing the finished quality. | Use a seam guide, stitch slowly, and press folds before sewing to keep lines straight. |
| Using the Wrong Needle | Needle may break or skip stitches, weakening seams and affecting durability. | Use a strong needle (like a denim needle) for thicker fabrics and smoother stitching. |
| Poor Spacing of Grommets | Curtains hang awkwardly, and folds don’t align properly. | Mark positions carefully, keep spacing equal, and use a template for consistency. |
At the End
If you have made it this far, you already know how to turn fabric into something useful for your space. When I first tried DIY curtains, I kept things simple and focused on each step. That made the process easier to follow.
You may feel the same once you start. It is not about being perfect, but about achieving a clean, neat result.
Take your time and do not rush the final steps. Small details like straight hems and even spacing help the curtains hang better. Once you put them up, the difference is easy to see and worth the effort.
If you try this at home, share your experience in the comments below. Let others know what worked for you or what you changed along the way.
Frequently Asked Questions
Is it Cheaper to Buy or Make Curtains?
Making curtains is often more affordable, especially for large windows. Fabric choices can be adjusted based on budget, while store options may cost more for similar sizes.
Is it Worth Making Your Own Curtains?
Homemade curtains allow better control over size, fabric, and finish. The result fits the space more accurately compared to ready-made options.
What Kind of Sewing Machine do You Need to Make Curtains?
A basic sewing machine with straight stitch settings works well. It should handle medium- to thick-fabric without skipping stitches.
What Fabric Works Best for Curtains?
Cotton, linen, and polyester blends are common choices. The right fabric depends on light control, durability, and how the curtain should hang.
How Long does it Take to Make Curtains at Home?
Simple curtains can be completed in a few hours. Time may vary based on fabric type, size, and sewing speed.