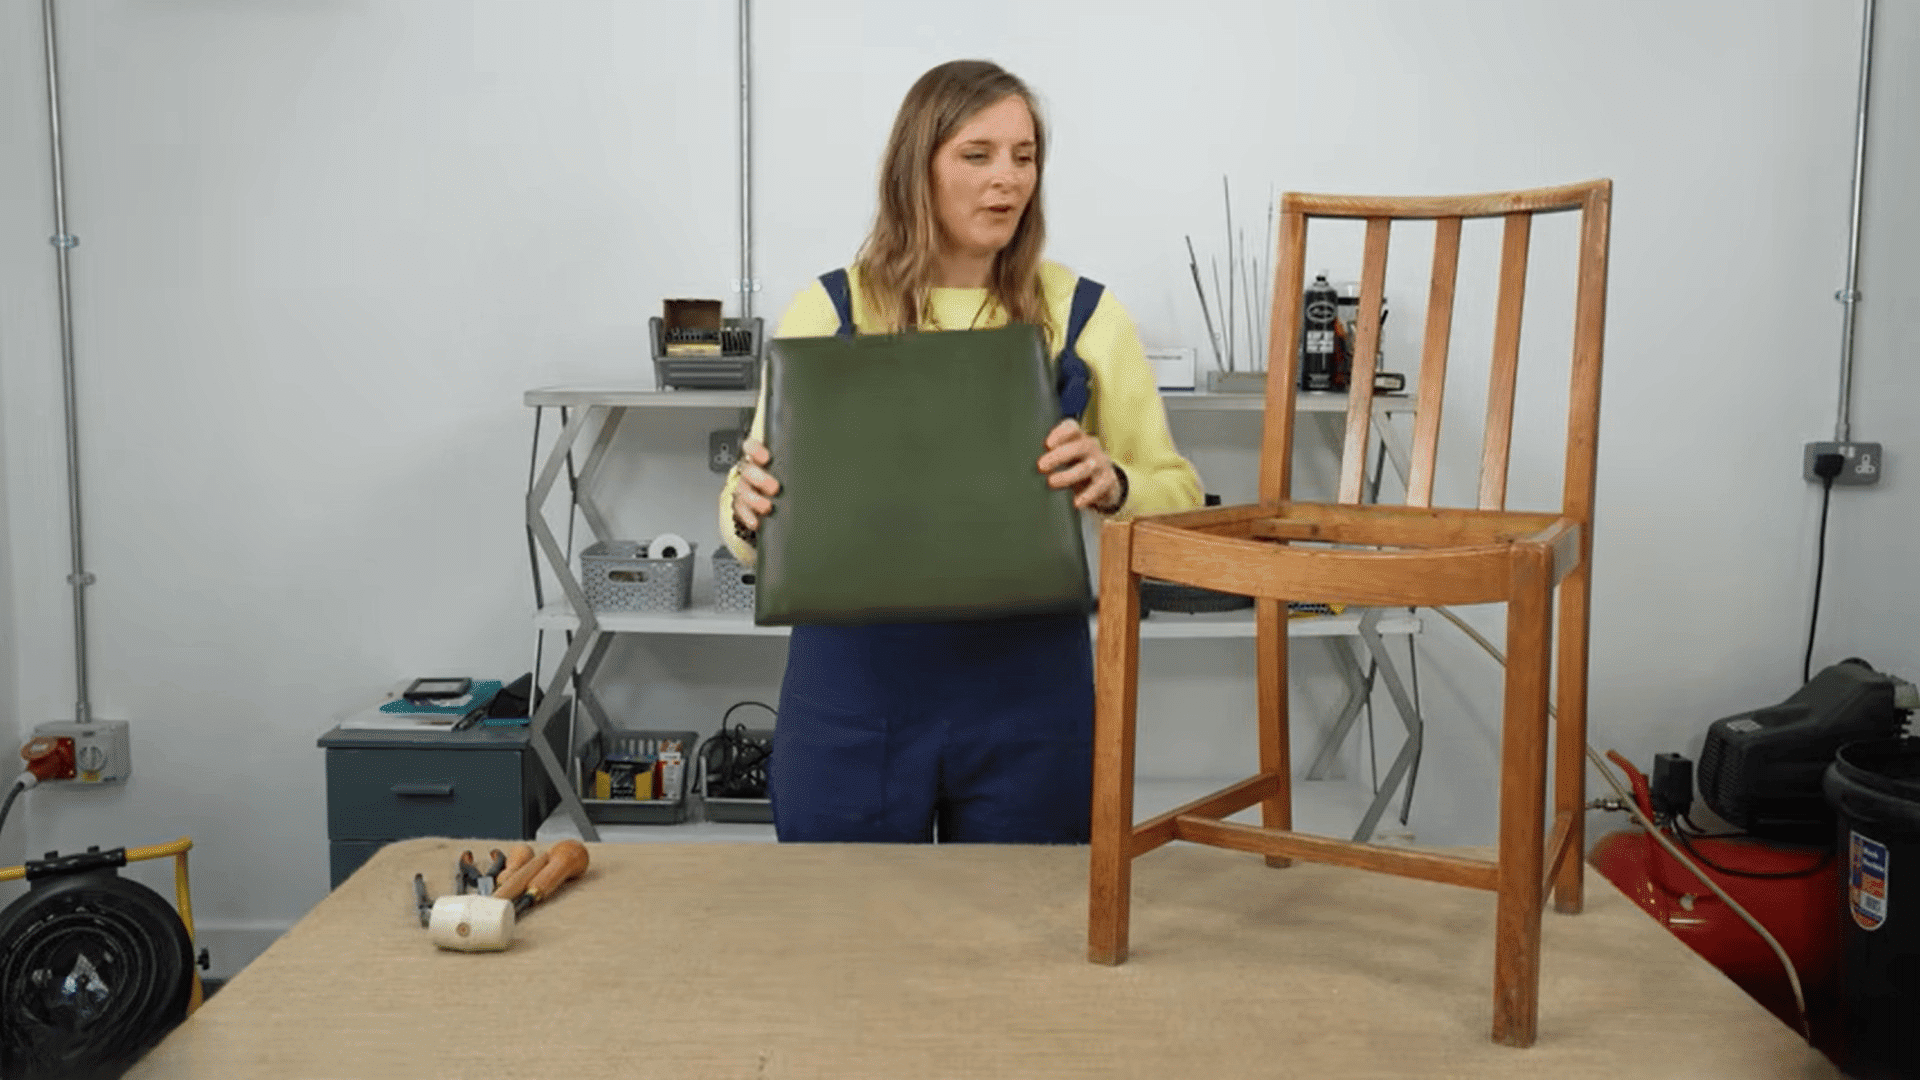
Your dining chairs go through a lot. Daily meals, spills, kids, and years of use can leave the fabric looking worn out and embarrassing. The good news? You do not have to buy new chairs.
We will walk through exactly how to reupholster a dining chair seat from start to finish. This is one of the easiest DIY projects a beginner can take on.
You do not need a sewing machine. You do not need special training. All you need is a staple gun, some fabric, and about an hour of your time.
In this guide, we will cover everything, including how to strip the old fabric, cut and attach new foam, add a base layer, staple your new fabric the right way, finish the corners cleanly, and put it all back together.
By the end, your chairs will look brand new without costing a lot. Ready to transform your dining room without breaking the bank? Grab your staple gun and let’s get started.
What is Reupholstering a Dining Chair?
Reupholstering a dining chair means replacing the old, worn-out fabric on the seat with fresh, new fabric. You are not rebuilding the chair.
You are simply giving it a new cover.
Think of it like putting a new case on an old phone. The phone still works perfectly fine. It just looks beat up on the outside.
A new case makes it look brand new without replacing the whole thing. Reupholstering works the same way. The chair frame is still solid and sturdy. The only thing that needs to change is the fabric on top.
In most dining chairs, the seat pad is a separate piece that unscrews from the frame. You remove it, pull off the old fabric, staple on the new fabric, and screw it back in. That is the whole process.
It is not a complicated skill. It is just a simple swap that makes a big visual difference.
Cost of Reupholstering Dining Chairs
Reupholstering a dining chair costs a fraction of what you would spend on a new one. Here is a quick cost breakdown for DIY vs professional upholstery in the USA.
| Cost Factor | DIY | Professional |
|---|---|---|
| Fabric (per chair) | $5 to $15 | $10 to $30 |
| Foam + Batting | $10 to $25 | Included |
| Tools (one-time) | $30 to $60 | Not needed |
| Labor | Free | $50 to $150 |
| Per Chair Total | $20 to $50 | $75 to $200 |
| Set of 4 Total | $110 to $260 | $300 to $800 |
DIY reupholstering a set of 4 dining chairs saves you up to $540 compared to hiring a professional
Tools and Materials Needed
Having everything ready before starting saves time and keeps the process smooth. Here are the 7 things needed to reupholster a dining chair seat.
- Screwdriver
- Upholstery Chisel and Pincers
- Staple Gun
- Scissors or Box Cutter
- Upholstery Foam
- Wool Safe or Batting
- Upholstery Fabric and Lining Cloth
Step-by-Step: How to Reupholster a Dining Chair Seat
Reupholstering a dining chair seat does not require any professional skills or special training. Follow these simple steps to get a clean, professional-looking result at home.
Step 1: Remove the Seat Pad From the Chair Frame
Flip the chair upside down. Screws hold the seat pad to the frame from underneath. Use a screwdriver to loosen and remove them.
Once the screws are out, lift the seat pad away from the frame and place it on a flat work surface. All the prep and stapling happen on this pad before it goes back onto the chair.
Removing it first gives full access to the fabric and makes every step much easier.
Step 2: Strip the Old Fabric From the Seat Pad
Turn the seat pad over so the underside faces up. Place an upholstery chisel next to each tack and give it a few firm taps to loosen it. Once loose, grab the tack with pincers and pull it out the rest of the way.
Work around the entire underside until every tack is removed. Peel the old fabric away completely. Once the fabric is off, the padding underneath becomes visible, and you can decide whether it needs replacing.
Pro Tip: Work slowly around the edges when removing tacks. Rushing can tear the seat pad base or leave tack fragments behind that affect how flat the new fabric sits.
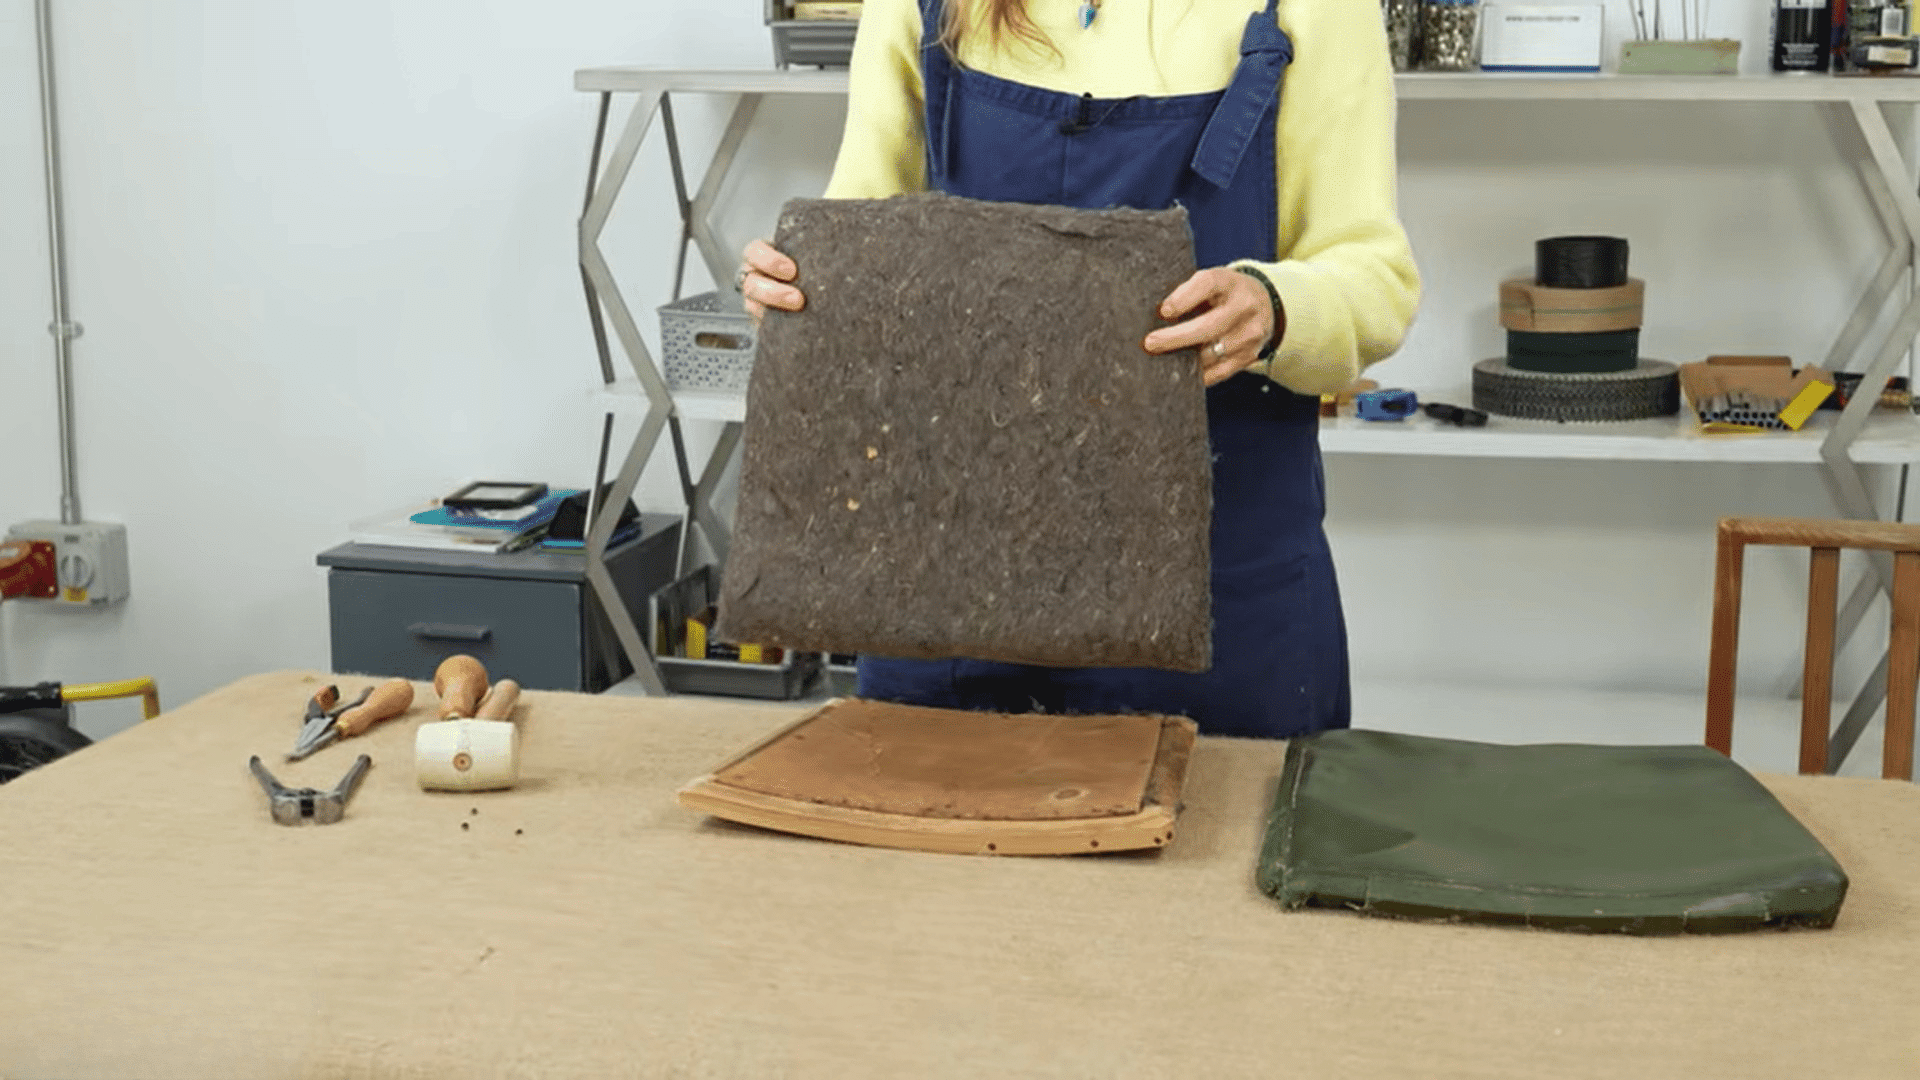
Step 3: Assess and Replace the Foam Padding
Check the padding under the old fabric. If it is cotton felt, flat, or crumbling, replace it with new foam. If the existing foam still feels firm and bouncy, it can be reused, and this step can be skipped.
Place the seat pad face down on a foam sheet and trace around it with a felt-tip marker. Cut carefully along the traced line.
Some seat pads have a slight curve, so tracing accurately ensures the foam matches the shape.
Pro Tip: Use a felt-tip or permanent marker for tracing. Pencil lines on foam are hard to see and easy to cut off-line, which results in an uneven fit.
Step 4: Glue and Staple the Foam to the Seat Pad

Spray adhesive on the top of the wooden seat pad frame and on the back side of the cut foam. Press the foam firmly onto the frame and line up all the edges carefully.
Hold it in place until the glue grabs. For extra security, staple around the edges of the foam. Do not staple straight down through the top.
Instead, catch just the edge of the foam against the frame so the staple holds without distorting the surface.
Pro Tip: Always glue first, then staple. The glue holds everything in position while stapling so the foam does not shift and leave gaps at the edges.
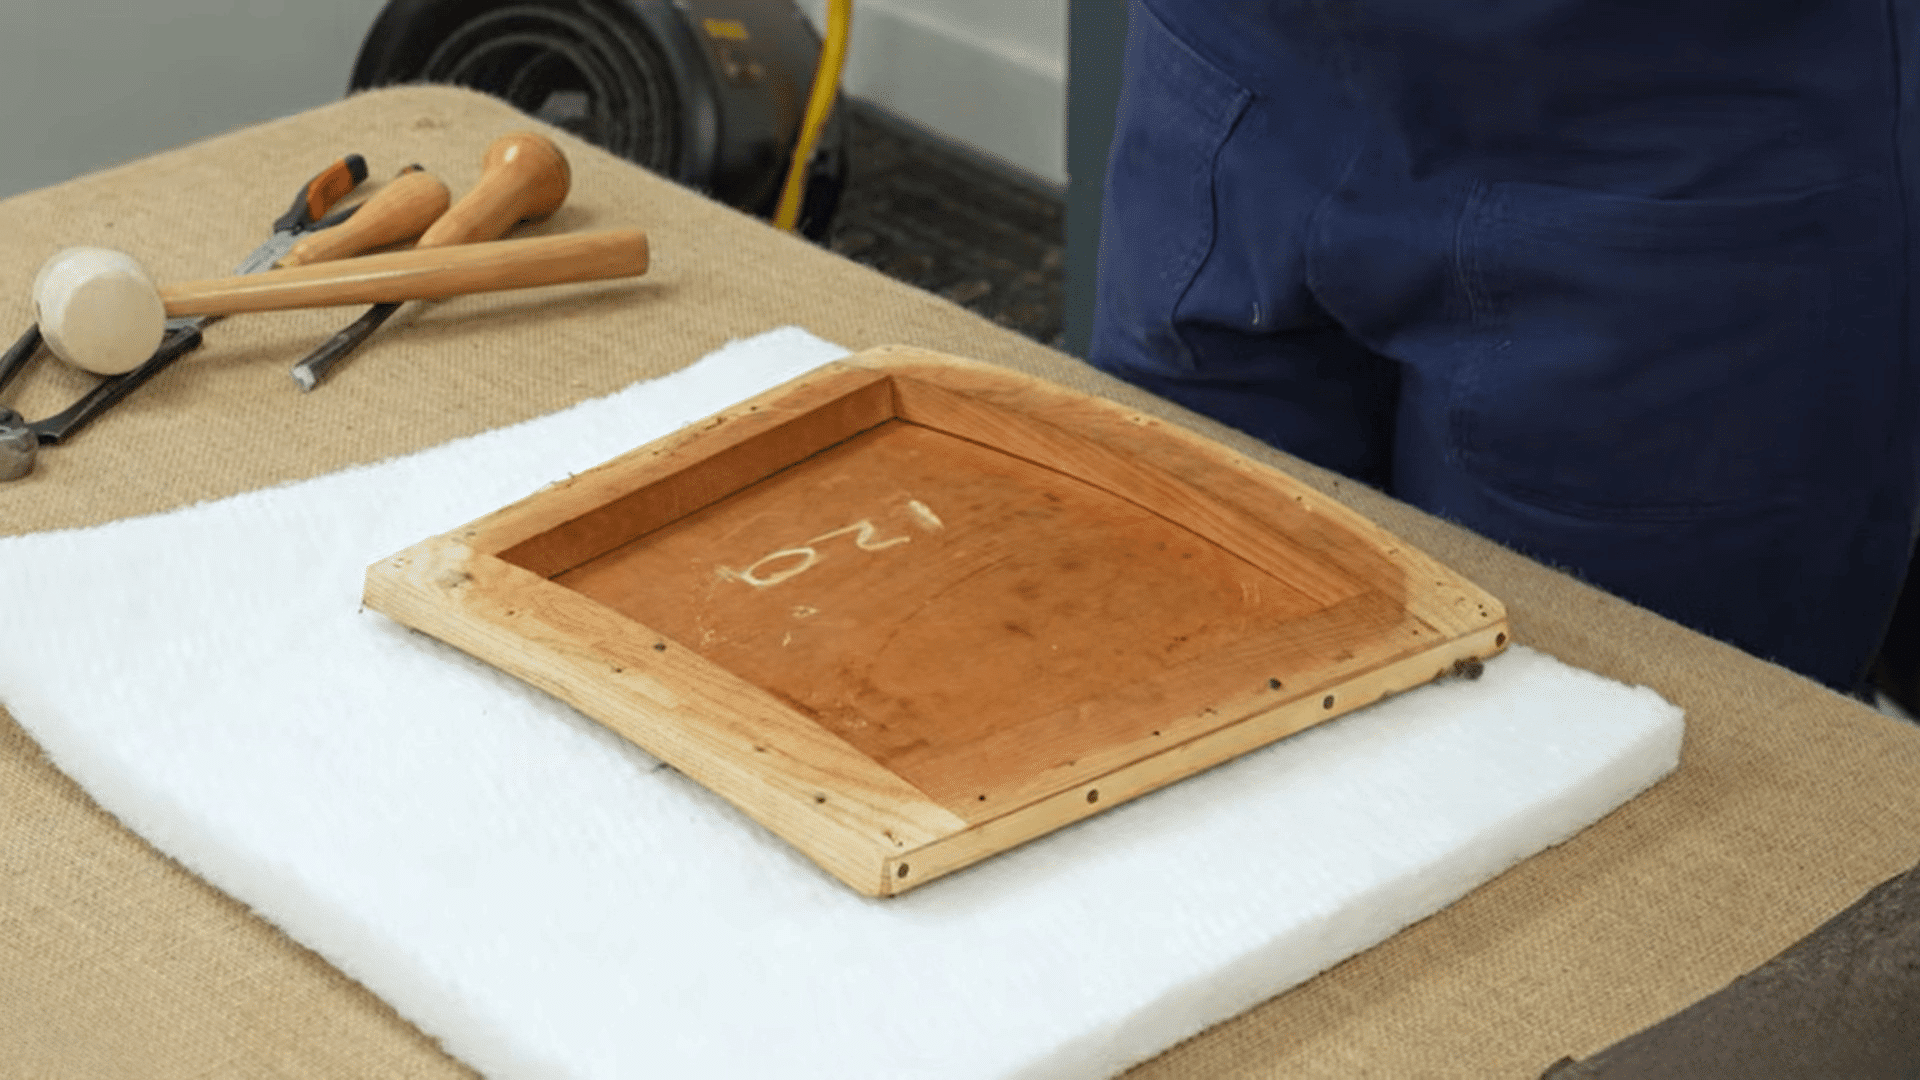
Step 5: Add a Base Layer Over the Foam

Before the main fabric goes on, a base layer is needed. This smooths out the foam surface and makes it much easier to get a clean, wrinkle-free finish with the top fabric.
Use Dacron wadding, wool safe, or standard upholstery batting. Cut it a little larger than the seat pad so it wraps over the foam and reaches the underside of the frame.
Place the seat pad face down on the material before stapling begins.
Pro Tip: Wool safe is the best base layer choice for beginners because it is stretchy and forgiving. It eases over curves and corners without bunching, which makes the final fabric layer look much smoother.
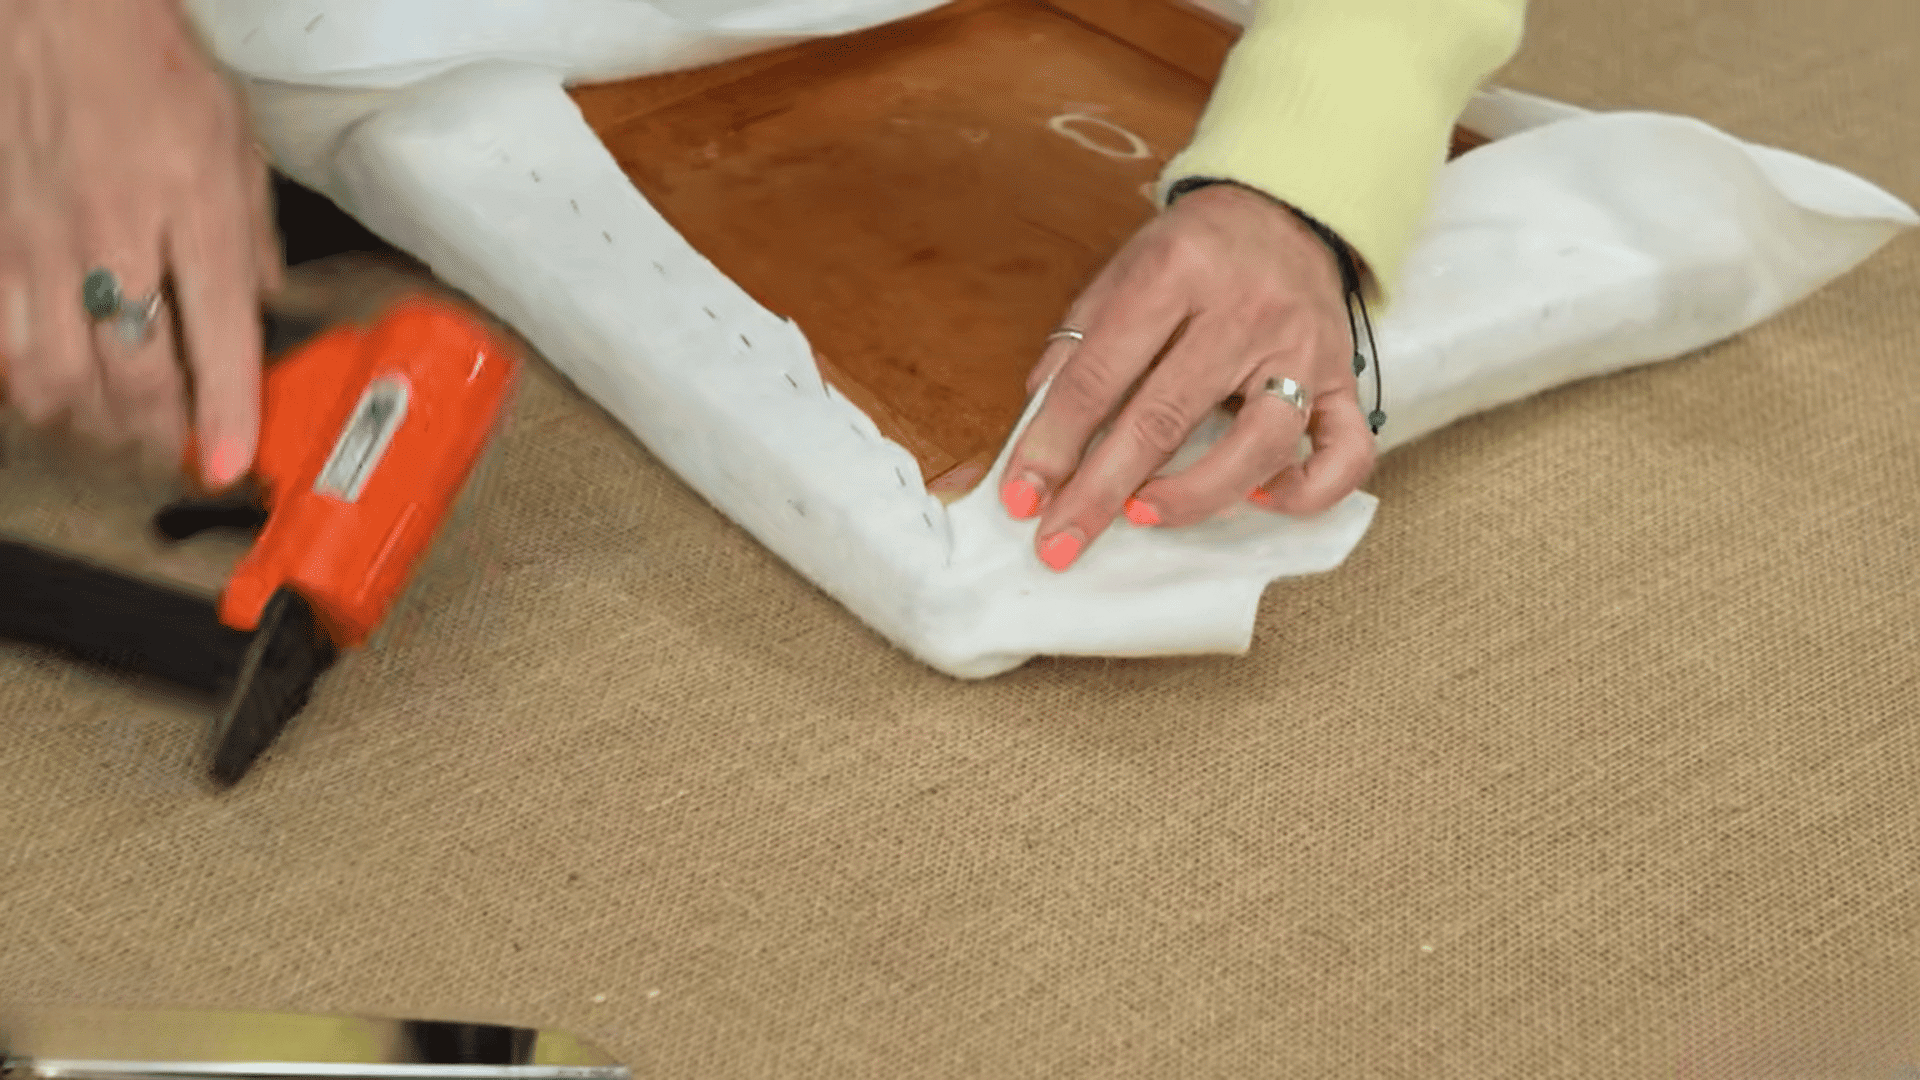
Step 6: Staple the Base Layer to the Seat Pad
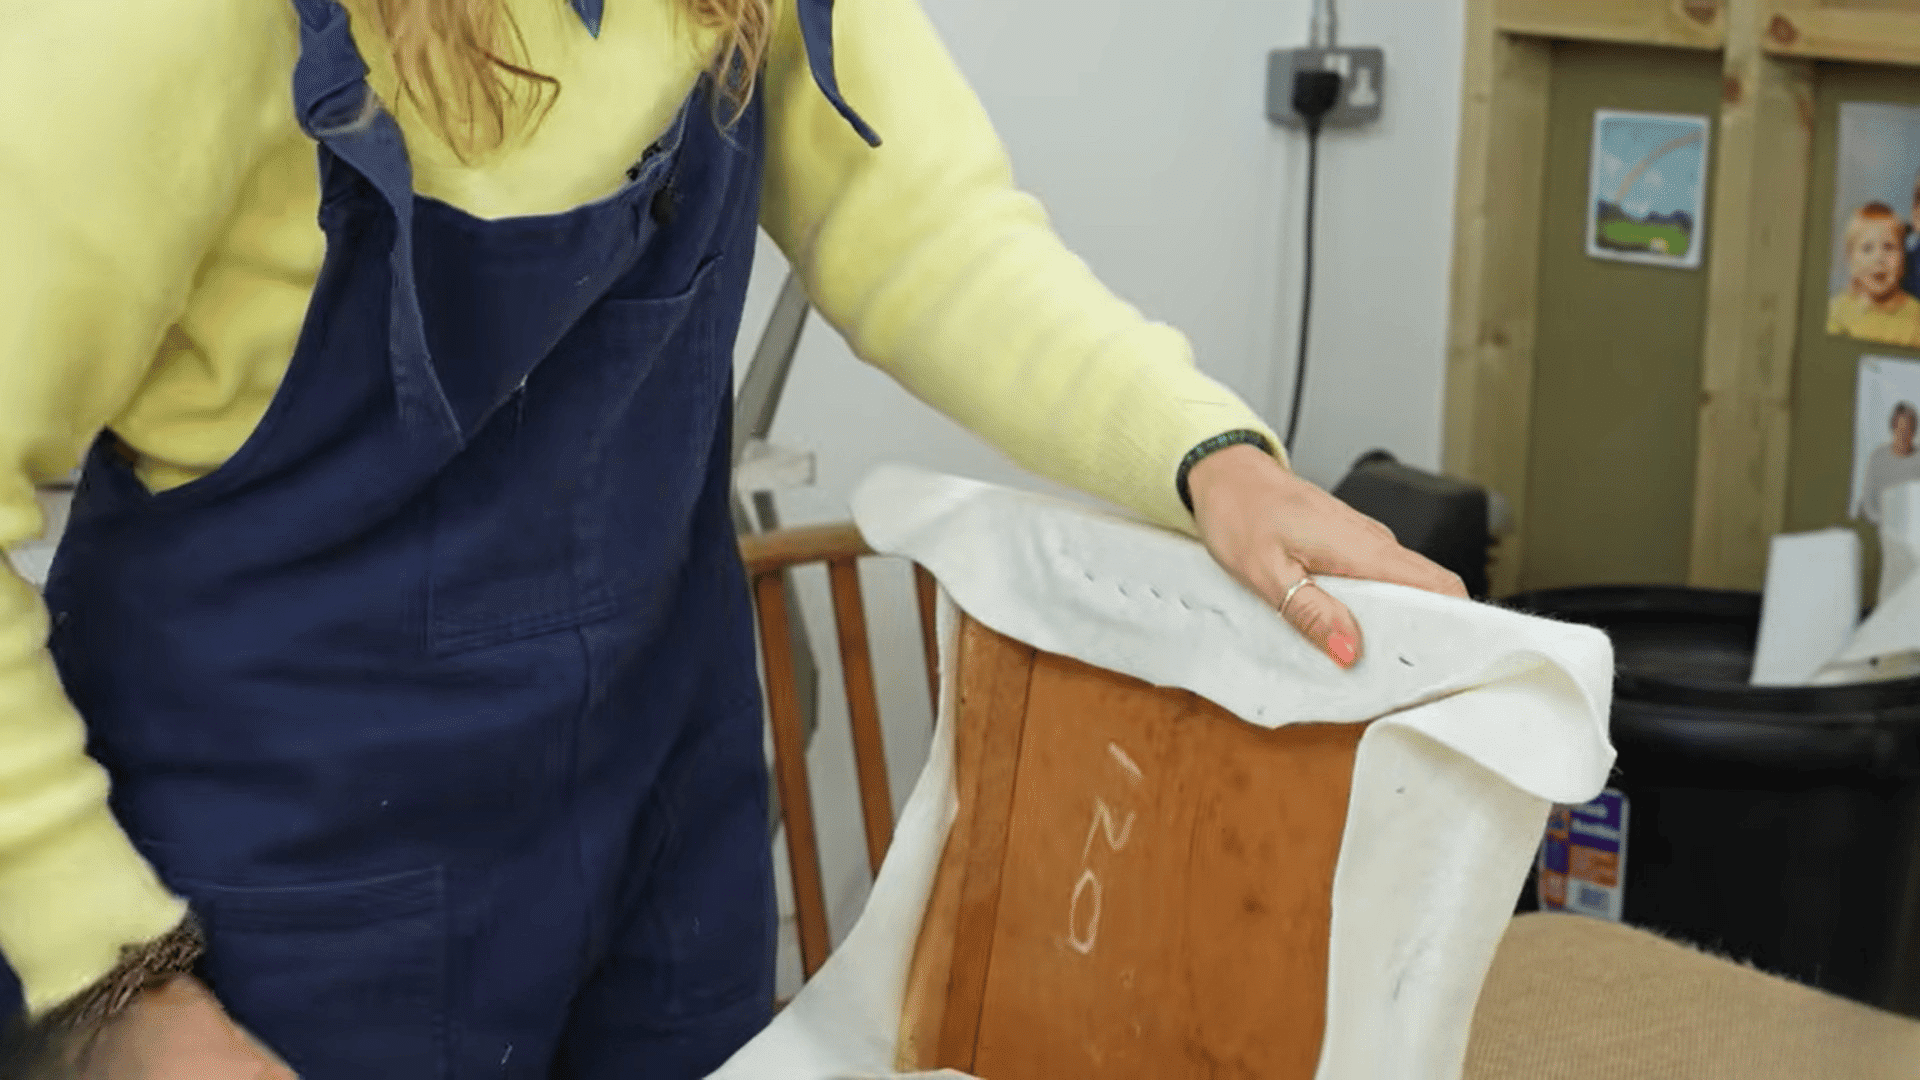
Start at the front edge. Smooth the base layer over the edge and put one staple in the center. Do the same on the back edge, then both sides.
Once there is one anchor staple on each side, go back and fill in the gaps. Always work from the center outward toward the corners.
Ease the material over the edge as you go. Do not pull it hard. Just smooth out the slackness so the surface stays flat and even.
Pro Tip: Never start at a corner. Always anchor the center of each side first. This keeps the material evenly distributed and prevents the fabric from pulling to one side as you work toward the corners.
Step 7: Finish the Corners of the Base Layer
Corners are the trickiest part, but the technique is simple once practiced. Ease the base layer diagonally toward each corner.
For sharp, right-angled corners, pull one pleat of material around the corner, staple it down, and trim the excess waste in a square cut.
Keep cutting the waste away as you go. If the corner is too bulky, the seat pad will not fit back into the chair frame properly. Repeat this process on all four corners.
Pro Tip: Always think in squares when trimming corners. Curved cuts leave too much bulk underneath. Square cuts keep the corner flat, clean, and thin enough to fit back in the frame without forcing it.
Step 8: Cut and Position the Main Fabric
Measure the seat pad at its widest point in both directions. Add 4 to 6 inches on all sides for wrapping and stapling.
Cut the fabric to size. If the fabric has a pattern, center it on the seat pad before putting in a single staple. For plain fabric, make sure the grain runs straight.
Place four temporary staples, one in the center of each side, to hold the fabric in position before committing to the final stapling.
Pro Tip: A temp staple is one pushed only halfway in so it can be removed easily. Use temps until the pattern placement is completely right before driving in the final staples.
Step 9: Staple the Main Fabric and Finish the Corners
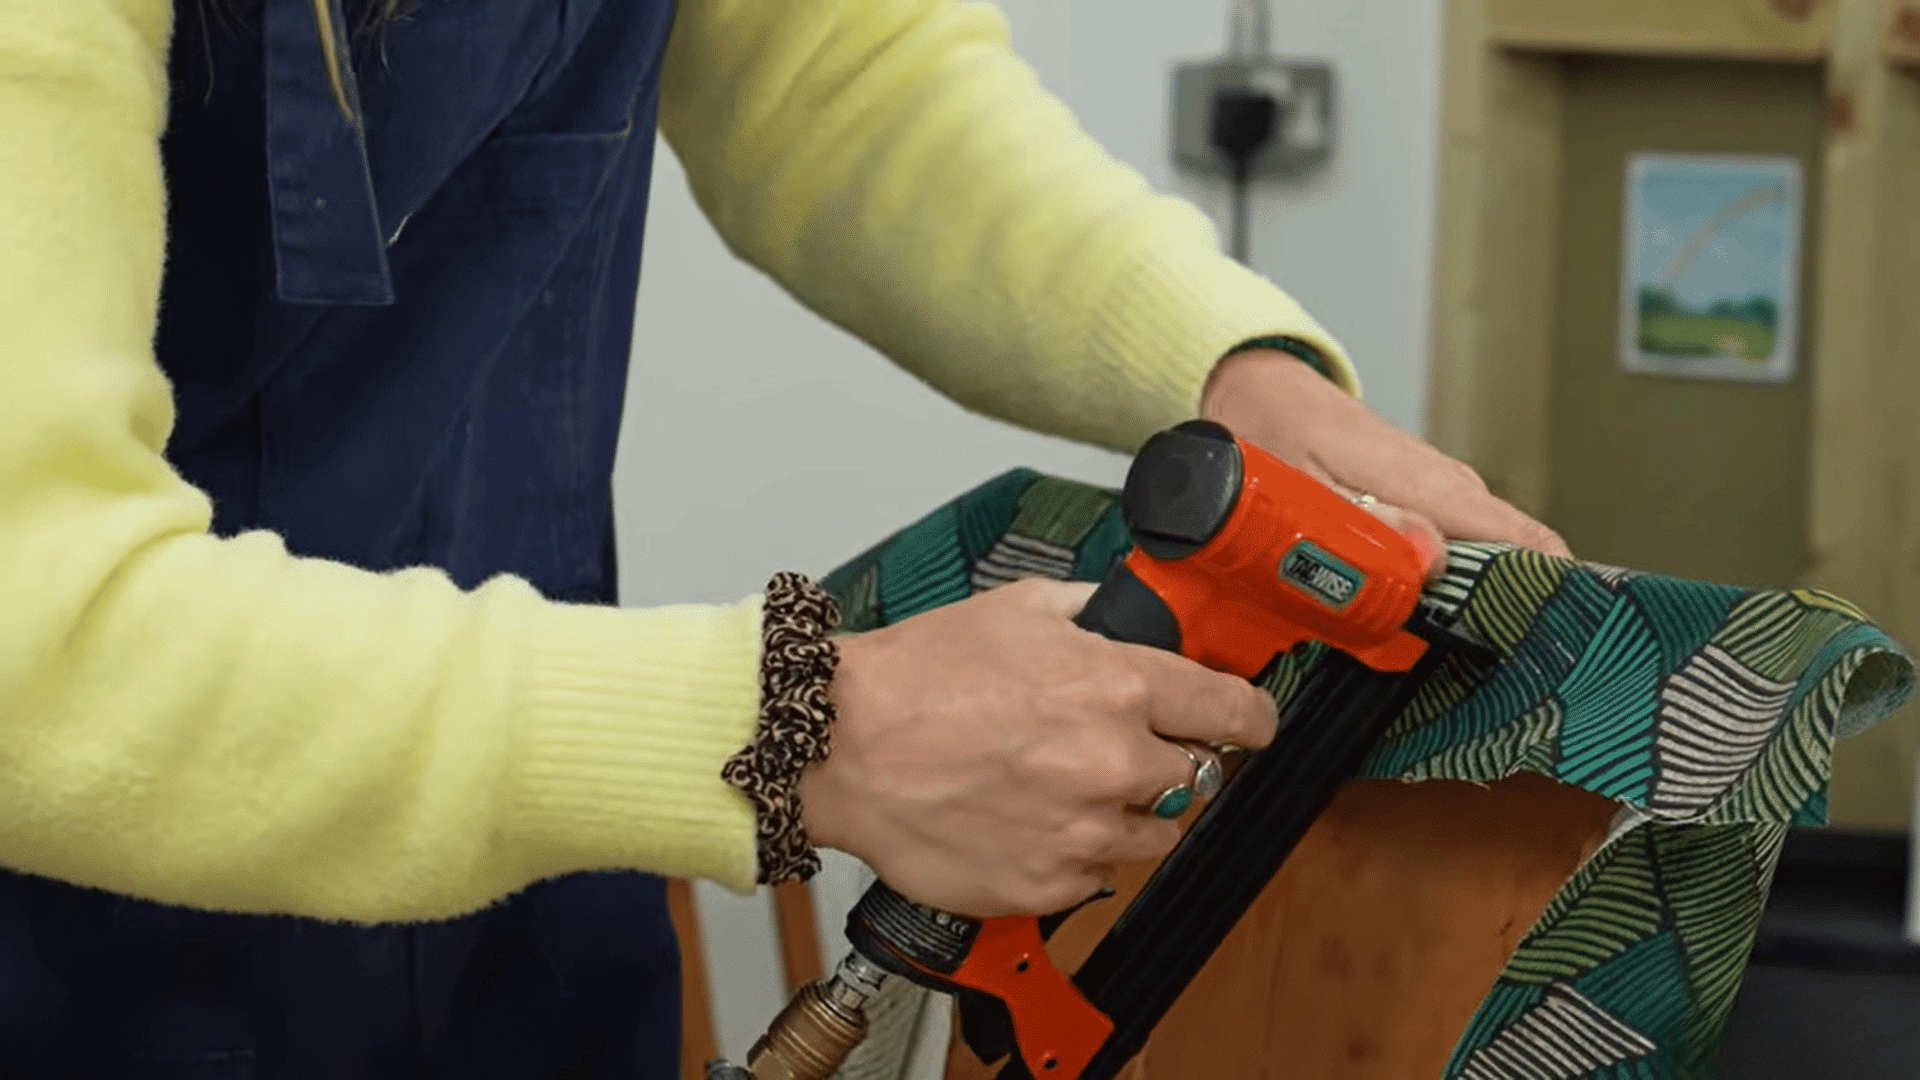
Remove each temp and replace it with a full staple. Work the front edge first, then the back, then both sides. Smooth the fabric over each edge and ease out the slackness before stapling.
Never yank the fabric. Fill in all gaps from center to corner. For corners, repeat the same pleat technique used on the base layer.
Use one pleat for sharp corners and two pleats for rounded ones. Trim all excess waste in square cuts as you go.
Pro Tip: The base layer step is a practice run for this step. If the base layer corners came out clean, the fabric corners will too. Use the exact same hand movements and trimming technique.
Step 10: Attach the Backing Cloth and Refit the Chair
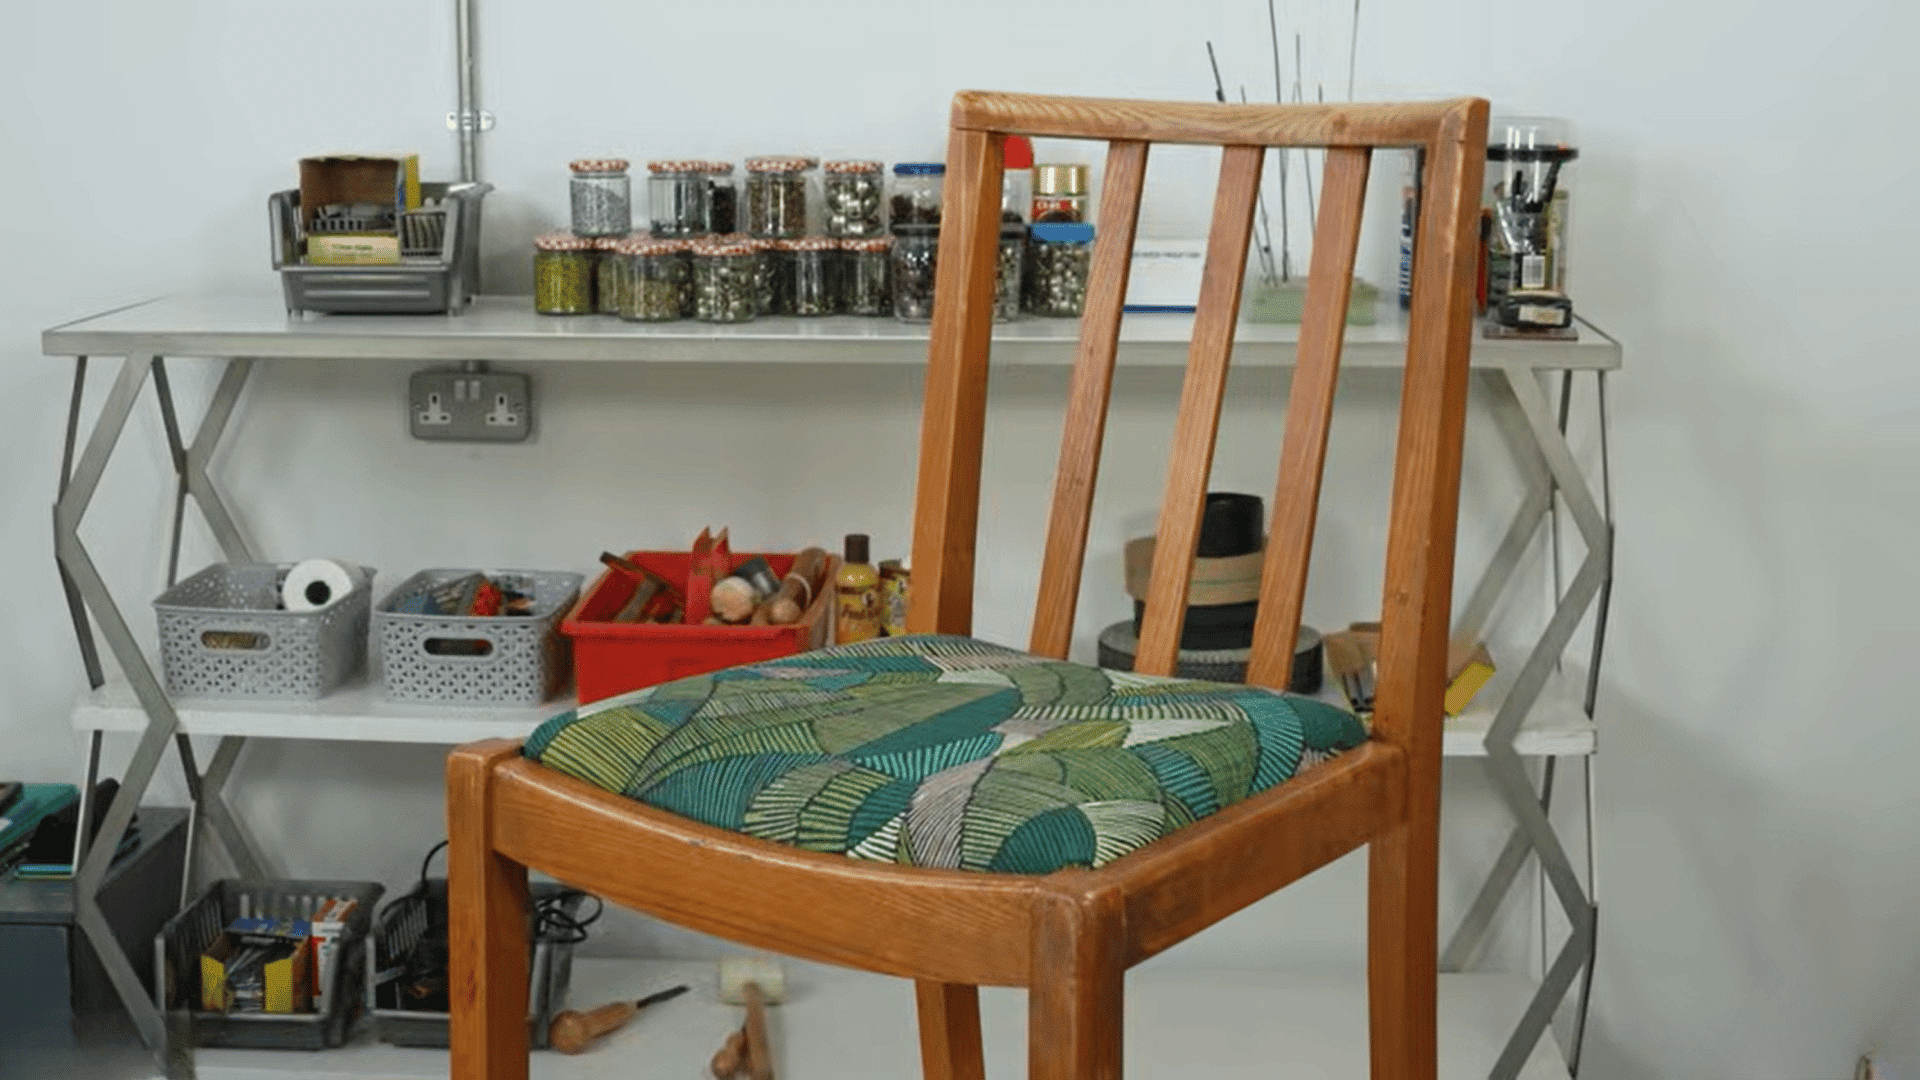
Cut a piece of black lining fabric, calico, or hessian slightly larger than the seat pad base. Turn the seat pad over and lay the lining on the underside.
Fold the front edge of the lining over and staple it down with three staples across the center. Repeat on the back edge and both sides.
Pull a little tension into the corners so they lie flat. Then, screw the finished seat pad back onto the chair frame and flip it upright.
Pro Tip: If the screw holes are covered by fabric when reattaching the seat, do not force the screw through. Trim a small notch in the fabric over each hole just large enough for the screw tip to pass through cleanly.
This tutorial is based on a helpful video by Just Fabrics. You can check out the original video on their YouTube channel here or watch it below.
Tips for Reupholstering Dining Chairs
Following these simple tips makes the difference between a rough DIY result and a clean, professional-looking seat pad every single time.
| Tip | Why It Matters |
|---|---|
| Remove the seat pad first | Gives full access to work freely |
| Glue before stapling | Keeps foam from shifting during stapling |
| Use temp staples | Allows easy fabric repositioning before committing |
| Work center outward | Prevents fabric from pulling unevenly |
| Trim corners in squares | Avoids the bulk that stops the seat from fitting back |
| Add a base layer | Gives a smoother, wrinkle-free fabric finish |
| Cut extra fabric | Prevents running short mid-project |
| Use an electric staple gun | Delivers cleaner and more consistent staples |
Common Mistakes to Avoid When Reupholstering Dining Chairs
Even a simple project like this can go wrong without the right knowledge. Avoiding these common mistakes saves time, money, and a lot of frustration.
- Starting at the corners: Always anchor the center of each edge first, or the fabric will pull unevenly.
- Skipping the base layer: Stapling fabric directly onto foam leaves the surface looking bumpy and uneven.
- Pulling the fabric too hard: Ease out the slackness gently, or the pattern will distort and crease.
- Not trimming the corner waste: Too much bulk at the corners stops the seat pad from fitting back into the frame.
- Buying too little fabric: Always buy extra, or running short mid-project makes pattern matching impossible.
- Stapling through the top of the foam: Always catch just the edge, or visible dents will appear on the seat surface.
- Forcing screws through the fabric: Always trim a small notch first, or the fabric will tear and weaken the screw hold.
Final Thoughts
Reupholstering a dining chair seat is one of those projects that looks harder than it actually is. Once you go through it step by step, you will realize how simple and rewarding it really is.
I hope this guide gave you the confidence to pick up a staple gun and get started. The tools are affordable, the steps are straightforward, and the results speak for themselves.
A fresh set of dining chairs can completely change the look and feel of your dining room without spending hundreds of dollars on new furniture.
The key things to remember are to always work from the center outward, use a base layer over the foam, and trim your corners in square cuts.
Get those three things right, and the finished result will look like it came straight from a professional upholstery shop.
Now it is your turn. Pick your fabric, follow the steps, and transform your dining chairs today.
Frequently Asked Questions
Can a Dining Chair with A Back Cushion be Reupholstered?
Yes, but it requires a more advanced technique using tack strips and cardboard strips to attach the fabric cleanly to the frame.
How Often Should Dining Chairs Be Reupholstered?
For everyday use, every 3 to 5 years is ideal, while chairs used occasionally can last 10 years or more before needing new fabric.
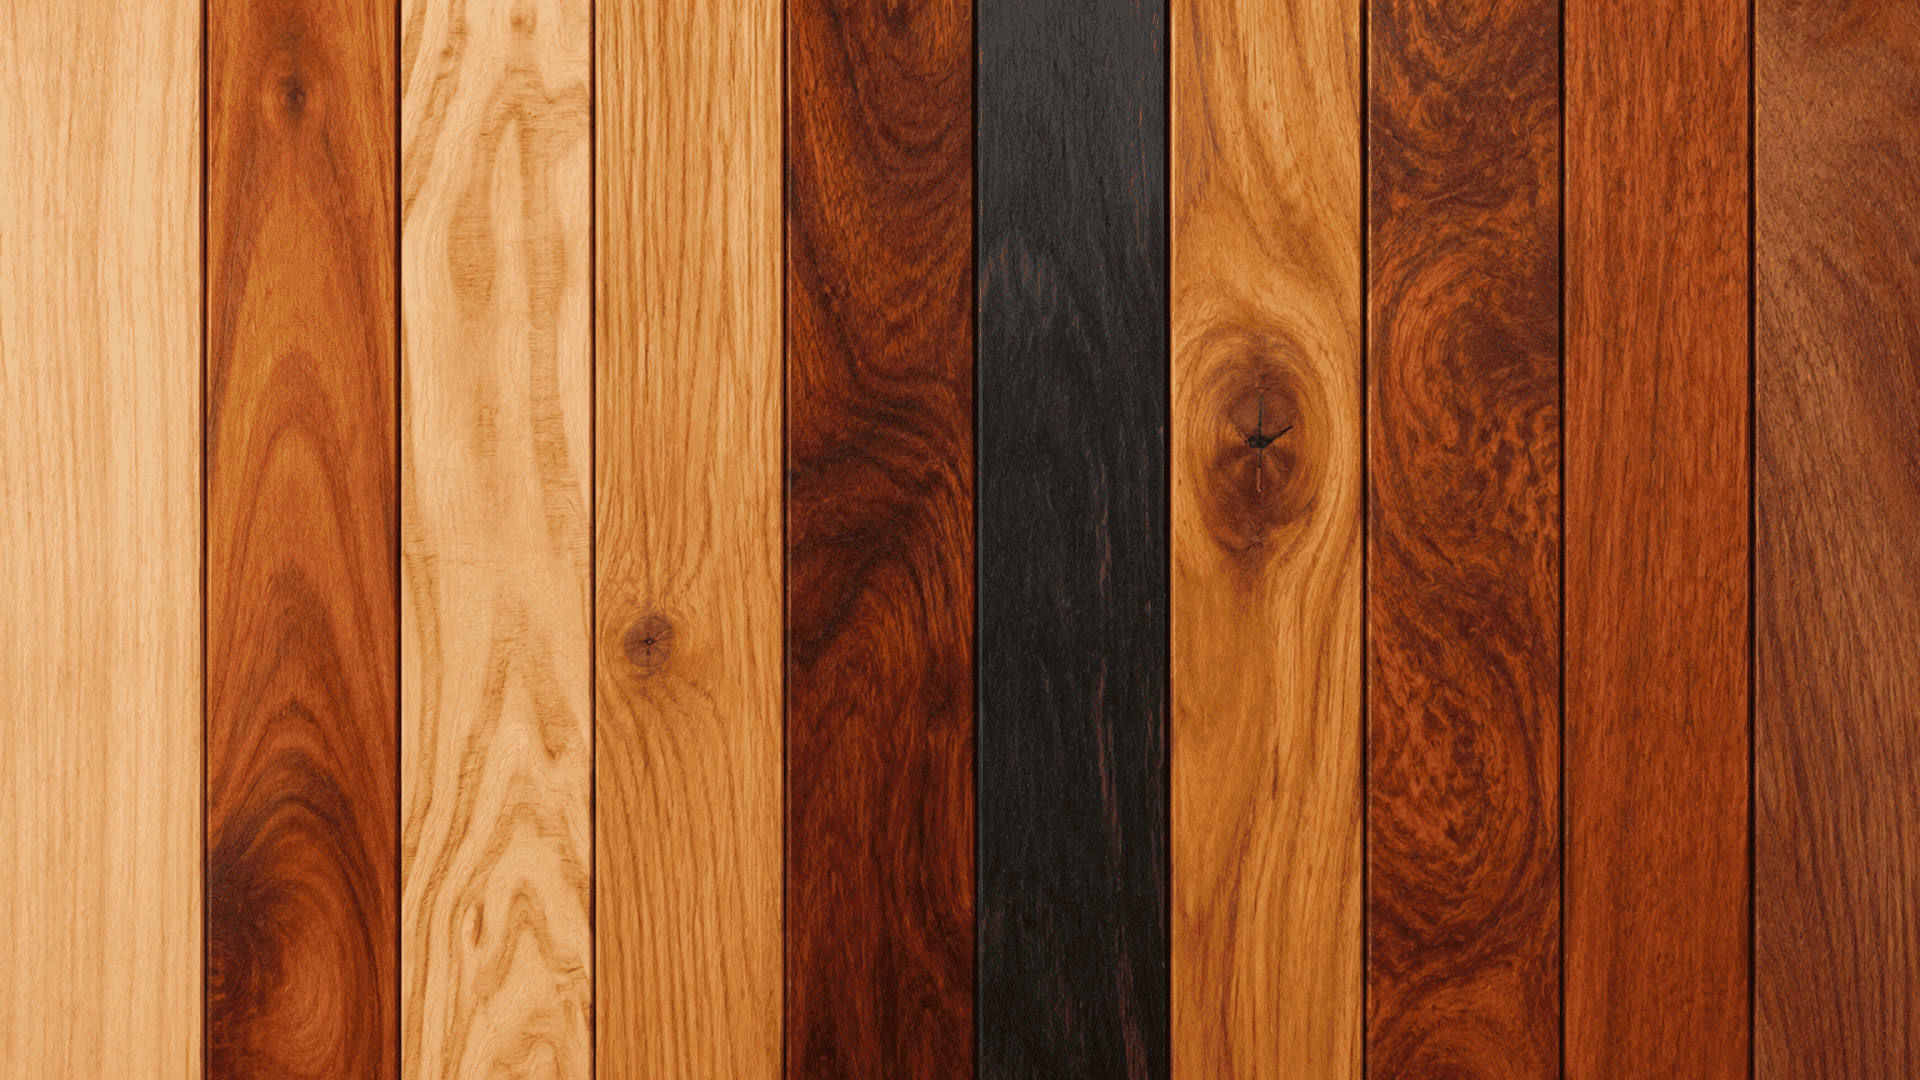
What Type of Fabric Lasts the Longest on Dining Chairs?
Vinyl and synthetic microfiber are the most durable options as both resist stains, clean easily, and hold up well under daily use.
Is it Cheaper to Reupholster or Buy New Dining Chairs?
Reupholstering costs around $20 to $50 per chair, while a replacement dining chair costs anywhere from $80 to $300, making reupholstering the smarter choice.