
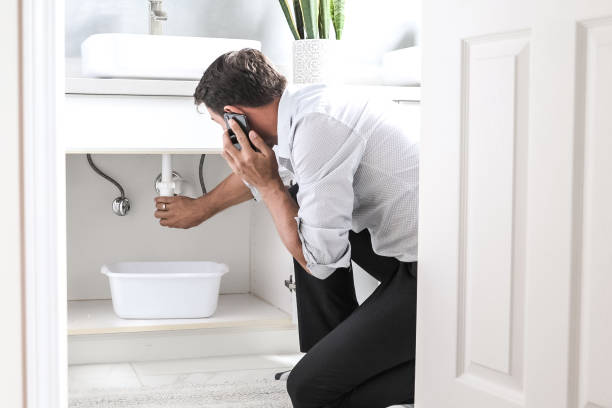
Is the constant dripping of water from your bathroom faucet keep you awake? And the water spill keeps creating a wet mess, irrespective of cleaning the floor multiple times? Well, it has to be the bathroom faucet leaking at the base!
A leaky faucet can be so annoying. A leak might burn your pocket with a hefty water bill and repair costs if it is not fixed at the right time.
But wait! You have nothing to worry about. We are here to help you with a detailed guide on repairing a leaky bathroom faucet at home. Diagnose the leak and follow the steps.
Can it get any easier? So, let us begin!
What Causes a Leak in The Bathroom Faucets?
The continuous dripping and pool of water in your bathroom are because of a leak in the faucet. It will remain unidentified if you are not aware of the causes of this leakage.
Here are the top five reasons that result in massive water wastage.
Similar Post: 18 Timeless Mid Century Modern Dining Tables
1. Excessive Water Pressure
The excessive flow of water through the pipelines into the faucet is a basic cause of a bathroom faucet leaking at the base.
You need to balance or lower the water pressure to stop this leakage.
2. A Broken Internal Faucet Cartridge
Double-handle faucets help in an outflow of hot and cold water. These are known as cartridge-style faucets.
The purpose of this cartridge is to maintain the water pressure from each spout. Any internal damage to this cartridge will cause water to leak out.
3. Broken Washers
A washer is a round rubber disc that rests on the valve seat. It acts as a seal in the faucet. However, due to regular friction, this rubber disc gets damaged.
Occasionally, the wrong size washer might be used to create the seal. Such situations are common causes of a bathroom faucet leaking at the base.
4. A Broken Internal O-Ring
The O-ring is a small disc attached to the stem screw. It is responsible for holding the handle in place. You will find the bathroom faucet leaking at the base when the O-ring erodes over time.
With a damaged o-ring, water leaks out from the base of a bathroom faucet every time you turn it on.
5. Damaged Valve Seat
A damaged valve seat is the most common cause of leakage from the spout of a bathroom faucet. The valve seat helps connect the faucet and the spout.
However, with everyday usage over the years, sediments accumulate on the valve seat, causing corrosion or damage.
This damage to the valve seat will cause water to leak out of the tap.
Tools Required to Fix a Bathroom Faucet Leaking at Base
Now that you know the causes behind a bathroom faucet leaking at the base, it is easy to fix the problem. However, a few handy tools are necessary to repair any leakage hassle-free.
These heavy-duty tools are sturdy and will help you fix all bathroom or kitchen leaks.
- Faucet Reseating Tool
- Stem and cartridge wrench
- Flat-head screwdrivers
- 4-in-1 faucet seat puller
- Penetrating oil
- Spare washers and O-rings
- Slip-joint pliers
You can find these tools in any hardware store or online shopping platform.
Also Read: 18 Bathroom Sink Ideas: Revamp Your Style and Functionality
How to Fix a Bathroom Faucet Leaking at The Base

Speaking specifically about the bathroom faucet leaking at the base is hard to spot. This is a junction where the faucet rests on the sink.
This form of leakage happens only when the tap is on, which makes it even more tricky to notice the leak.
However, two specific causes lead to a leaky bathroom faucet. One is a damaged O-ring, and the other is a damaged internal cartridge. Let us fix one leakage at a time.
Change the Internal O-Ring in your Bathroom Faucet
Continuous friction over years of usage erodes the O-ring. It is the first cause that leads to a bathroom faucet leaking at the base.
You will need a set of screwdrivers, pliers, wrenches, and replacement O-rings to start the repair process.
Let us now proceed step-by-step.
1. Stop the Water Supply
Begin by closing the valve under your sink that allows continuous water supply through the faucet.
Without stopping the water, you will not be able to repair anything and will end up with an indoor water spill.
Therefore, rotate these valves in clockwise directions to limit the water flow first. Then open the tap and let any remaining water drain through the faucet.
2. Pull out The Faucet Handle Cap
Now, bring out your screwdriver. Place the head of the screwdriver underneath the faucet handle. A little push will help pop the handle cap out of its place.
Once you remove the faucet handle cap, you can access the screw connecting the stem and the handle.
3. Remove the Screw Cap Handle
Your screwdriver will be your best friend in this process! Now you need to grab the handle connected to the stem and pull it up to separate from the valve stem.
You might also remove any other decorative caps that limit a straightforward repair of a bathroom faucet leaking at the base.
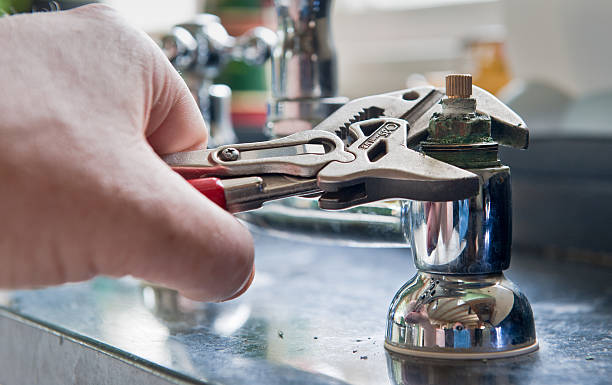
4. Detach the Value From The Faucet
Once you remove the crew cap, it is time to grab a wrench or pliers of your choice. With the help of a wrench, rotate the valve base in an anti-clockwise direction.
After a few rounds, you will feel the valve detach from the faucet body.
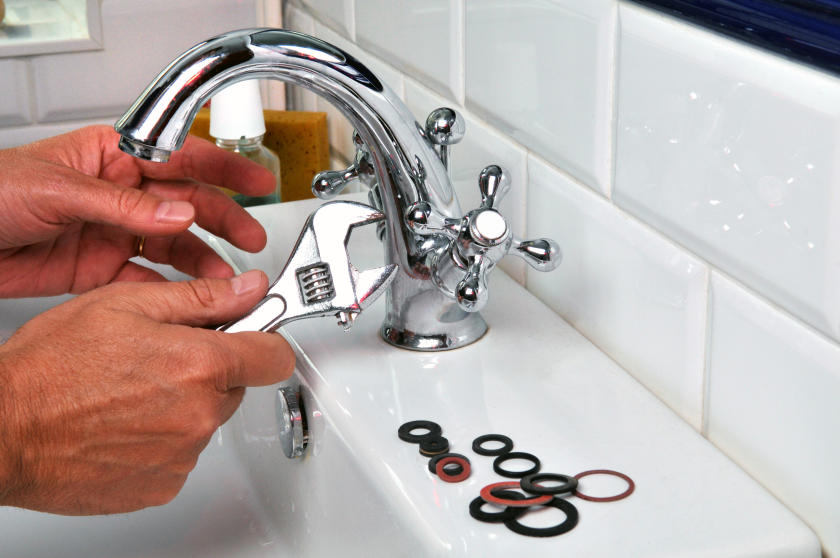
5. Replace the O-rings
Moving forward, you will locate the old, worn-out O-ring on the faucet body. All you have to do now is replace this damaged O-ring with a new one.
Make sure to choose the correct size, and you are done!
See More: 30 Budget-Friendly Small Bathroom Ideas to Refresh Your Space
6. Assemble back everything
The final step is to assemble all the parts one after the other back to their old positions. Start by sliding the valve back into the faucet body.
Do not forget to use a wrench to tighten these parts. Now put the faucet handle back over the valve stem and fix the pop cap back to its position.
Hurray! You changed a damaged O-ring and fixed a bathroom faucet leaking at the base all by yourself. Now, turn on the faucet to check if the leak is repaired.
If not, chances are there is damage to the internal cartridge as well.
Change the Internal Faucet Cartridge
The other reason your bathroom faucet is leaking at the base could be a damaged cartridge. The cartridge is a metal or plastic piece responsible for controlling the water flowing from the tap.
If you have a double-handle faucet, each one will have different cartridges.
It is thus necessary to determine which of the two faucet cartridges has damage resulting in leakage. If the left cartridge is damaged, you can replace the same and leave the right cartridge unbothered.
To proceed with this repair process, you will need an Allen wrench, a pipe wrench, flathead screwdrivers, penetrating oil, and new cartridges.
1. Stop the Water Supply
Similar to the previous process of changing an O-ring, start by stopping the water supply. Rotate the valves under your sink in an anti-clock direction and limit the water flow before getting to work.
You must let the faucet on to drain the remaining water and double-check before spilling water all over the floor.
2. Pull out The Faucet Handle
Once you have stopped the water flow, it is time to pull out the faucet handle. Look for the screws at the rear that hold the handles in place. In many cases, a stylish faucet has decorative screw caps.
You will need the screwdriver to pop out these screw caps and then access the screws to pull out the handle.
3. Detach the Retaining Nut
The third step in repairing a bathroom faucet that leaks at the base is to locate the retaining nut. Loosen the retaining nut from the top of the cartridge with the help of a pipe wrench.
Once you remove the nut successfully, keep it aside, as it will help hold the new cartridge in place.
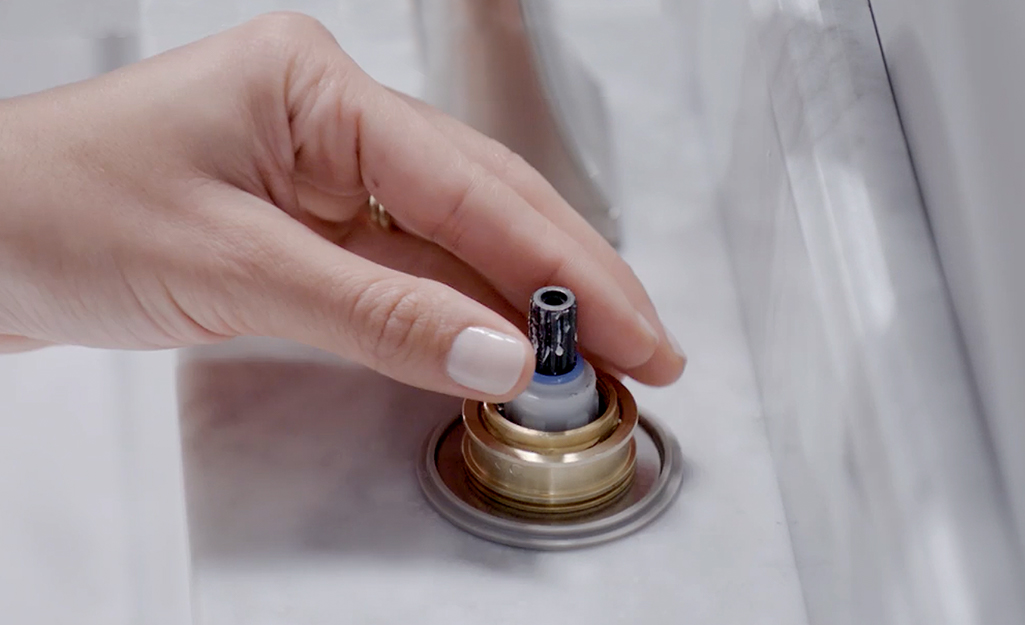
4. Remove and Replace the Broken Cartridge
As you remove the retaining nut, you can now pull out the damaged cartridge. Note how the cartridge is placed and secured.
Now, take the new replacement cartridge and put it back in its rightful position with the help of the previously removed retaining nut.
Use little penetrating oil to grease the cartridge and the screw for an easy fixture.
Related: 31 Unique and Fascinating Bathroom Door Ideas
5. Assemble Back Everything
Assemble everything back into its place one after the other, following how you opened the whole faucet. Now it is time for a final check.
Turn on the valve for the water supply, open it, and leave your faucet on. You have now successfully fixed a bathroom faucet leaking at the base.
Summing It Up
All in all, leakages are inevitable. Everyday usage of anything will cause wear and tear. The fancy faucet in your bathroom or kitchen is no different.
There are various reasons for a leaky faucet. Once you are aware of the problem causing a water spill, it becomes easier to repair it.
In the case of a bathroom faucet leaking at the base, there are two main reasons. Change the o-ring or damaged cartridge using a few handy tools.
Follow the above steps, and your bathroom faucet look as good as new! Forget the old days of paying hefty plumbing and water bills.
Fix your faucet base and bring back the shine of your bathroom sink.
Do not forget to comment on how you identified the leakage to fix it.
Frequently Asked Questions
How do I Stop the faucet from leaking at the base?
Regular use of single and double-sided faucets will result in wear and tear of the internal parts over time.
Changing the O-ring and rubber cartridge, oiling the inner parts, and keeping a clean sink will help you stop the bathroom faucet from leaking at the base.
How Do I Seal the Base of The Faucet?
Applying a coat of thick putty at the base of the faucet will temporarily repair the leakage. However, as the putty tends to dry out, the leakage might show again.
Over time, if the leakage repair is delayed, it will result in water waste and a hefty water bill.
What Happens if The Bathroom Faucet Leaking at The Base Is Left Unrepaired?
A damaged faucet, when left unrepaired for a longer time, will cause unwanted overflow from other internal spout joints.
Leakage also results in damage to caulk, which further harms the wooden flooring and ceiling in your home.
Check This Next: 14 Landscaping Ideas for Front of House to Impress Visitors