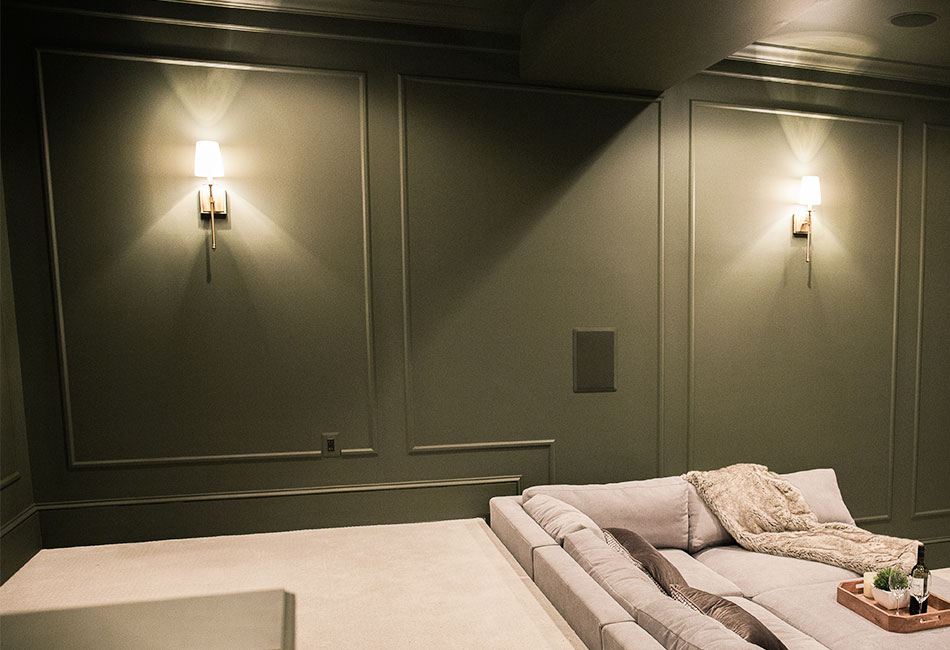
If you want to do an attractive DIY project, creating a huge DIY poster frame is an exciting way to add a personality to your space.
If you want to display your favorite movie poster, an inspiring quote, or a piece of artwork, a large poster frame can make a lasting impression in any room.
We will tell you the steps to make your very own oversized poster frame with just a few basic materials and some creativity.
You can showcase your posters stylishly and cost-effectively. This project is perfect for those who love a good DIY challenge and want to customize their decor without spending too much money.
You don’t need to have advanced skills to finish this. We’ll make it accessible for beginners and experienced DIY fans alike.
So, let’s start crafting a huge DIY poster frame that will upgrade the look of your room.
Material Needed for DIY Poster Frame
Similar Post: How to Make No Sew DIY Drop Cloth Curtains [Complete Guide]
1. Pencil

This simple tool is where you begin to measure and draw lines on your DIY poster frame, wood, and cardboard. It’s super important for making sure your project turns out just right.
2. Wood Glue
Wood glue is the best glue for firmly connecting the frame’s corners. It ensures the frame is strong, keeping your poster frame durable for a long time.
3. Saw
A miter saw, especially recommended, is essential for cutting DIY poster frame molding at just the right angles.
This tool ensures your cuts are neat and accurate, giving your frame a polished and professional appearance.
4. Staple Gun
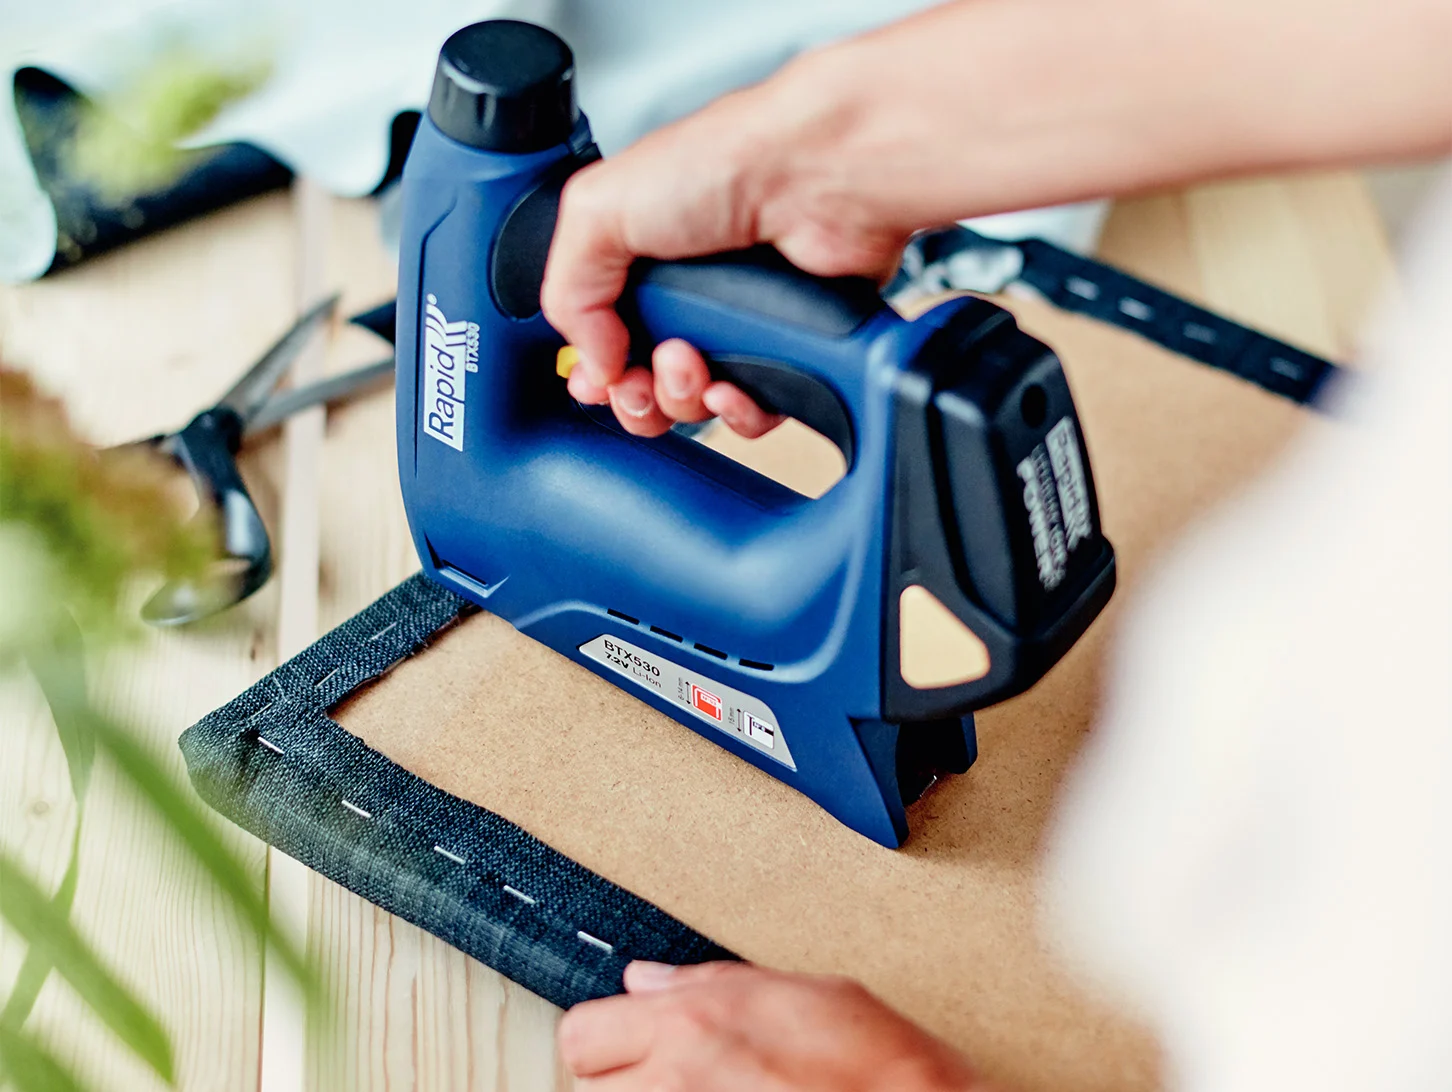
A staple gun is a handy tool for fastening the cardboard backing to the frame of a poster. It does the job swiftly and effectively, making sure the poster stays securely in position within the frame.
5. Miter Box
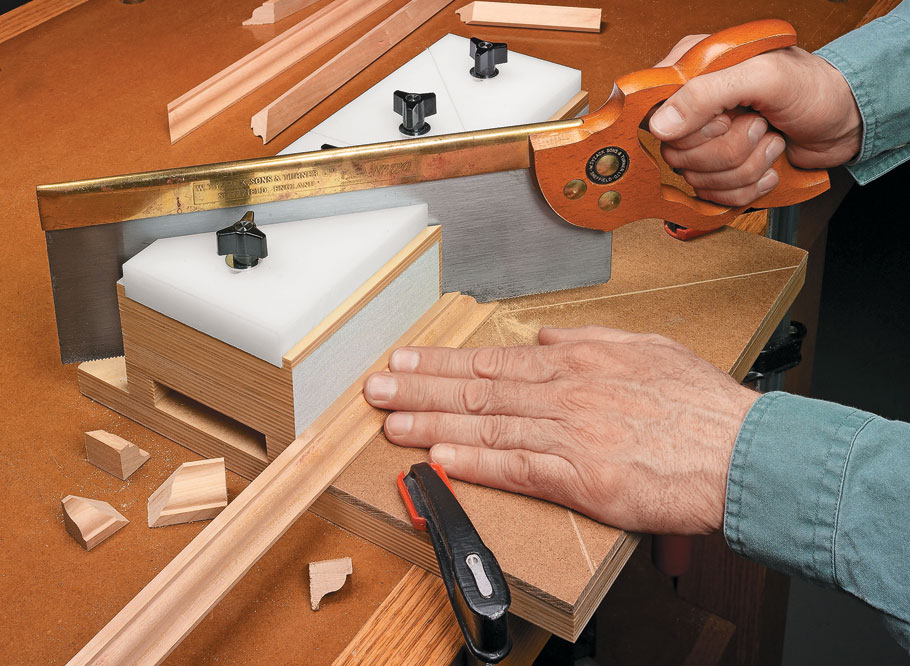
The miter box is a helpful tool that holds the molding securely in place when you need to cut it at an angle using a saw.
This tool ensures that the angles are the same and keeps the frame looking balanced.
6. Picture Frame Molding
These are the essential things for your DIY poster frame. Pick a frame that matches your room’s style and is the right size for your poster.
Frames come in many different looks and colors to match what you like.
7. Sandpaper
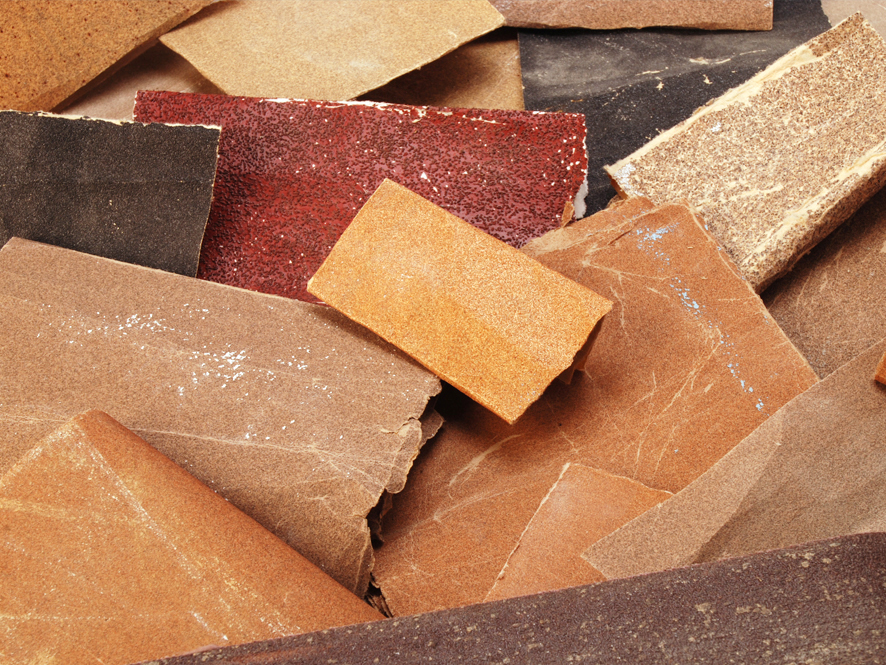
Sandpaper is a must-have tool for making the edges of cut molding smooth and preparing the surface for painting or finishing.
It helps make things seem professional and keeps you from getting breaks.
8. Measuring Tape
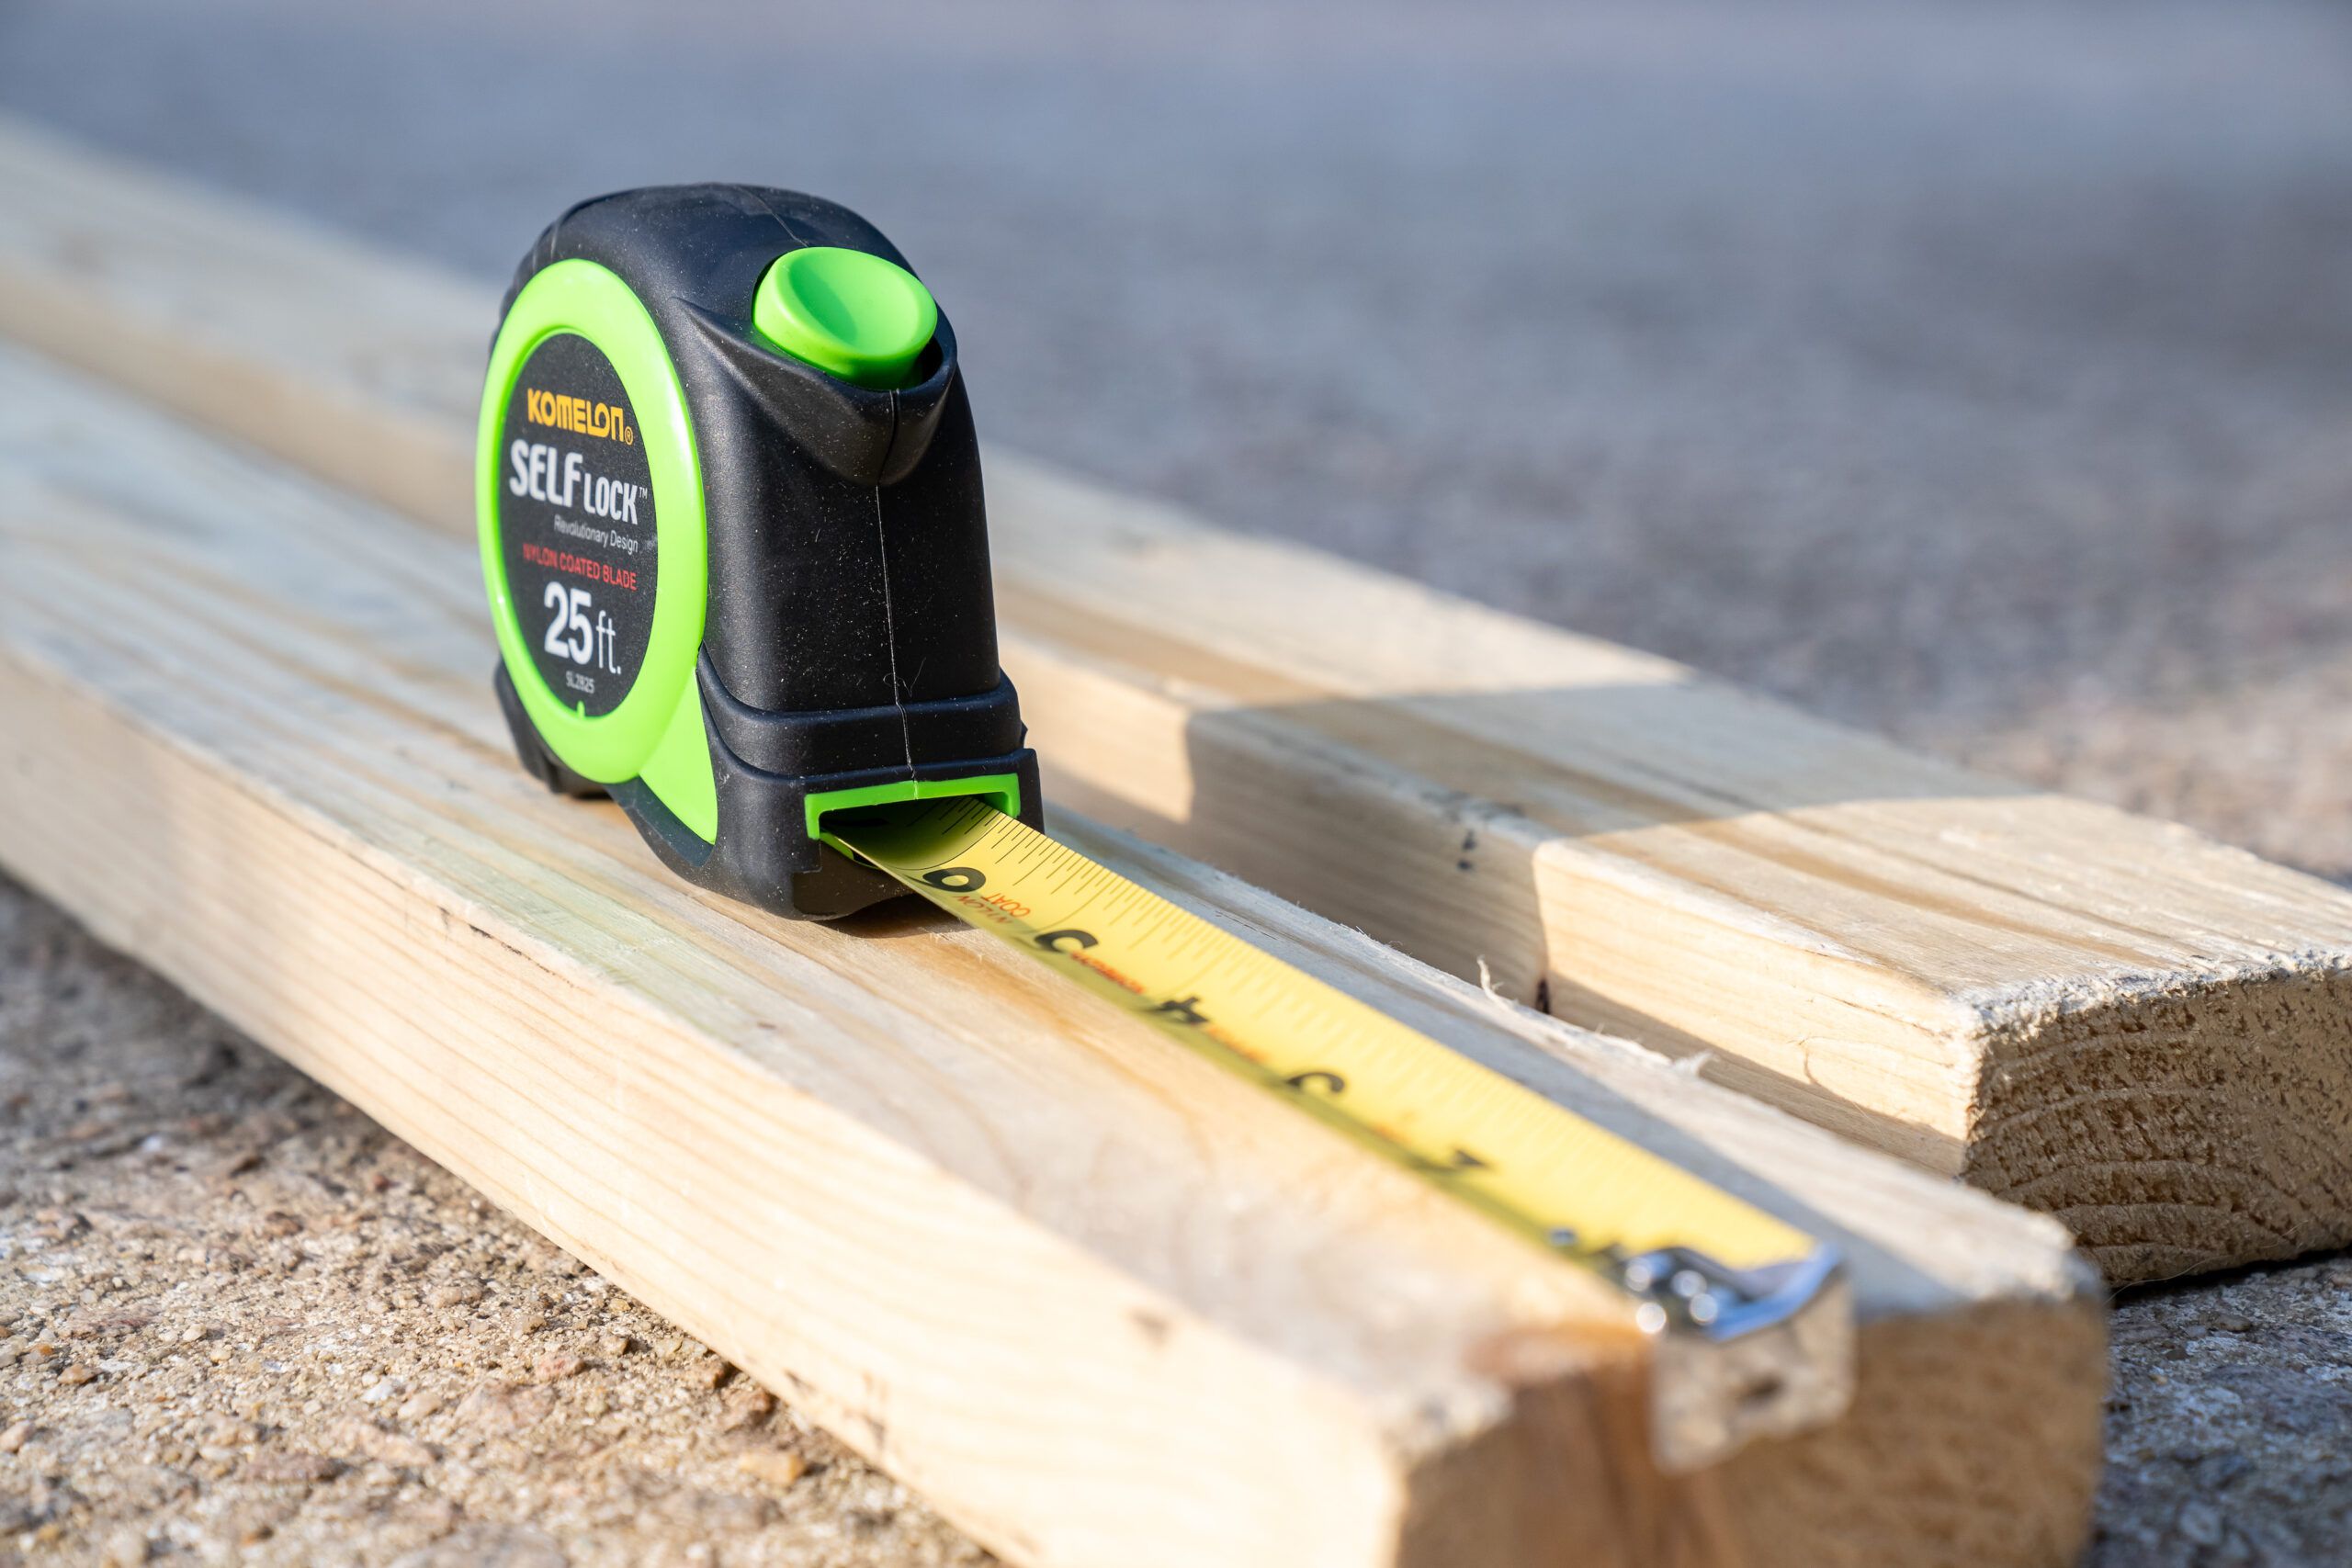
Accurate measurements are important in this project. A measuring tape helps you determine the frame’s dimensions, ensuring it fits your poster perfectly.
9. Picture Hanger Hardware
You need this hardware to hang your DIY poster frame on the wall safely. It usually consists of D-rings, wires, and hooks for hanging.
Also Read: 12 Quick Ideas to Update Oak Kitchen Cabinets without Paint
10. Cardboard
Cardboard is a strong base for your poster, keeping it safe. You’ll want to cut the cardboard to match the frame’s size perfectly and then use a staple gun to attach it securely.
11. Cloth
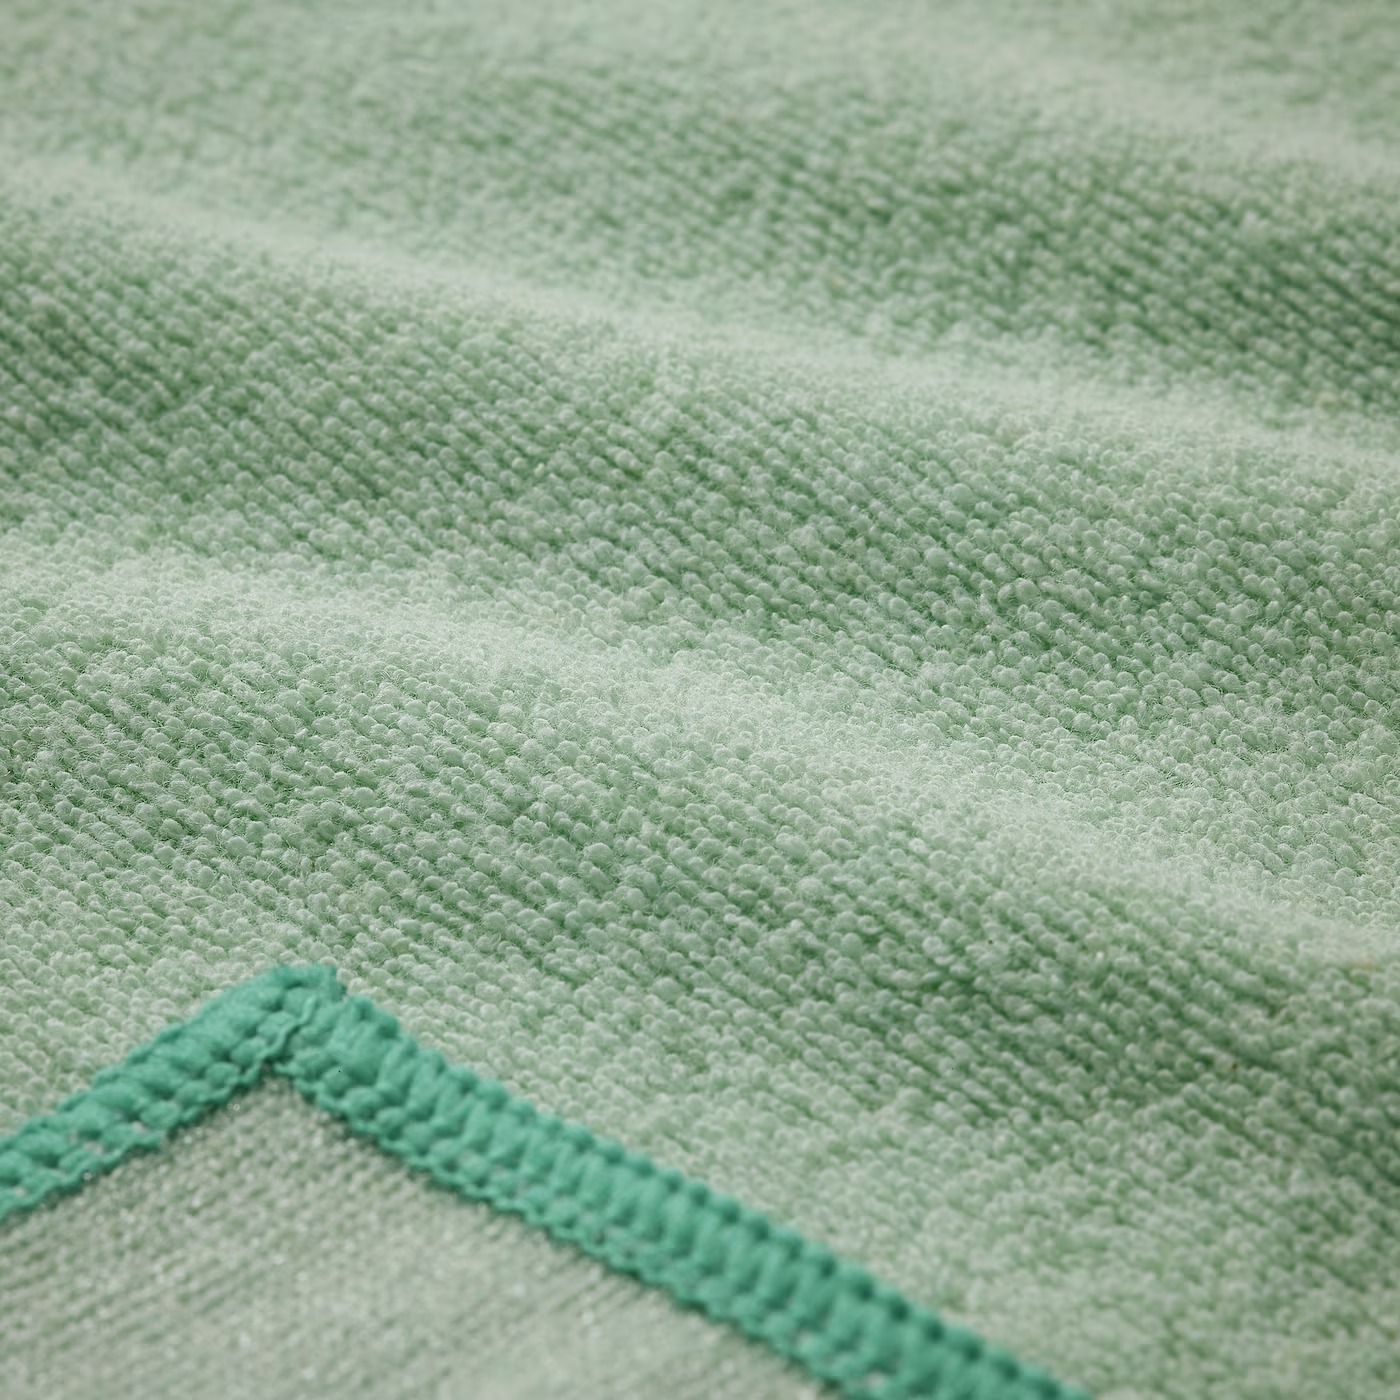
Before you hang your poster, grab a gentle cloth and use it to clean the frame. Make sure to get rid of any dust or dirt on it.
Steps to Be Taken for a Big DIY Poster Frame
Making a huge DIY poster frame might seem tough at first, but if you follow our simple instructions and stay patient.
You can display your favorite pictures or prints stylishly and affordably. Our step-by-step guide will help you create a beautiful poster.
1. Measure Your Print or Photo
Before you start making your poster frame. It’s really important to measure your picture correctly. Lay your artwork flat and use a tape measure or ruler to figure out how wide and tall it is.
Write down these measurements because they’ll help you decide how big your frame should be.
It’s very important to get these measurements right because even a small mistake can make your frame not fit well. Make sure to check your measurements again to be sure they’re exact.
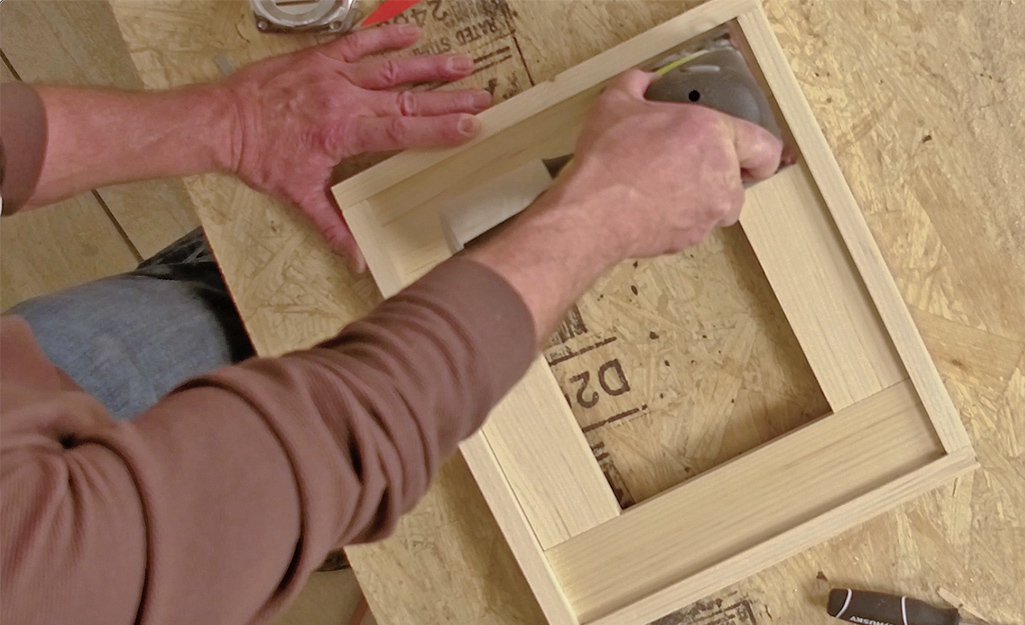
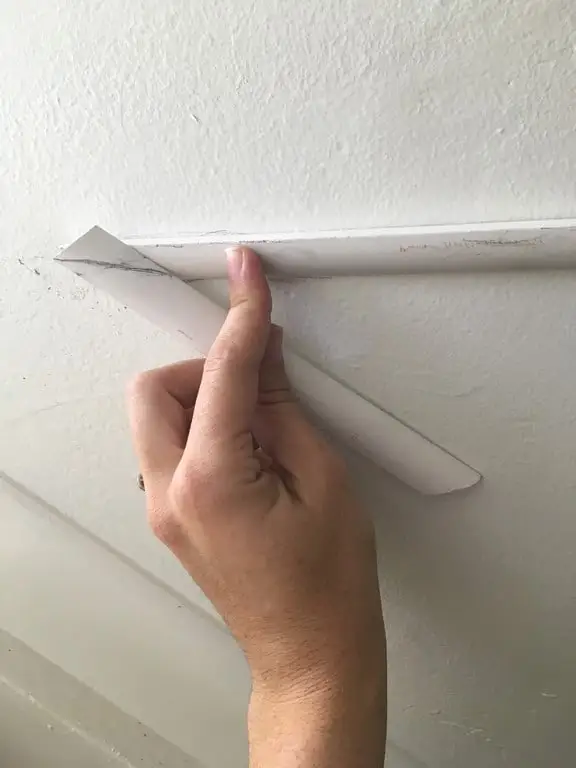
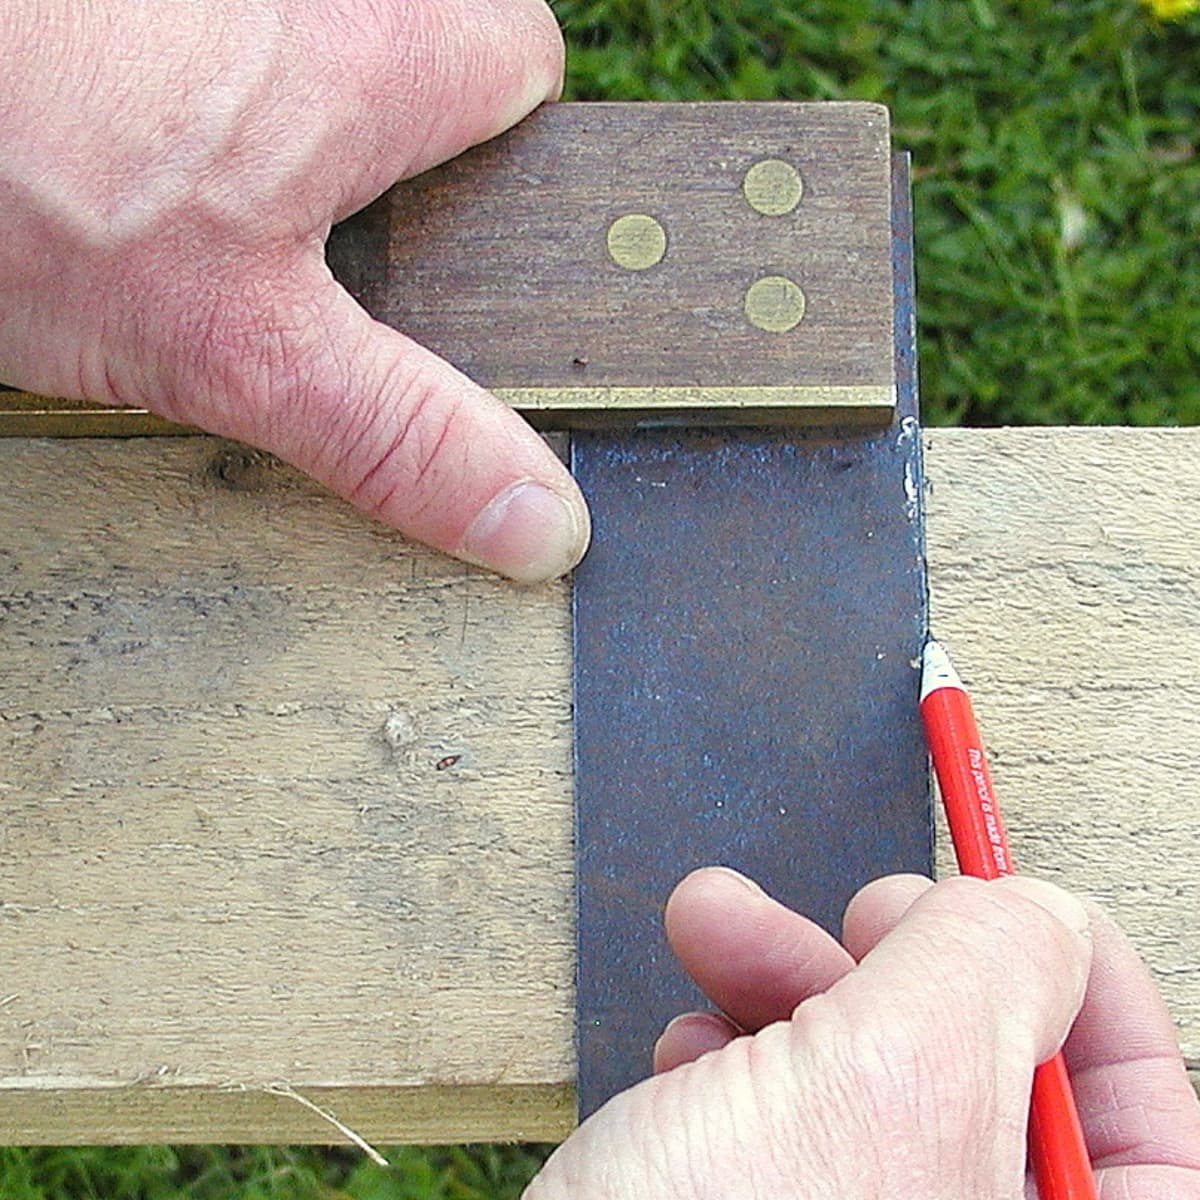
2. Mark the Frame Molding Where You’ll Cut It
Now that you know the size of your picture and the frame you want, it’s time to mark the frame molding where you’ll cut it. You can buy frame molding at stores that sell hardware or craft supplies.
They come in different styles and colors to match what you like. Put the molding on a flat surface and use a pencil to mark it where you measured in the last step.
These marks will show you where to cut. Make sure the corners are perfectly square so your DIY poster frame looks neat and well-made when you put it together.
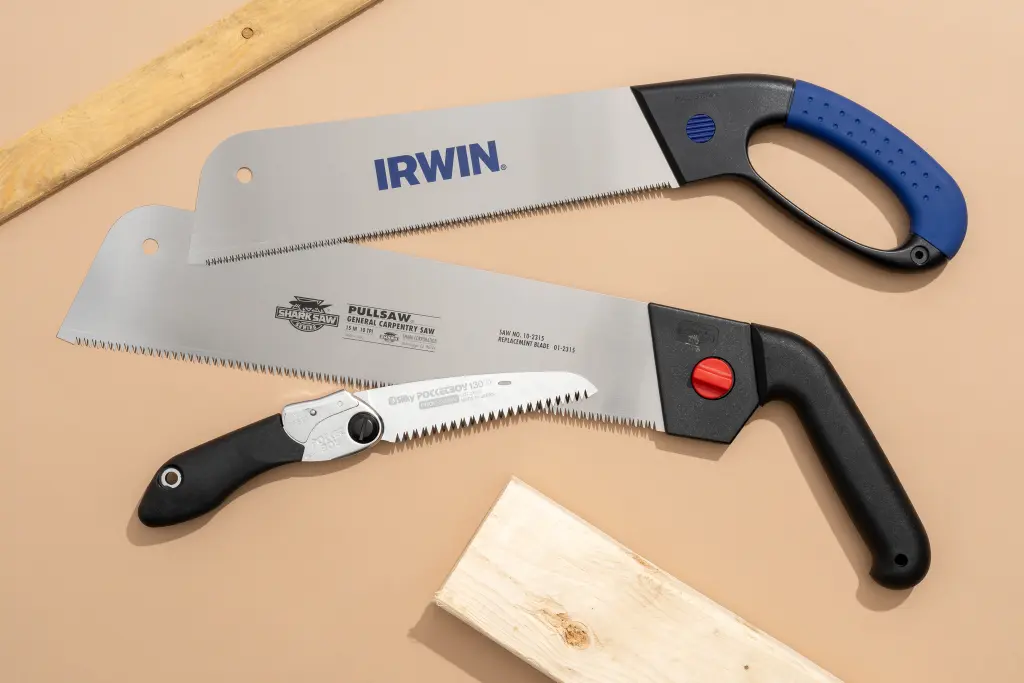
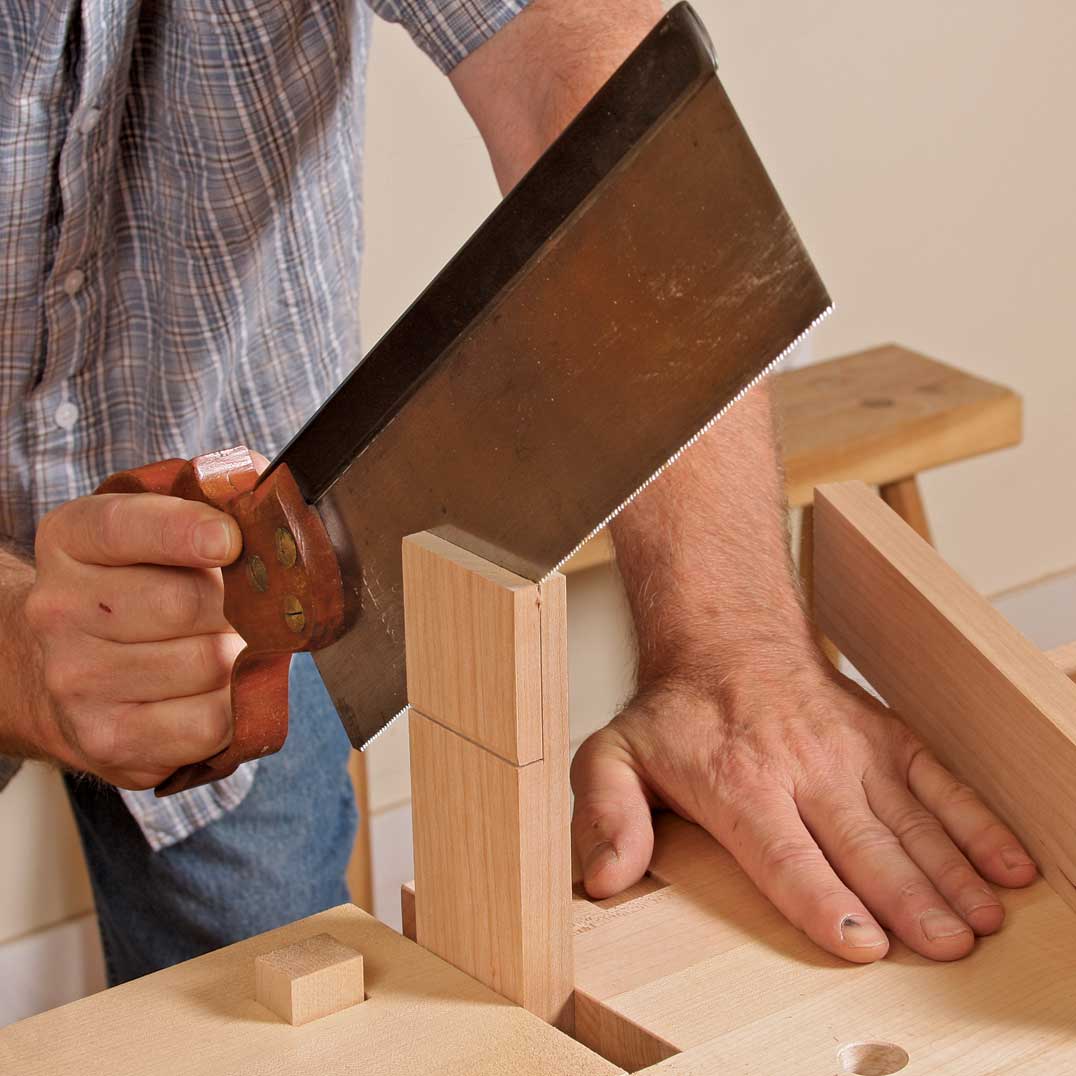
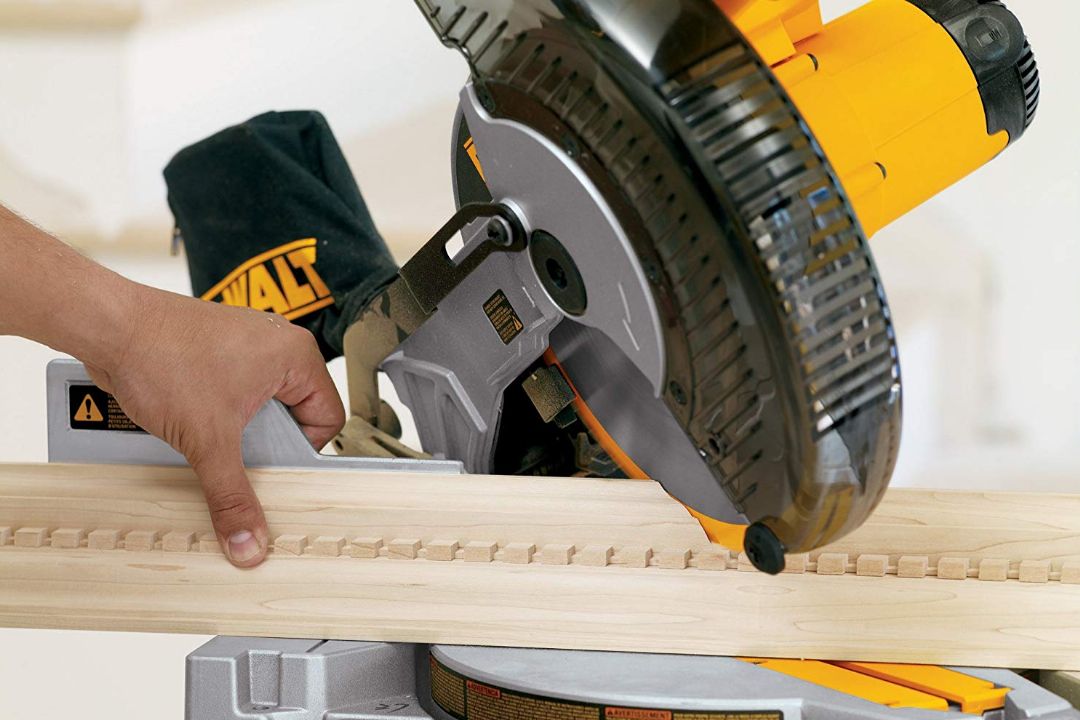
3. Cut the Frame Molding
Now that you’ve marked the measurements on the frame molding, it’s time to cut it. To do this, you’ll need a miter saw or a miter box along with a hand saw.
Be sure to follow the marked lines closely to make sure your cuts are straight and at the right angles. Typically, for most regular frames, you’ll be making 45-degree angle cuts at each corner.
Take your time with this step because being accurate is really important to ensure the frame fits together perfectly later on.
After cutting, lightly sand the edges to get rid of any roughness and make them smooth.
4. Paint or Stain the Frame If Desired
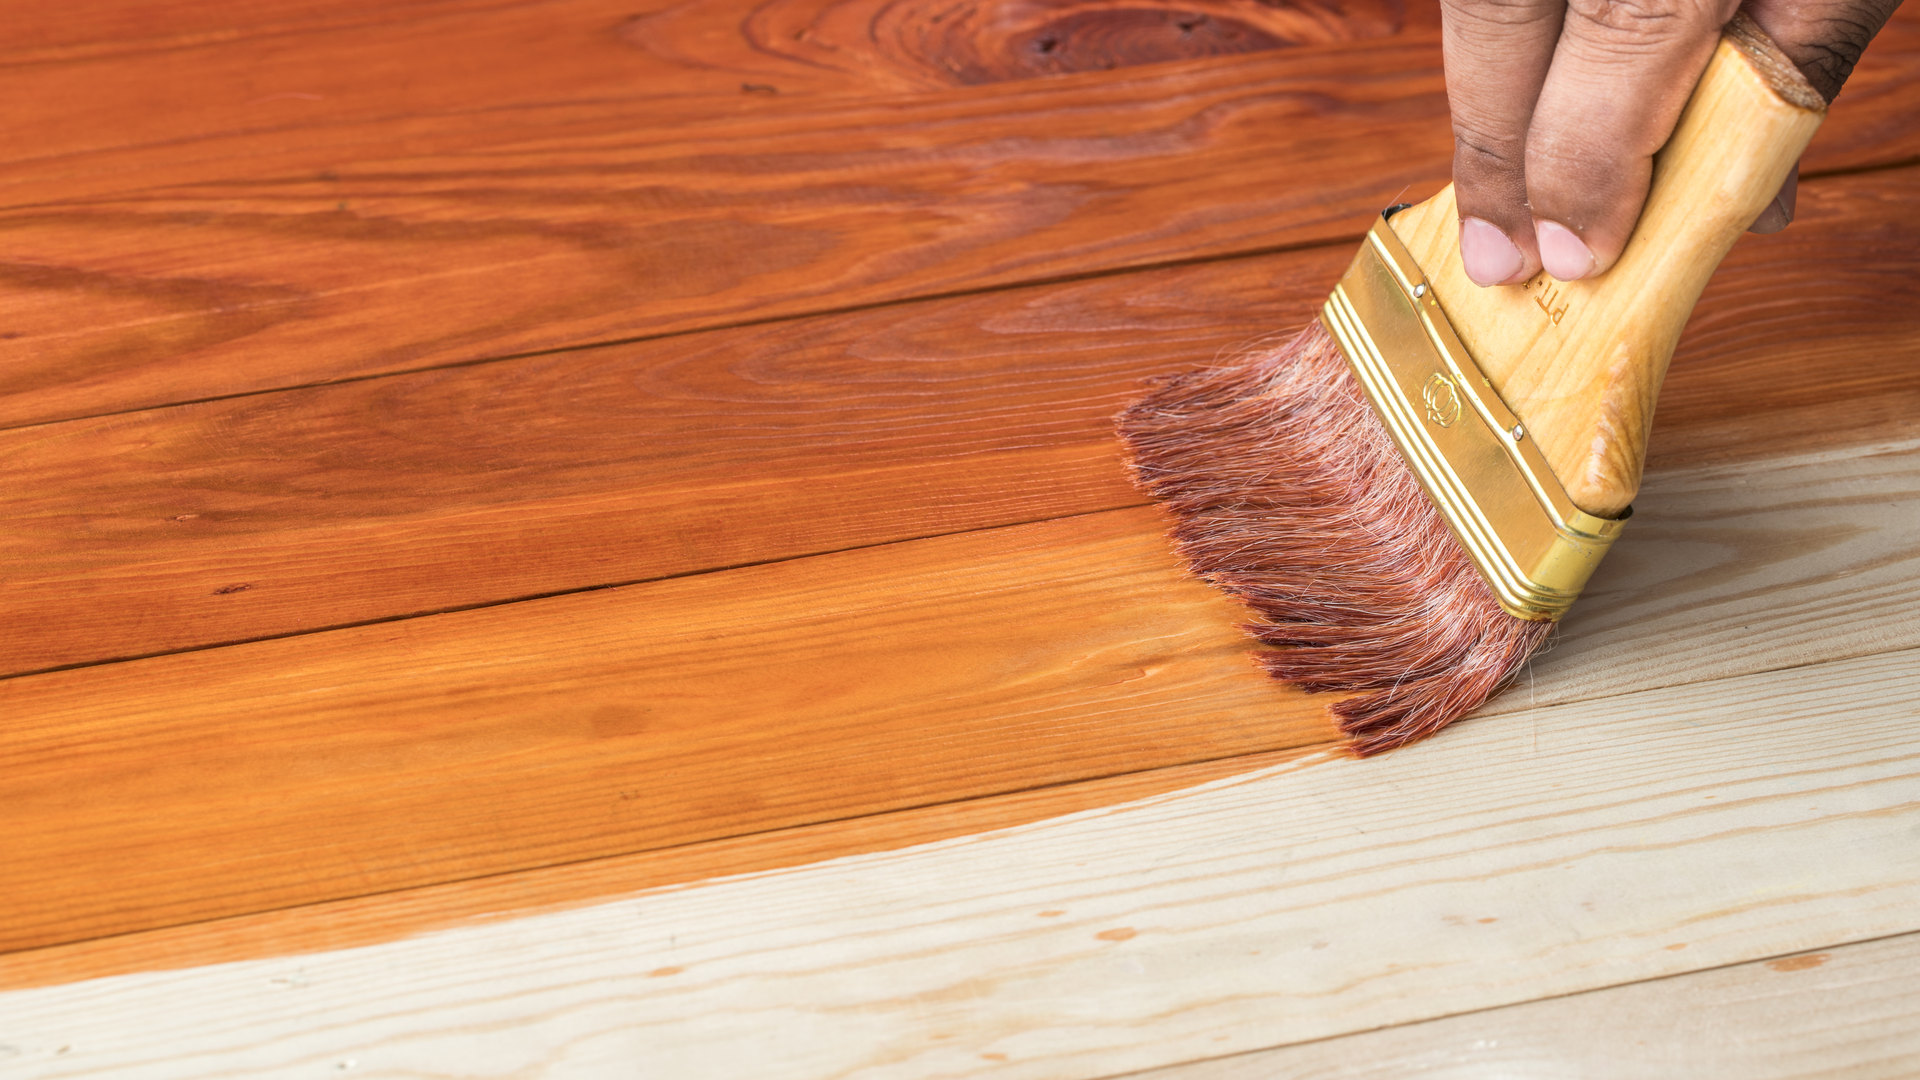
Once you’ve cut the frame molding into the right pieces, you can make it seem the way you want by either painting it or staining it.
This helps you give your DIY poster frame a personal touch. Just pick a paint color or wood stain that goes well with how the room looks where you’ll hang the frame.
Be patient and let the paint or stain dry completely before you continue to the next part. This way, you avoid any messy spot or harm to your work.
5. Make the First Diagonal Cut
To create perfectly fitting corners for your frame. You’ll need to make diagonal cuts at a 45-degree angle. Start by making the first diagonal cut on one end of a DIY poster frame piece.
Ensure that the angle is accurate and the cut is clean. It’s essential to maintain accuracy during this step, as it sets the basis for the frame’s overall alignment.
See More: 10 Stylish and Functional Couch with Storage in 2023
6. Continue Making the Rest of the Miter Cuts
To make your poster frame look nice and smooth, do this: First, cut one end of each frame piece at a 45-degree angle. Then, do the same thing on the other end of each piece.
You’ll have four frame pieces, and each one should have two angled cuts. These special cuts will help the corners of your frame fit perfectly together, giving it a polished appearance.
7. Lay Out All the Frame Pieces
Before you put the DIY poster frame together, place all the frame parts on a flat surface to ensure they line up properly.
Check that the angled cuts fit tightly, making sharp and neat corners. Doing this will show if any fixes are necessary before you finish putting it all together.
8. Smooth the Edges with Sandpaper

Before you assemble your DIY poster frame, use sandpaper to make the edges of the frame pieces nice and smooth. Sanding will eliminate any rough or uneven parts that might be left from when the pieces were cut.
Be gentle and keep sanding until the edges seem smooth and even. This will make your frame look really polished and professional when it’s all done.
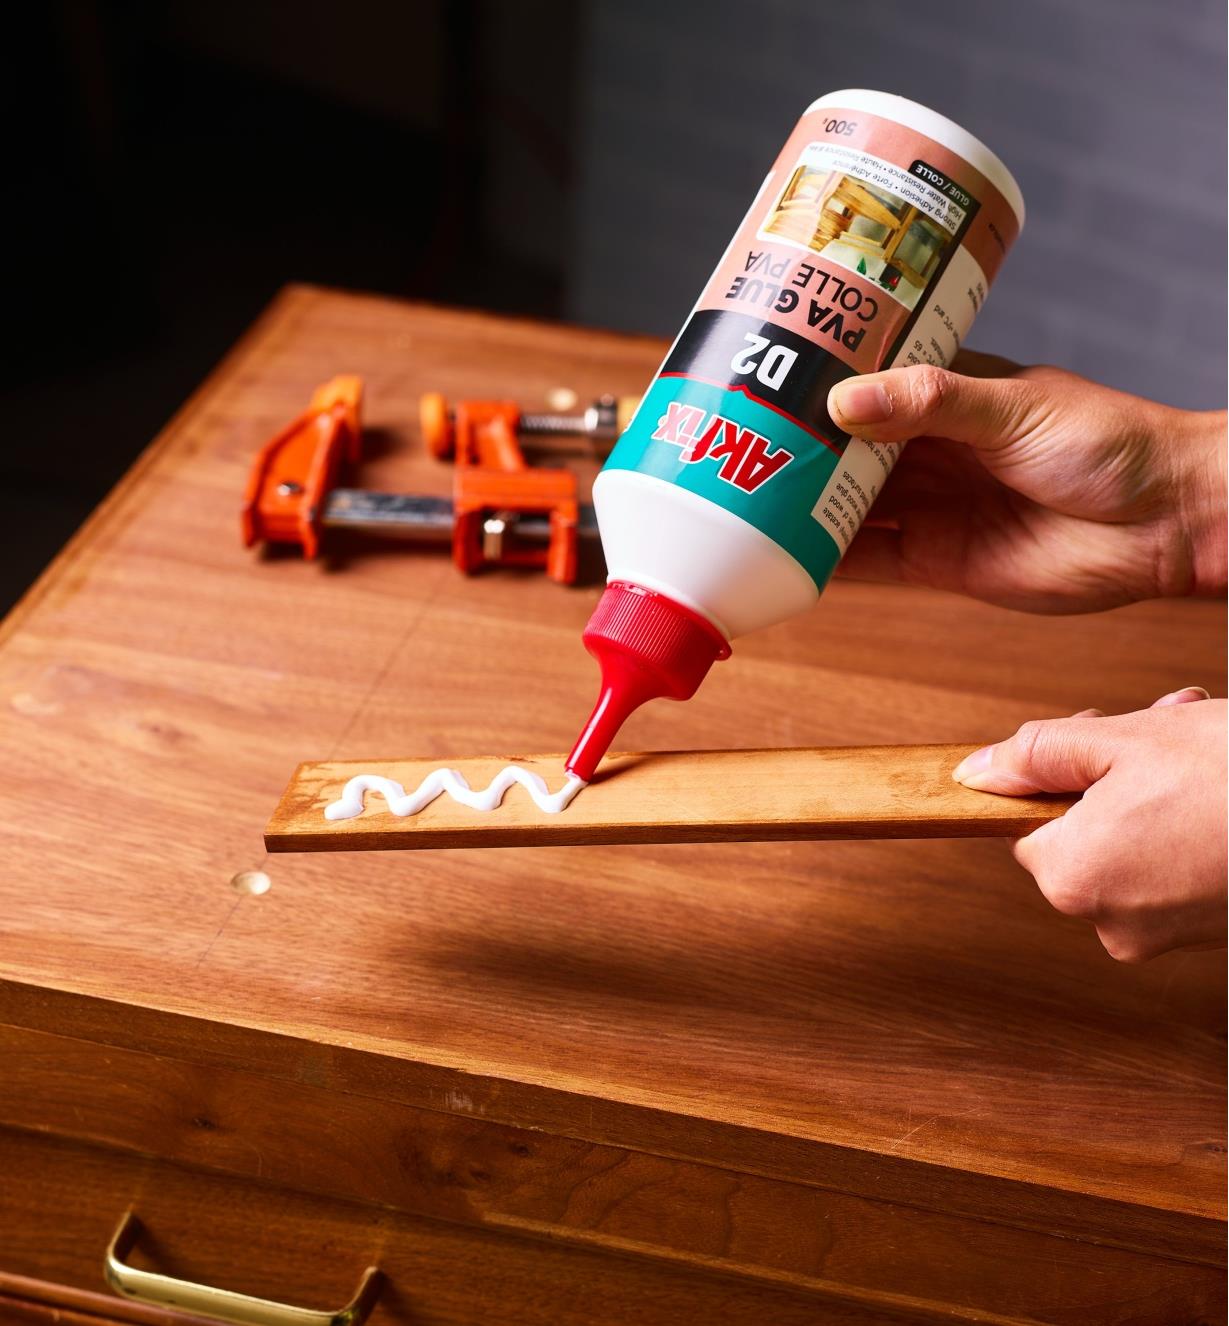
9. Apply Wood Glue to The Frame Joints
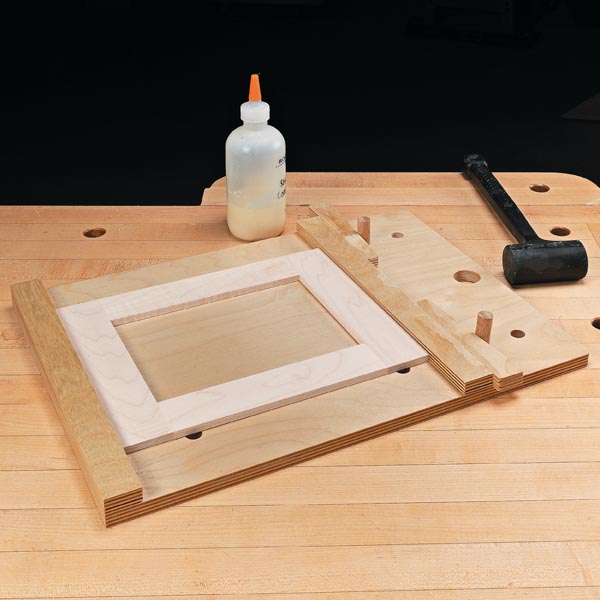
To make sure the frame pieces stick together well, here’s what you do: put some wood glue on the angled joints. You can use a little brush or a special tool to put the glue on exactly where you want it.
Just be careful not to use too much glue because it might drip and make the frame look messy. Wood glue is good because it makes the frame really strong, and it will stay that way for a long time, keeping your poster frame in good shape for years.
10. Clamp the Frame Together to Secure It
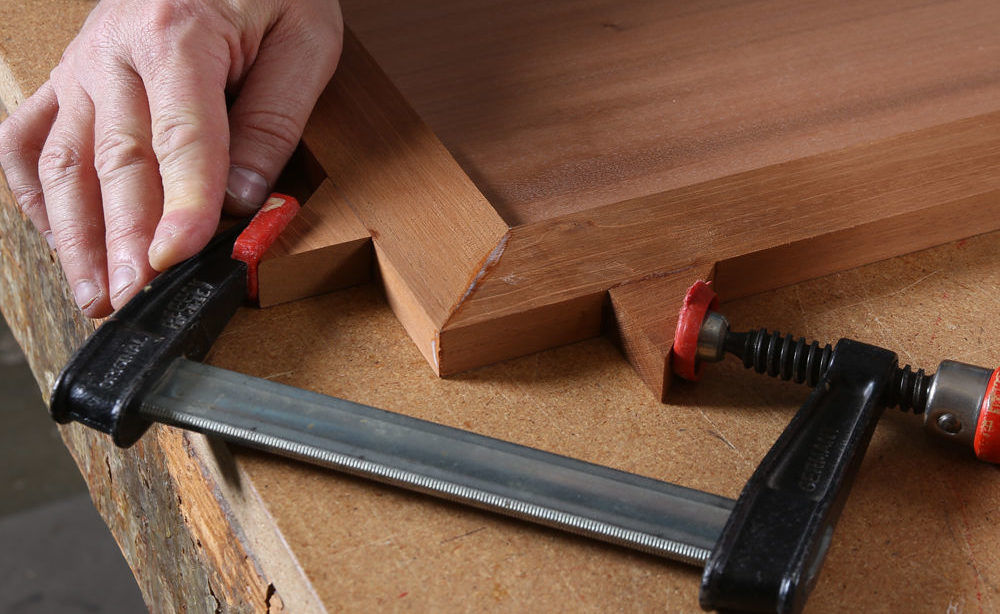
Once you’ve put wood glue on the corners, gently connect the DIY poster frame parts. To make sure they stick together really well, use corner clamps or band clamps.
These clamps keep the frame steady while the glue dries, so the corners stay tight without any gaps. Keep checking the frame’s shape and alignment to make it appear really good.
11. Assemble Your Picture Frame

After you’ve put on the glue and used clamps to hold the frame pieces in place. Let it sit and dry as per the instructions on the wood glue bottle.
This usually takes a few hours, maybe even overnight. It’s important to wait patiently and not rush to the next step because letting it dry properly ensures your poster frame stays strong and tough.
Related: Allform Modular Sofa Reviews 2023: Are They Worth the Hype?
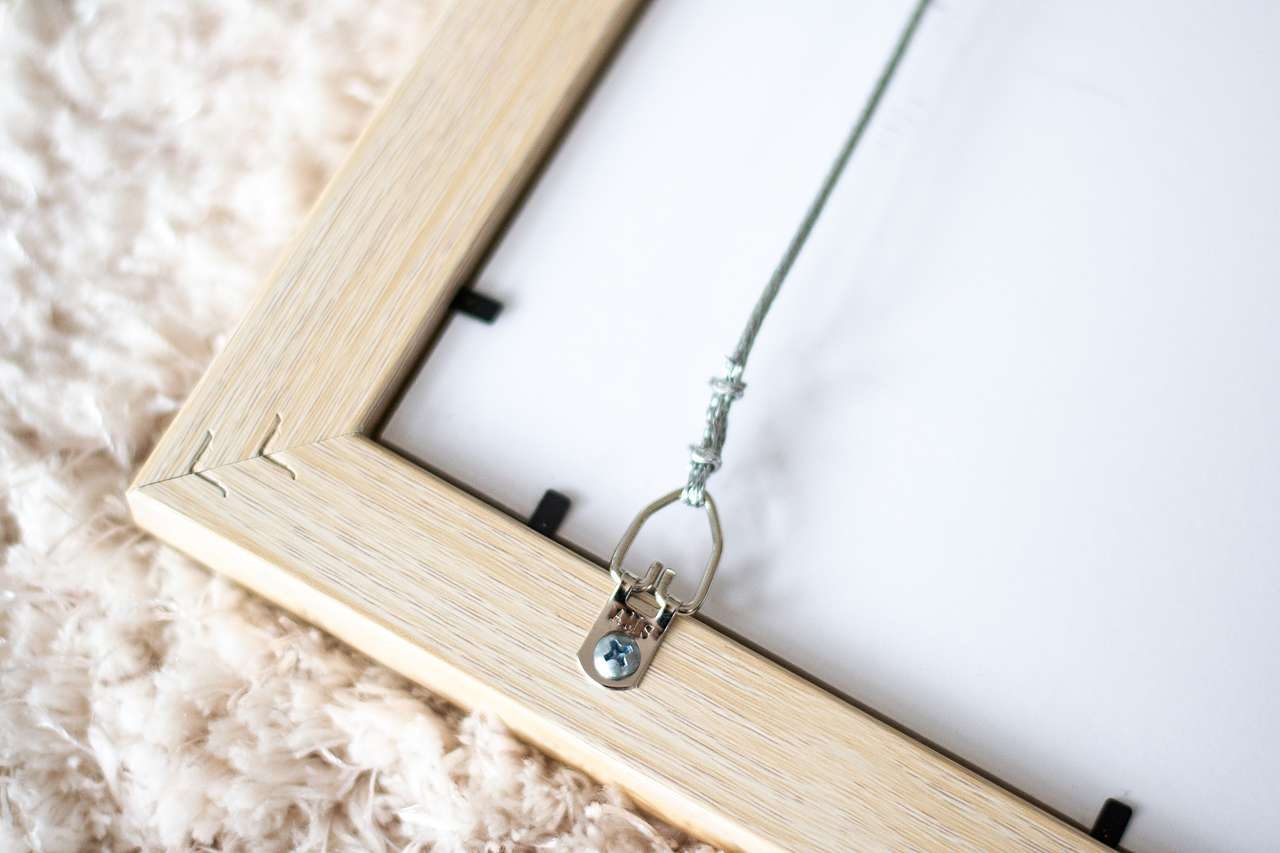
12. Attach a Picture Hanger to the Back
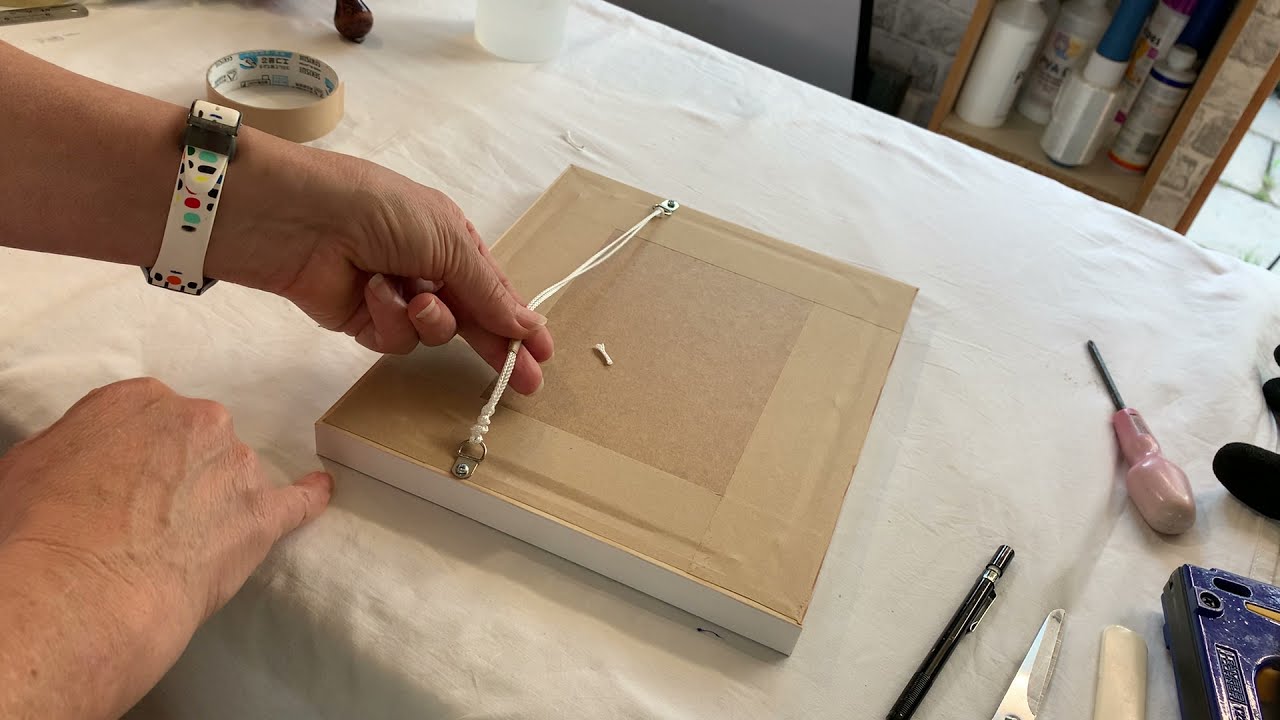
To get your DIY poster frame ready to hang. Pick a picture hanger that matches your frame’s size and weight.
There are different kinds, such as sawtooth hangers, D-ring hangers, or wire hangers. Now, put the hanger towards the top center on the back of your frame and make sure it’s firmly attached.
Use the right screws or nails based on the hanger you chose and the material of your frame.
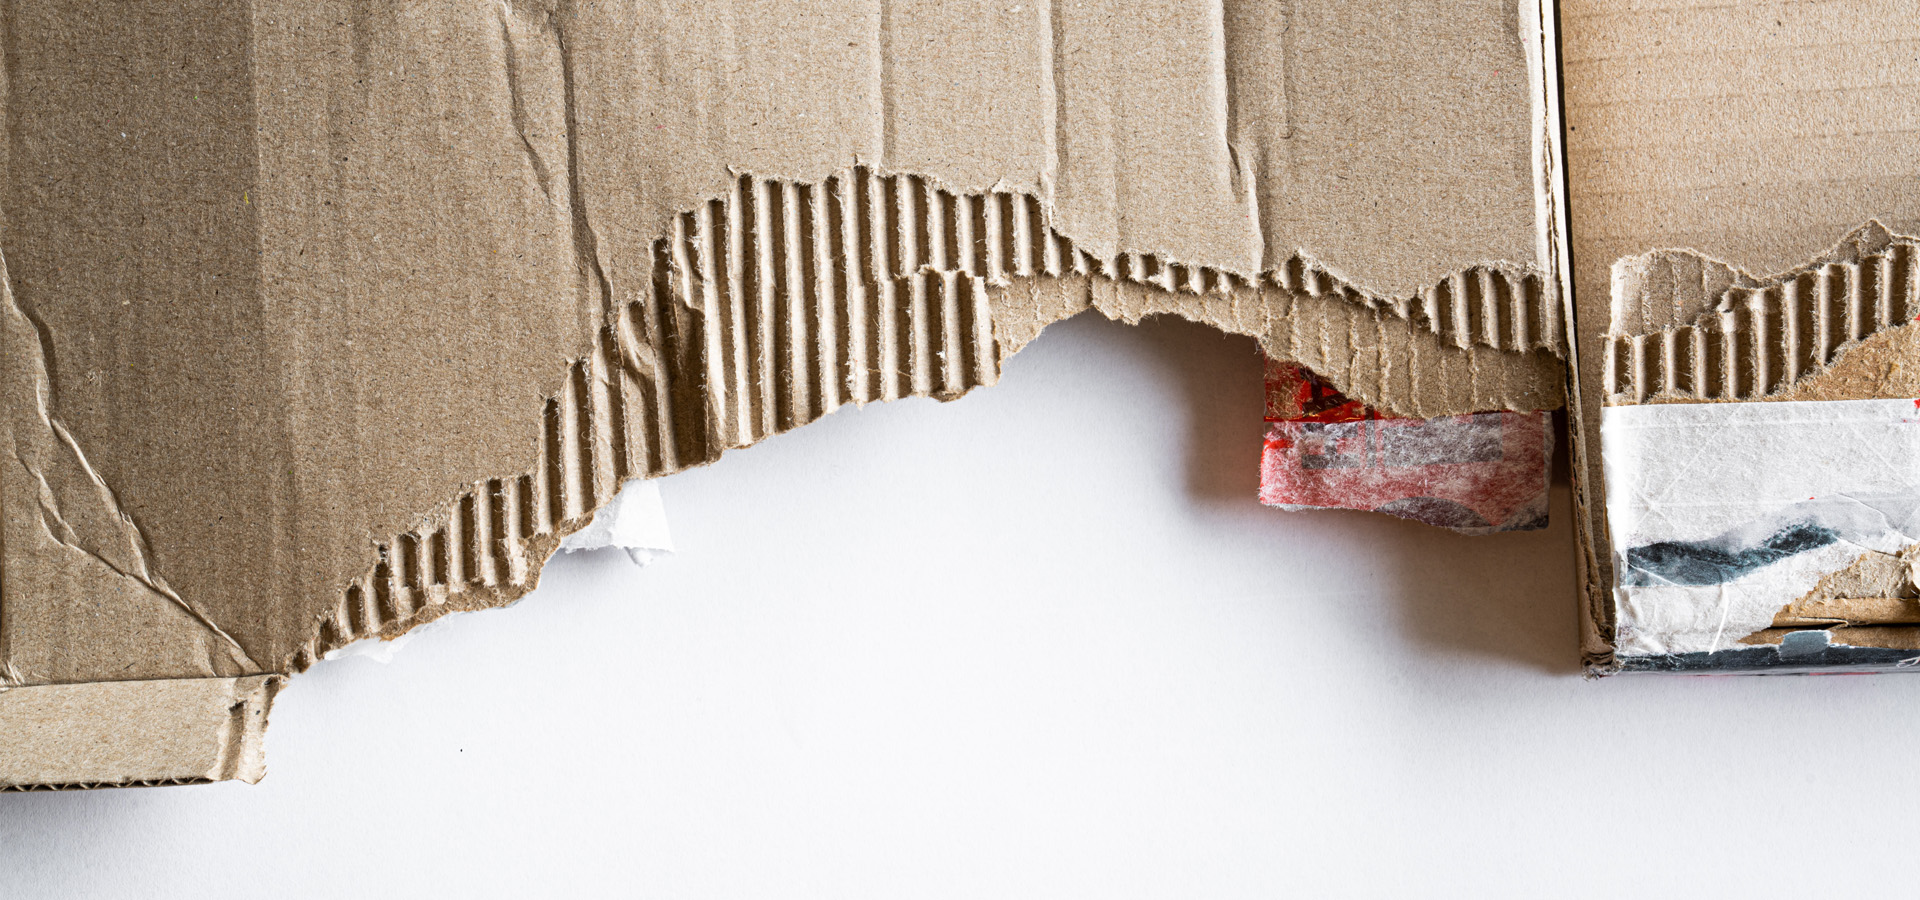
13. Create a Backing for Your Picture
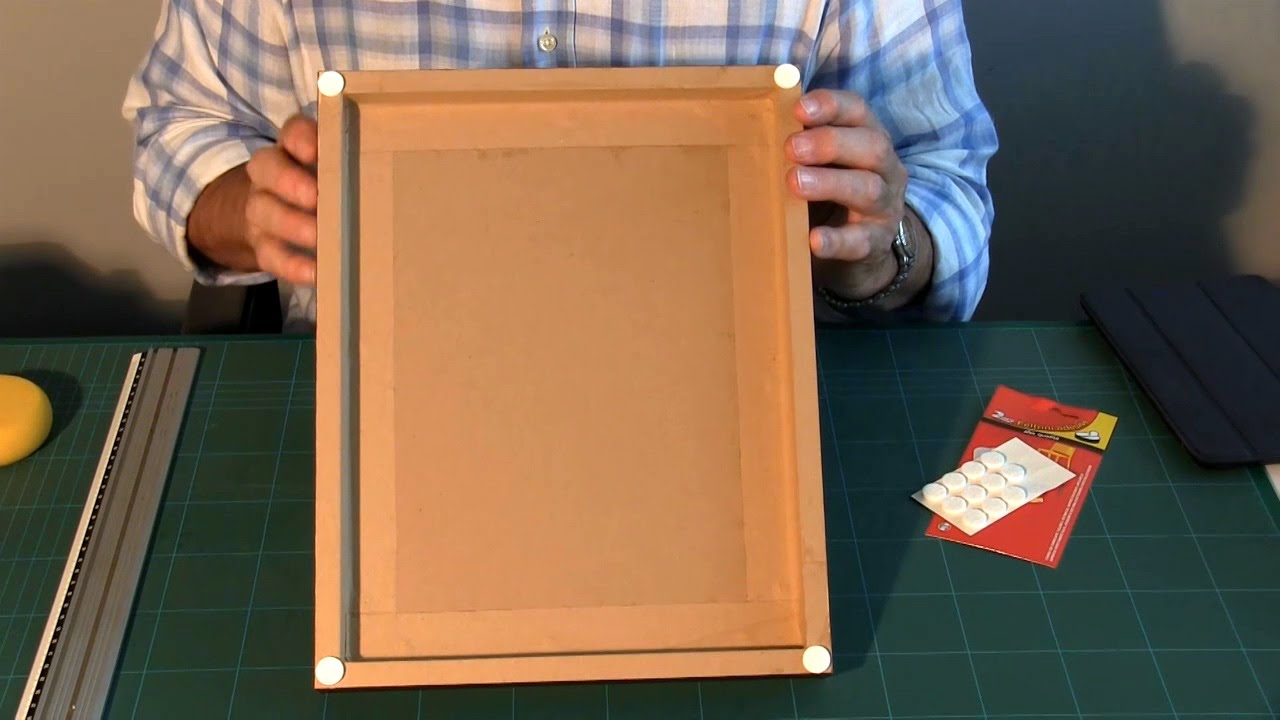
To keep your poster or artwork safe and make it stay in place, you need to make tough support for it. You can do this by using things such as foam board, cardboard, or mat board.
Just measure and cut this support material so it’s the same size as your frame. Make sure it fits snugly inside the frame to give your artwork the support it needs and stop it from drooping.
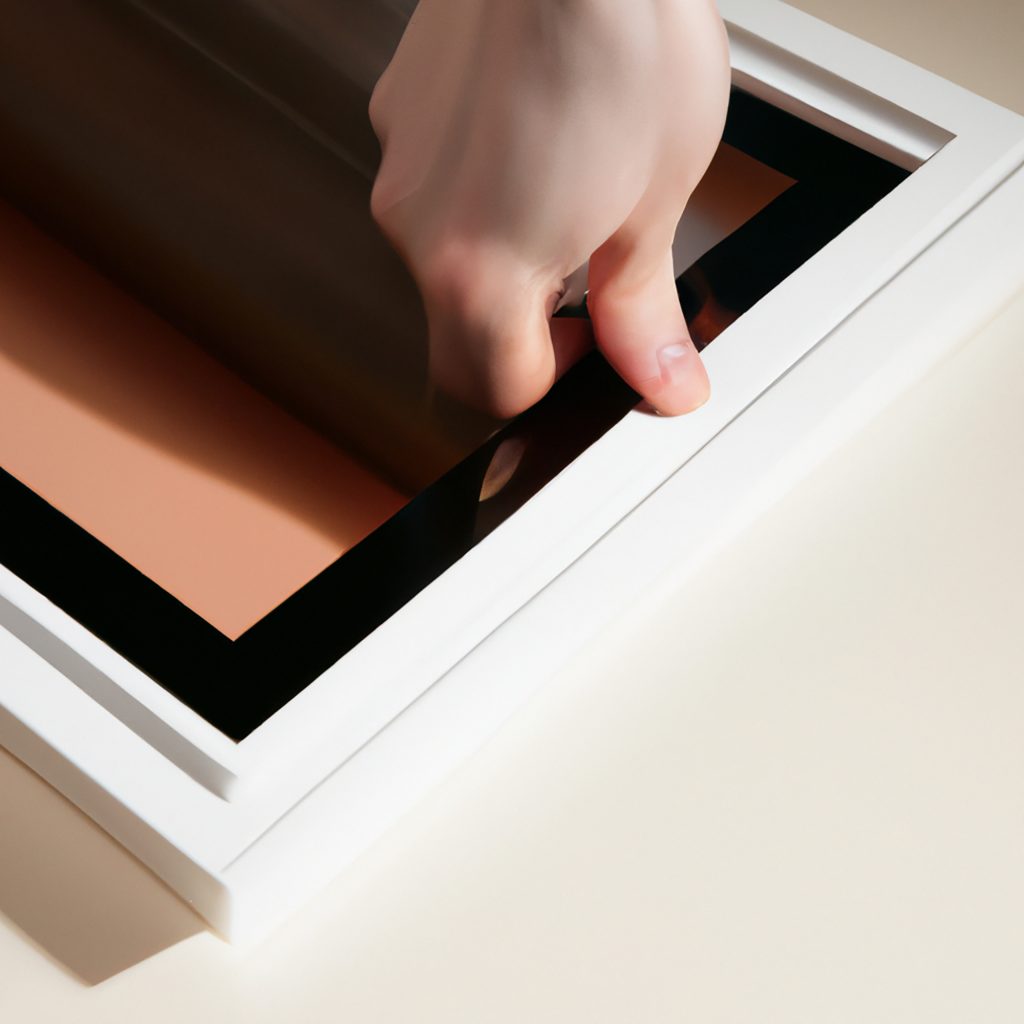
14. Insert Plastic, Poster, and Hardboard Backing into the Frame
To complete your DIY poster frame, insert the following layers into the frame.
1. Plastic/Glass: If you want to protect your poster from dust, moisture, or physical damage, you can add a clear plastic or glass sheet that fits the frame’s opening. Secure it in place using small clips or tabs provided by the frame or by using a framing point gun.
2. Poster or Artwork: Place your poster or artwork on top of the plastic or glass, ensuring it’s centered and aligned as desired.
3. Hardboard or Cardboard Backing: Lay your cut backing material, such as foam board, cardboard, or mat board, behind the poster or artwork. This provides support and keeps everything in place.
Conclusion
Making a big DIY poster frame can be a fun project. You’ve learned some easy steps to follow. First, gather your materials, a wooden board, paint or stain, a saw, and some screws.
Next, measure and cut the board to the size you need. Then, paint or stain it to your liking. After that, attach your poster securely using clips or adhesive.
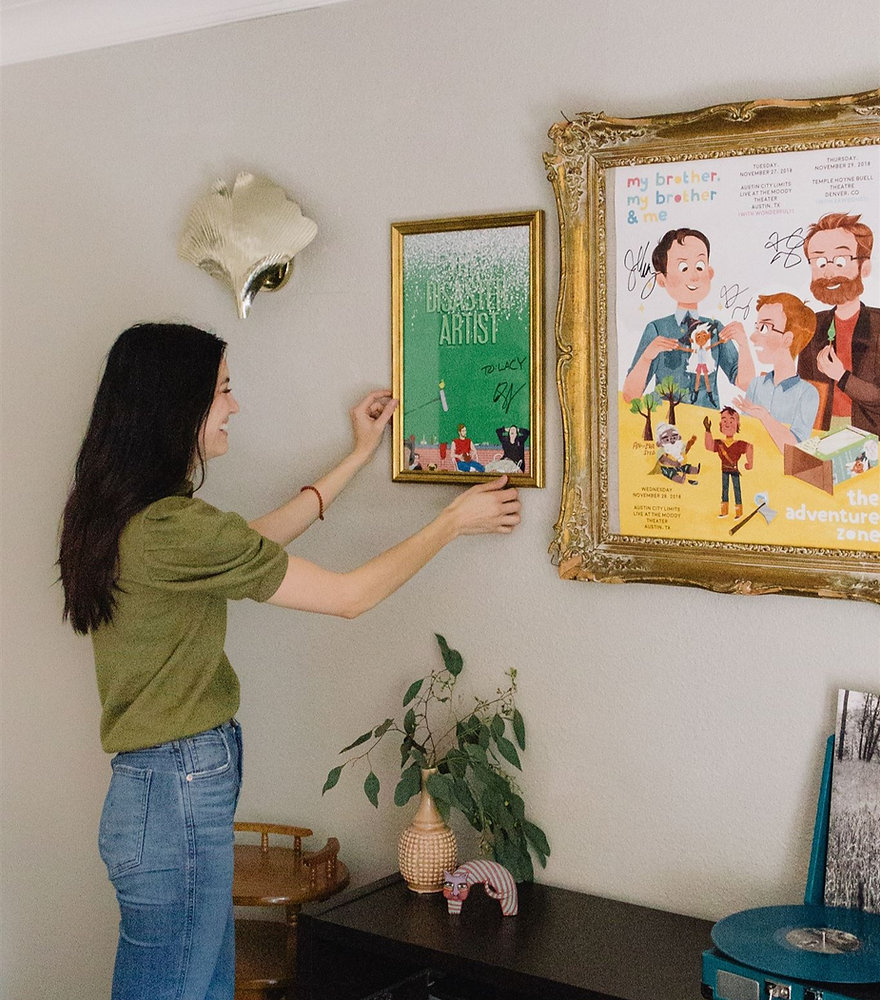
Finally, hang your frame on the wall and admire your artwork. This DIY project allows you to customize your poster frame to match your style and preferences.
You can choose different colors and sizes and even add personal touches, such as decorations or quotes, with a little time and effort.
You can create a huge DIY poster frame that not only showcases your artwork but also adds a personal touch to your space.
So, you can enjoy the satisfaction of making something beautiful with your own hands.
Check This Next: 9 Most Popular and Comfortable Pull-Out Sofa Beds